
If you have set up agents on a paid account, you may share an agent with free DWService accounts. For instance, a company might want to manage all agents installed on remote computers and share those access with employees who have free DWService accounts.
Whenever a free account access an agent shared by a paid account, they will also benefit from more bandwidth when initiating a session to access this remote computer.
If you are a regular user of DWService, you may want to subscribe to one of our paid plans. Each can be paid on a monthly or annual basis and each unlock more bandwidth when you initiate a session. More specifically :
- Free account: 6 Mbps maximum bandwidth
- Entry plan: 8 Mbps maximum bandwidth
- Lite plan: 10 Mbps maximum bandwidth
- Basic plan: 14 Mbps maximum bandwidth
- Advanced plan: 20 Mbps maximum bandwidth
- Professionel plan: 30 Mbps maximum bandwidth
- Premium plan: 50 Mbps maximum bandwidth
This bandwidth is unlocked whenever you initiate a session with and agent set up in your account, for instance when you want to interact with the remote screen. More bandwidth means for data going through, hence a smoother experience.

To share only a specific folder, follow the steps below.
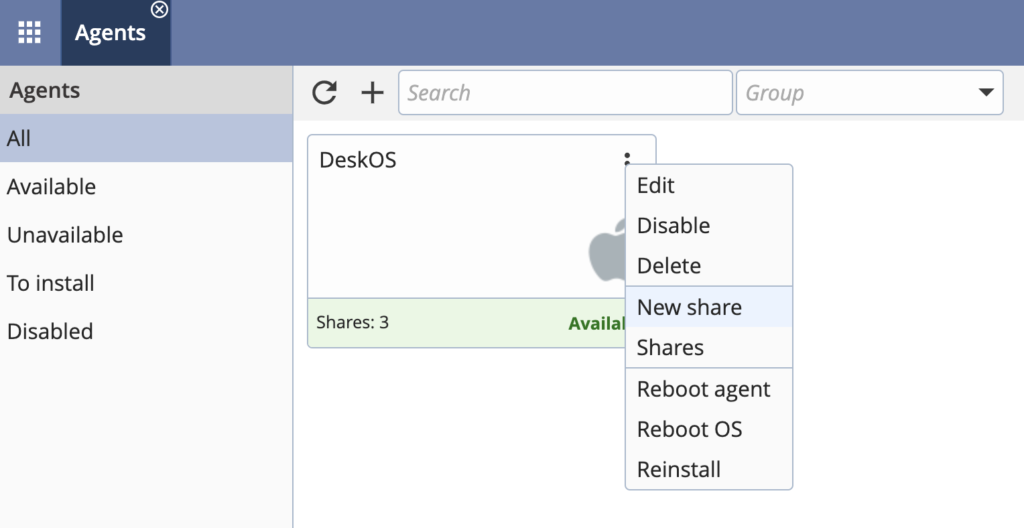
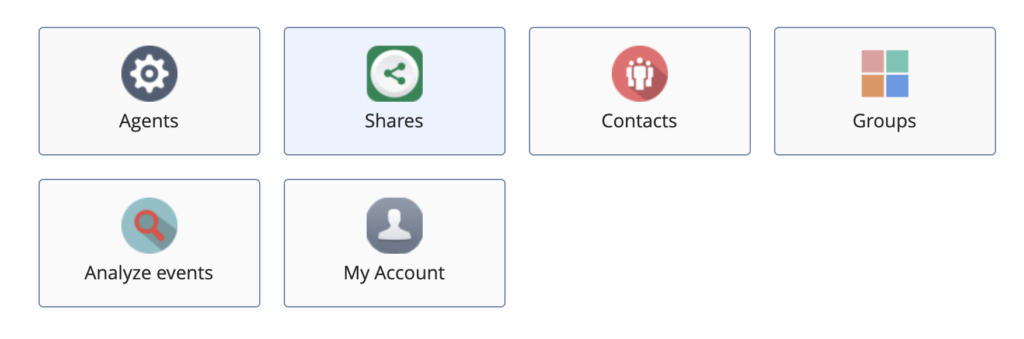
Log in www.dwservice.net, go to Agents
Choose the agent that you want to share, click on the three vertical dots and select New Share.
In the next screen, you can add description if you want.
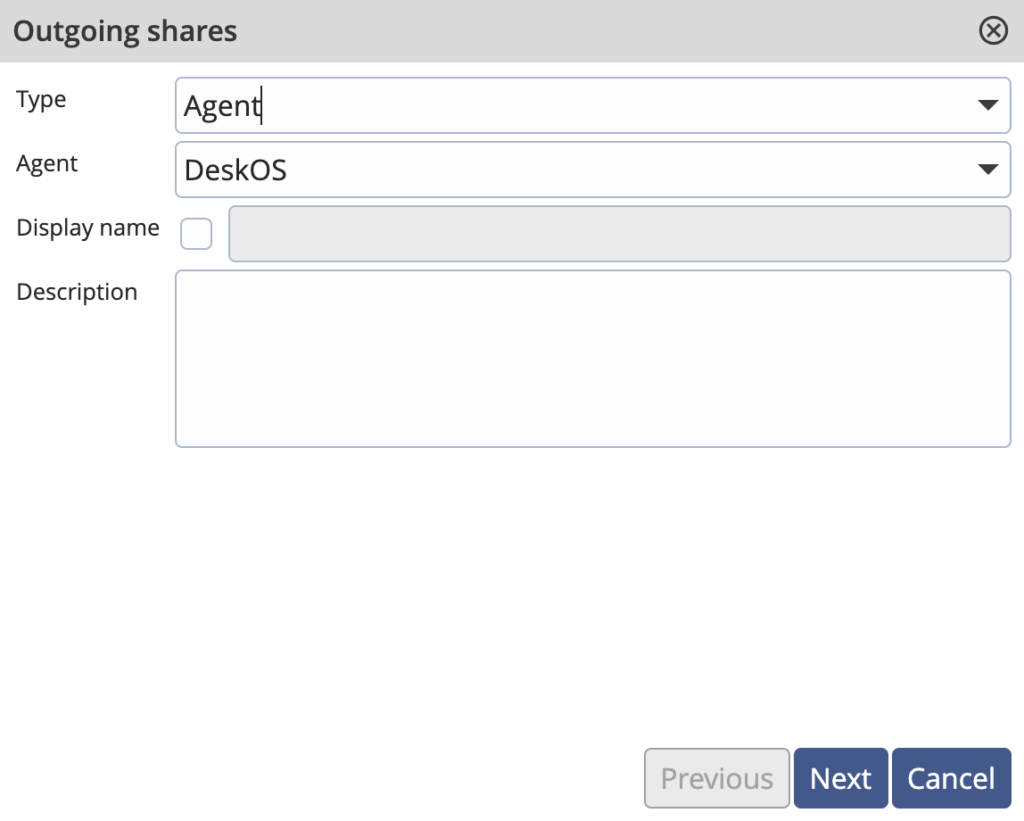
Then you can choose the permission settings. Uncheck Full Access. Select Files and Folders and Click on the wrench icon

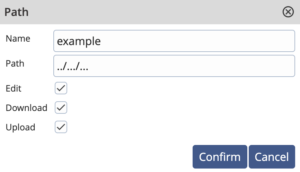
Click on Add to add the folder(s) of your choice that you want to share.
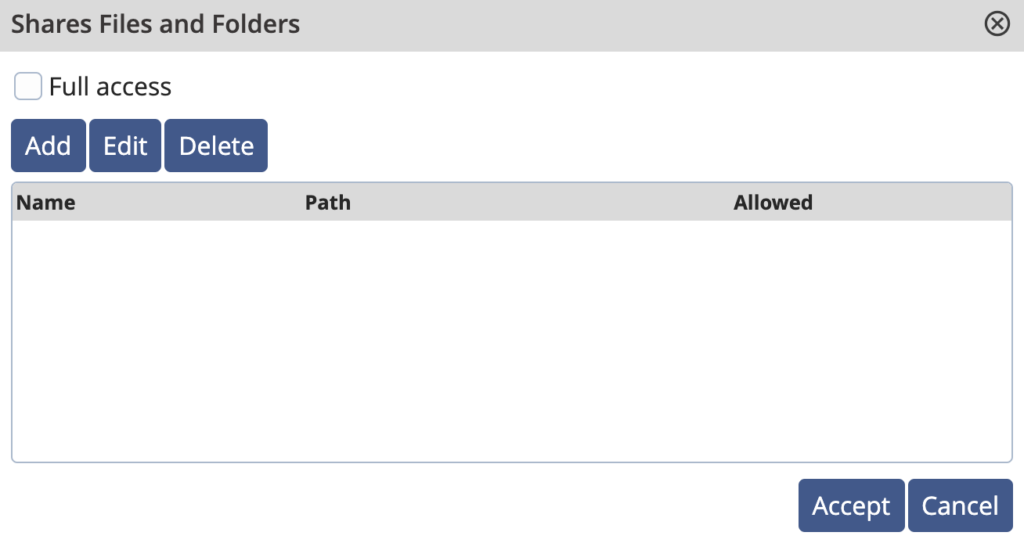
Enter the name and the path of the folder(s)
Then proceed with the sharing process as explained here.
You may share an agent – and therefore give someone else – access to a remote machine that you manage. This option is often used by small support companies with a central premium account.
Log in www.dwservice.net, go to Agent
Choose the agent that you want to share, click on the three vertical dots and select New Share.
In the next screen, you can add description if you want.
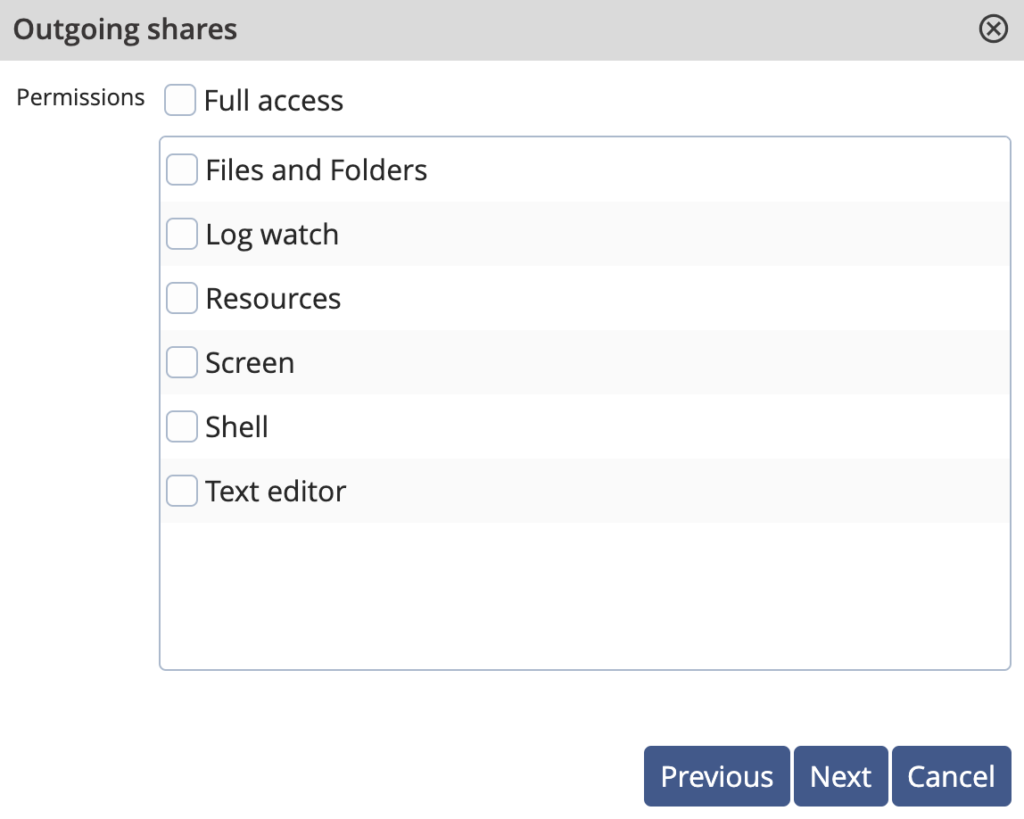
Then you can choose the permission settings. Uncheck Full Access. You will be able to share access to only that apps of your choice. Simply check the ones you want
- Files and Folders
- Log Watch
- Screen
- Resources
- Text Editor
- Shell
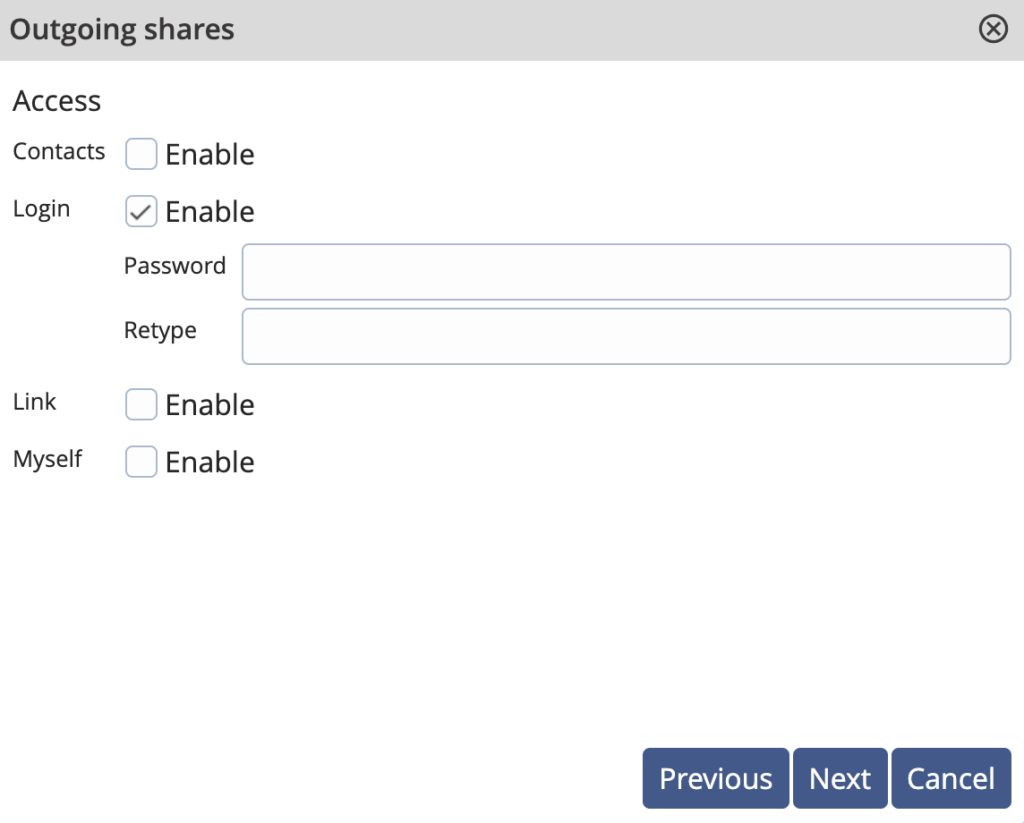
Now you will be presented with sharing methods. For the sake of this example, we’ll take the most common one : a login option. So check Login Enable and type the password of your choice.

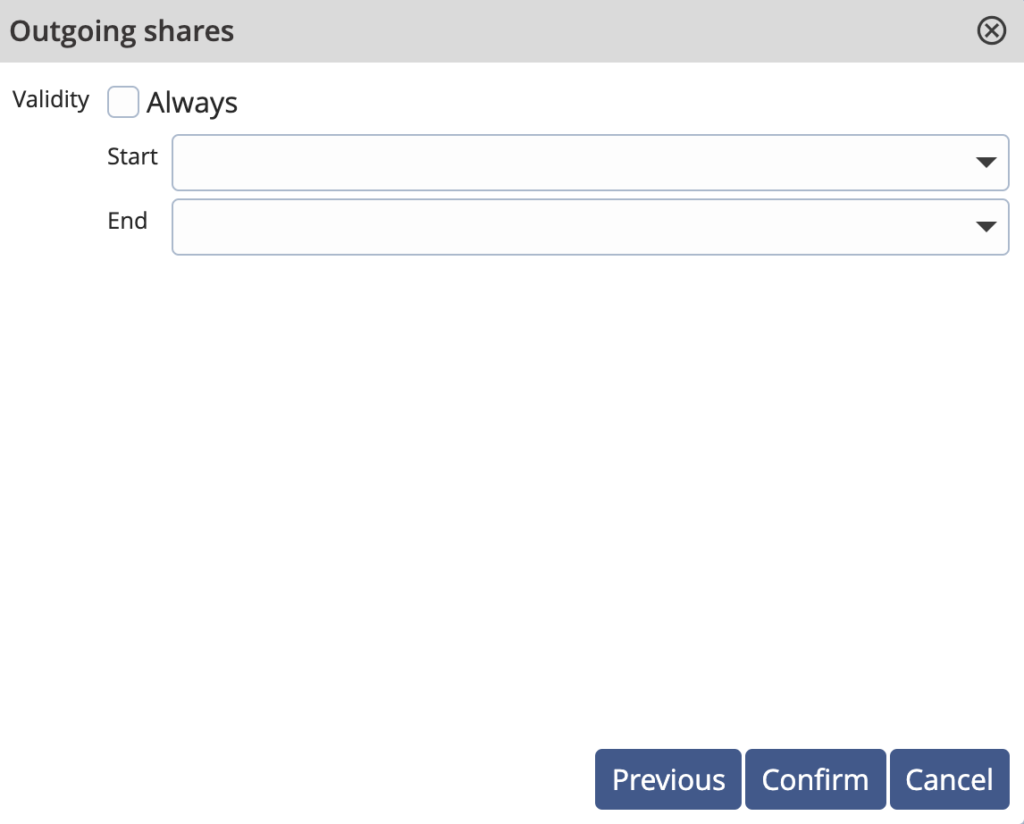
You may after configure the validity of this shared agent. If you want to teporarily share an agent with someone, simply uncheck Validity : Always. Then select a time period.
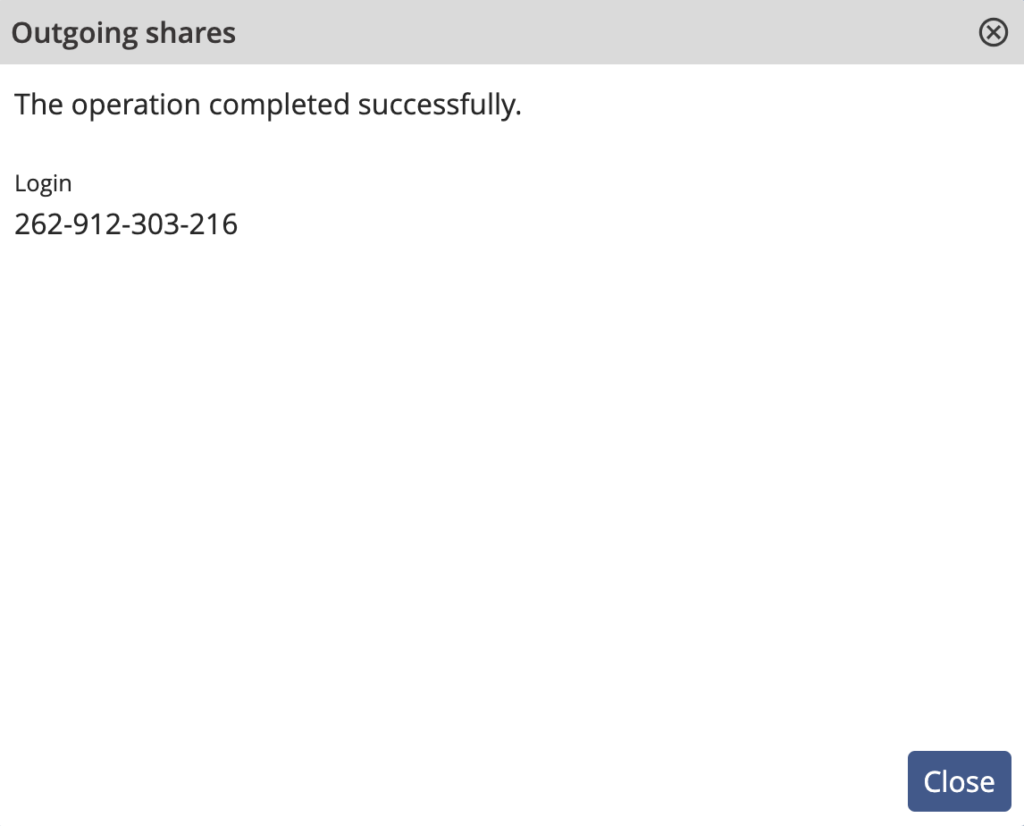
Finally, we will generate for you an ID.
Therefore, someone else will be able to access this shared agent by ogin in www.dwservice.net by using that ID and the password that you previously chose.
You may share an agent – and therefore give someone else – access to a remote machine that you manage. This option is often used by small support companies with a central premium account.
Log in www.dwservice.net, go to Agents
Choose the agent that you want to share, click on the three vertical dots and select New Share.
In the next screen, you can add description if you want.
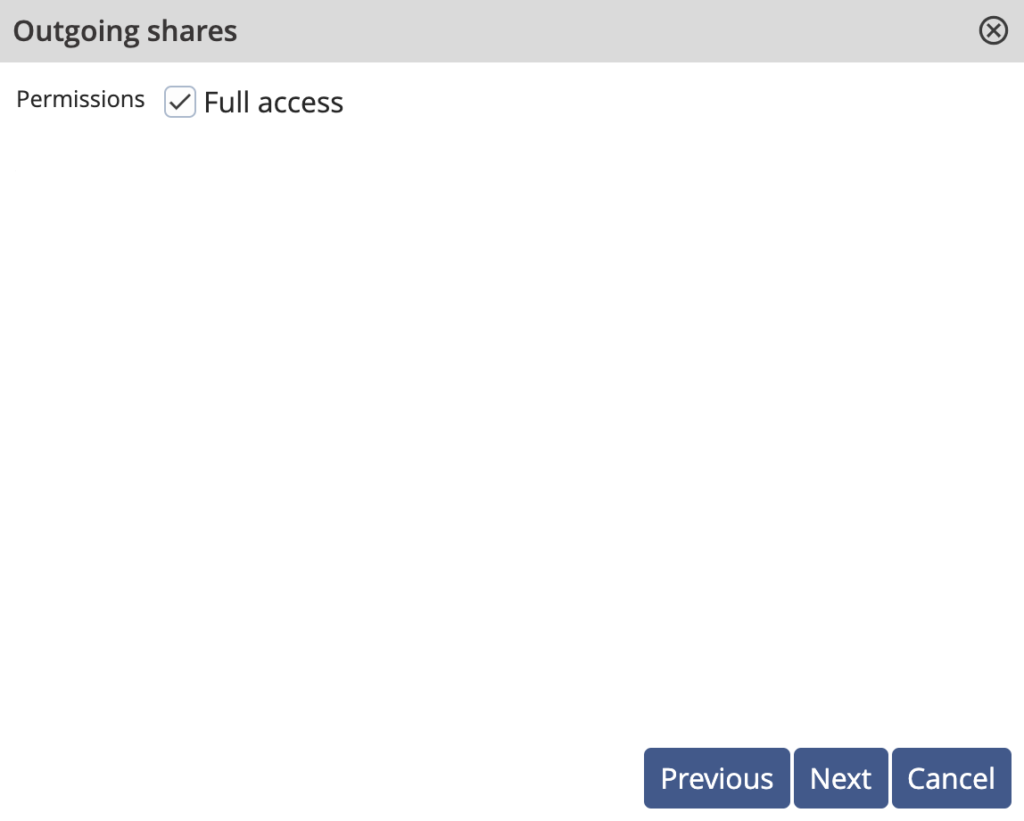
Then you can choose the permission settings. if you want to share full access to the agent let the Full Access option checked.
Now you will be presented with sharing methods. For the sake of this example, we’ll take the most common one : a login option. So check Login Enable and type the password of your choice.
You may after configure the validity of this shared agent. By default, we’ll let the value always.

Finally, we will generate for you an ID.
Therefore, someone else will be able to access this shared agent by ogin in www.dwservice.net by using that ID and the password that you previously chose.
NOTE : WE CANNOT RECOVER YOUR ACCOUNT IF YOU LOST YOUR RECOVERY CODE. YOU NEED TO CREATE A NEW ACCOUNT
Once logged in your DWService account, you’ll be presented your dashboard. Go to My account.
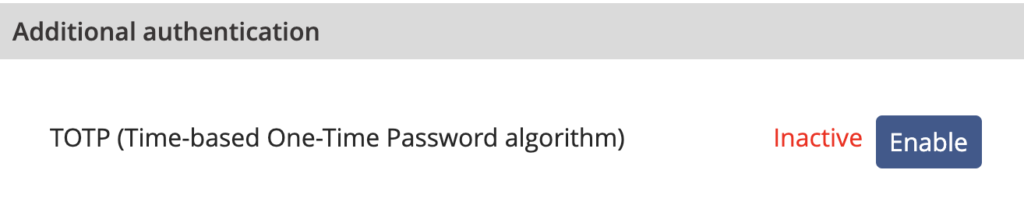
At the bottom of the page, you will find a section titled Additional authentication. From there, you may enable TOTP or Time-Based One-Time password.
This TOTP system is used as the second level of security in our 2FA mechanism.
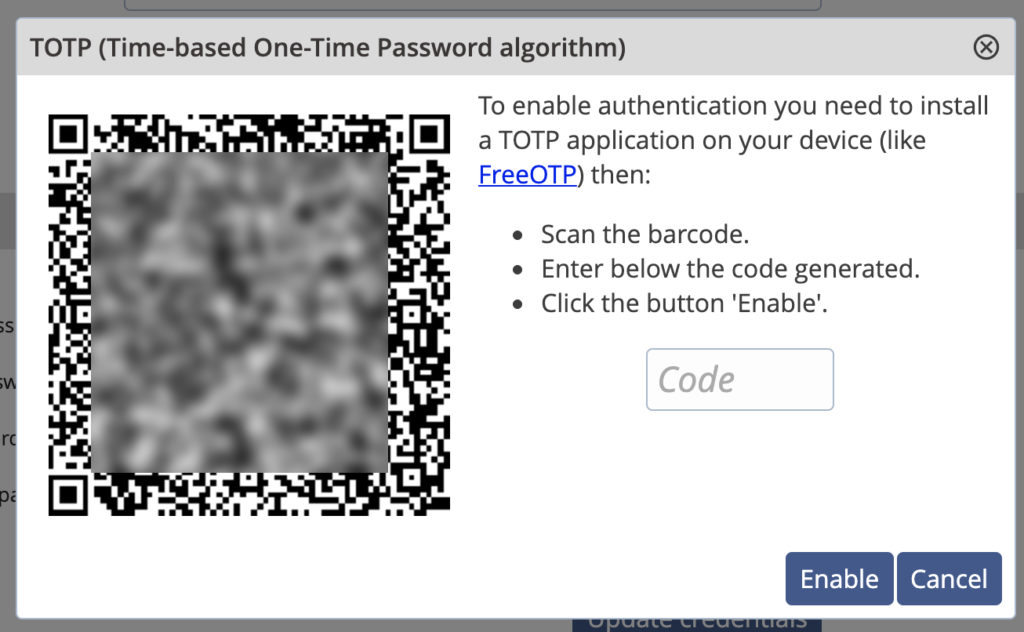
When choosing to enable TOTP, you will be invited to download a mobile application that is used to generate ephemeral codes after you have entered your traditional password. The validity of those codes only lasts a few seconds.
Among available applications for iOS or Android, you’ll find FreeOTP, Google Authenticator (Android – iOS), Microsoft Authenticator or Authy. This is a non-exhaustive list ; you can find other similar apps in the Apple App Store or in the Android Play Store.
When adding your DWS account on one of those applications, you’ll be asked to scan the unique QR code that we generated.
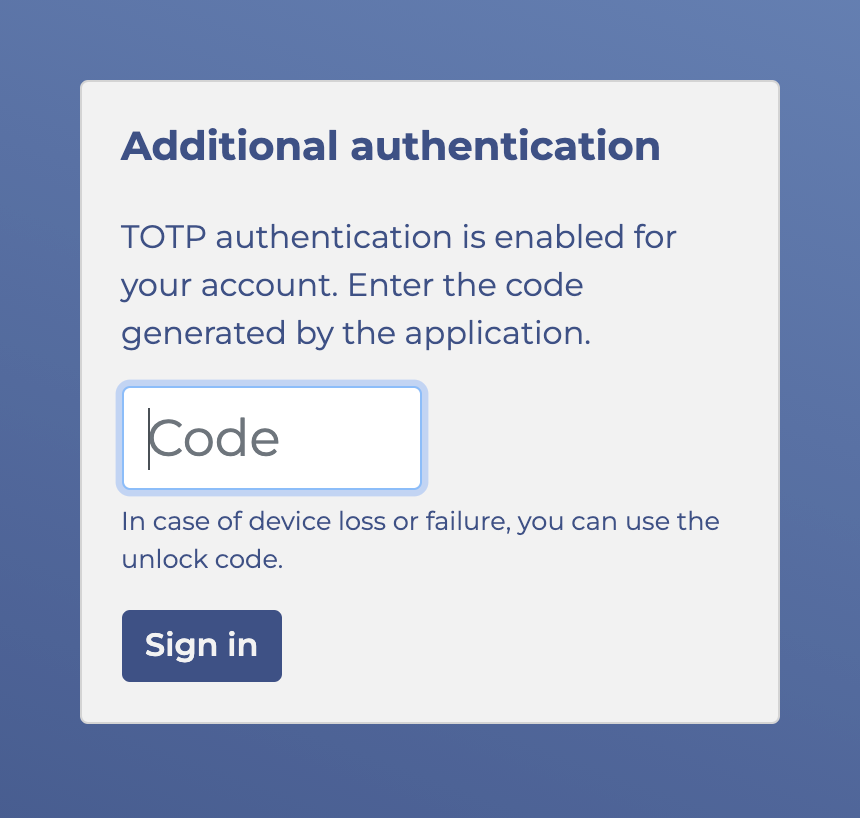
Please note that you will be asked for a security code each time you try to log in your account. Should you lose your smartphone, we cannot recover your account.
However, after setting up 2FA we will give you a special recovery code.
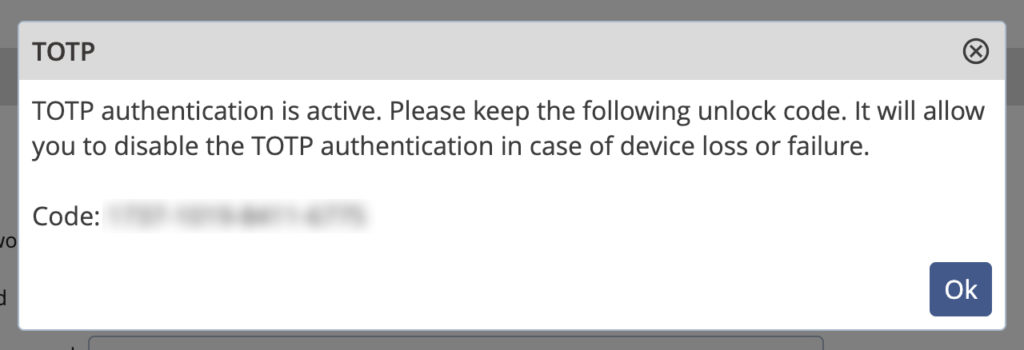
KEEP THIS CODE IN A SECURE PLACE OUTSIDE OF YOUR SMARTPHONE
It will be mandatory in case you lose your smartphone. We recommend that you write it down and hide it in your house somewhere.