You may share an agent – and therefore give someone else – access to a remote machine that you manage. This option is often used by small support companies with a central premium account.
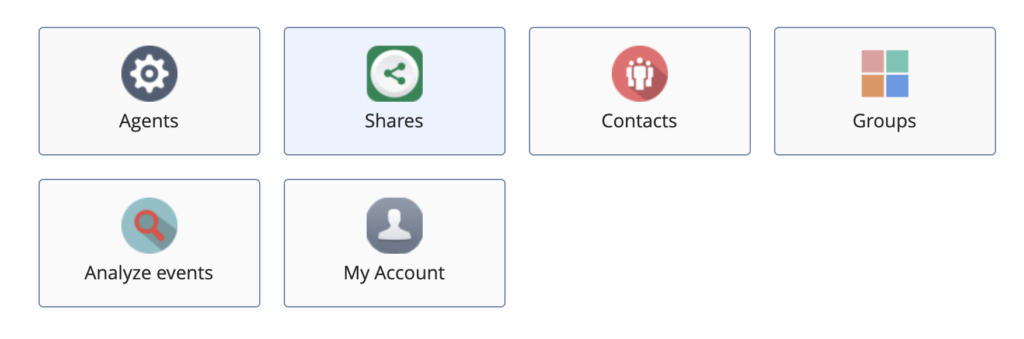
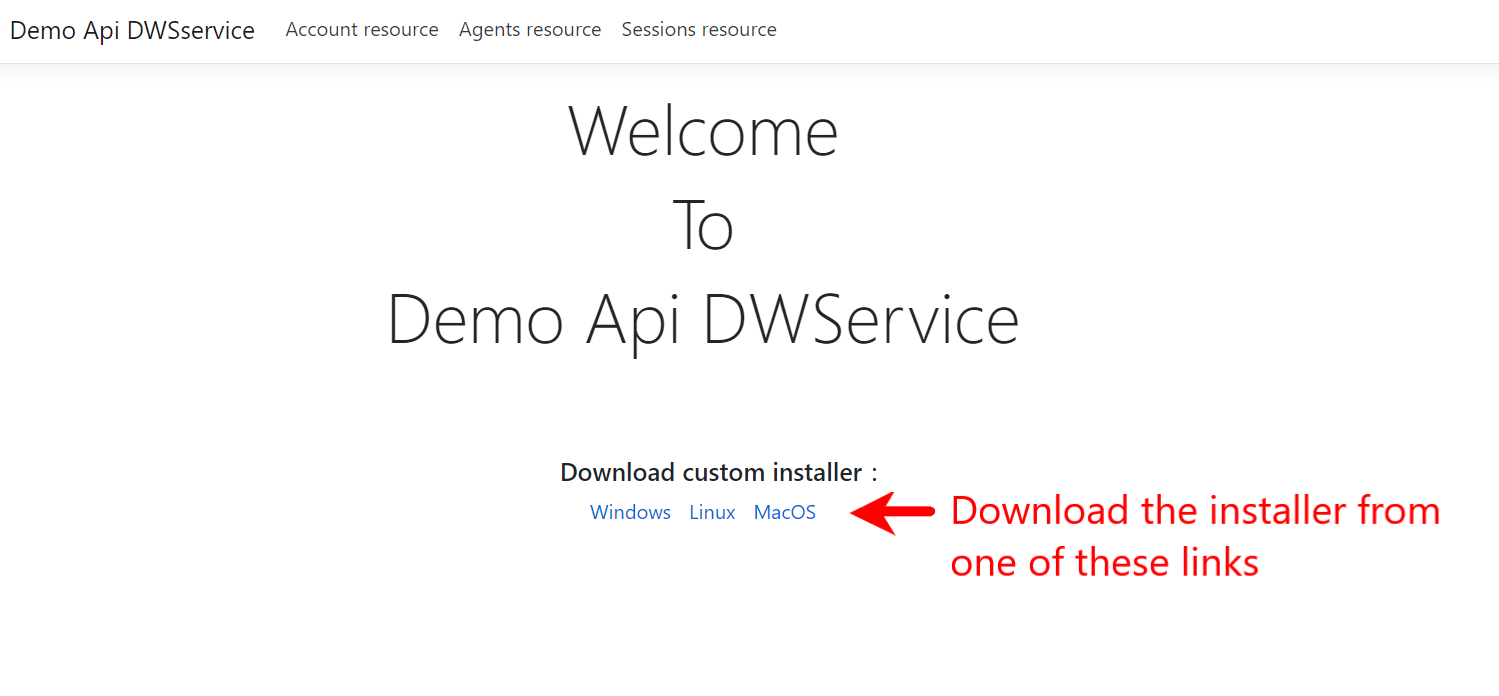
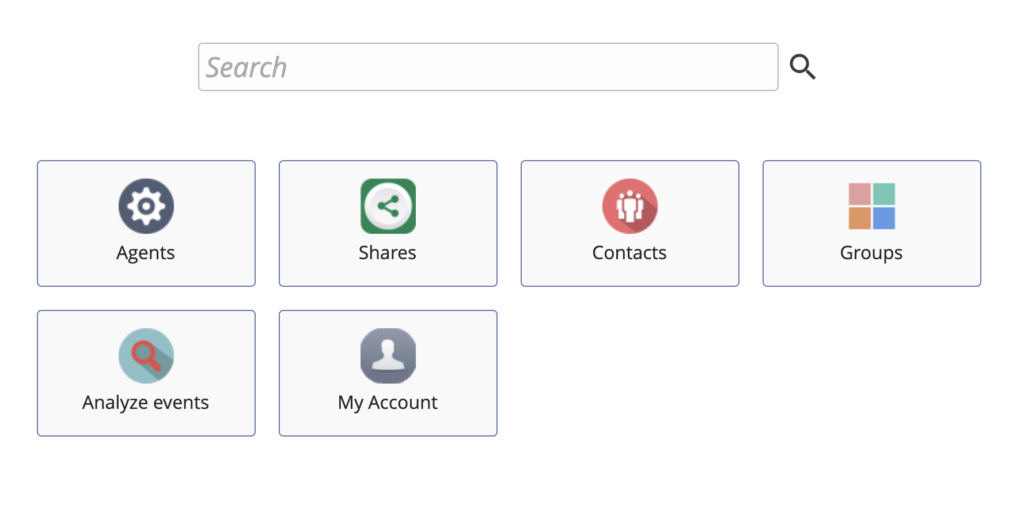
Log in www.dwservice.net, go to Agent
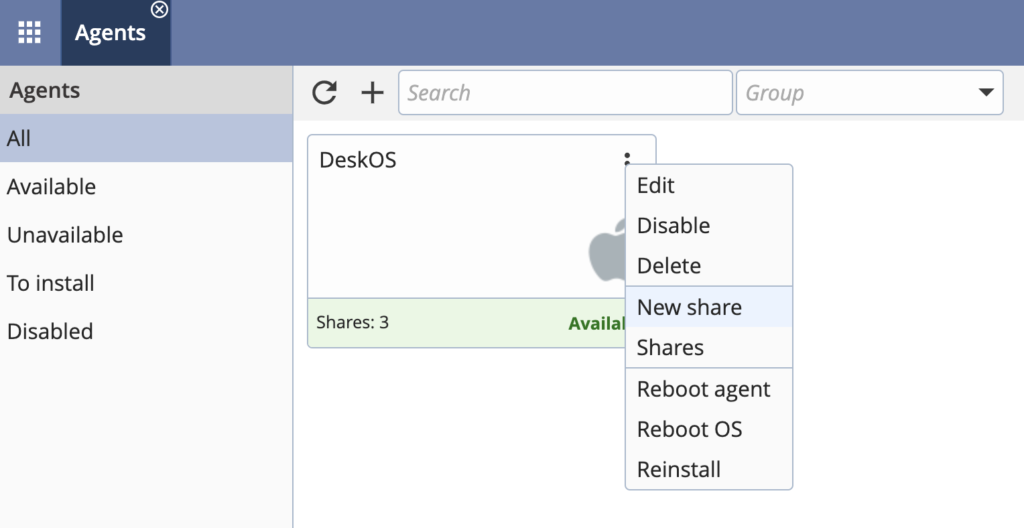
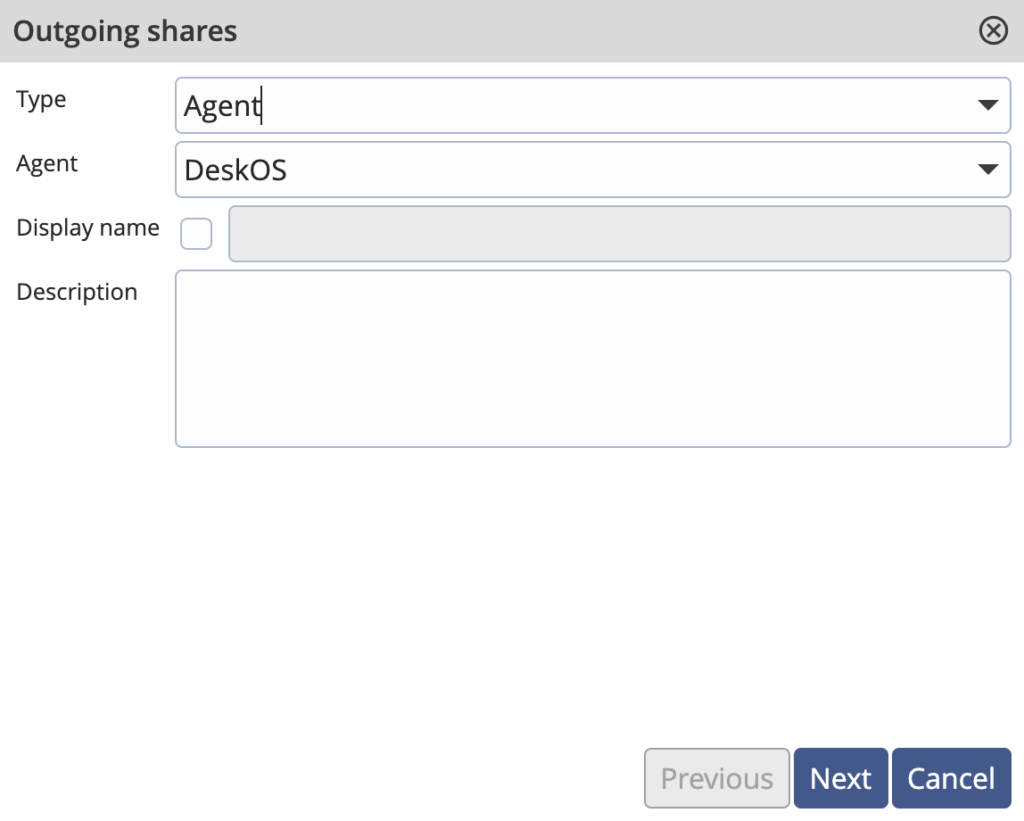
Choose the agent that you want to share, click on the three vertical dots and select New Share.
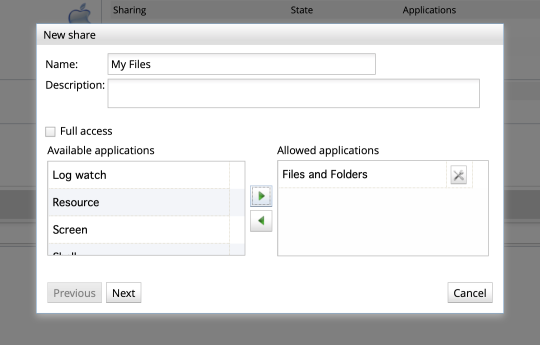
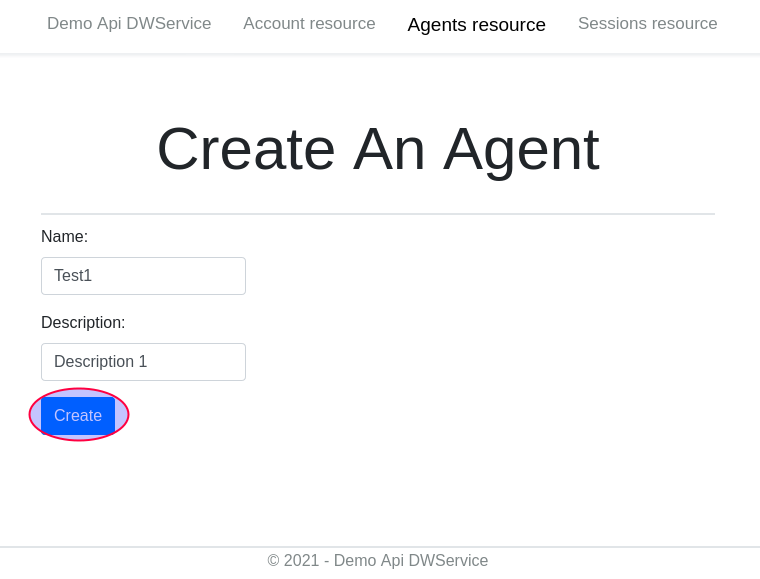
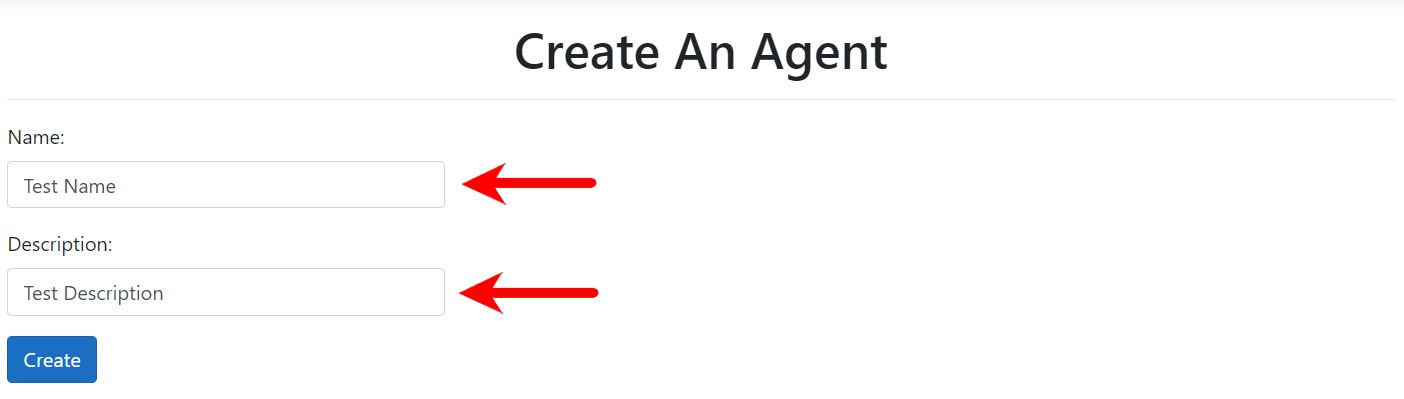
In the next screen, you can add description if you want.
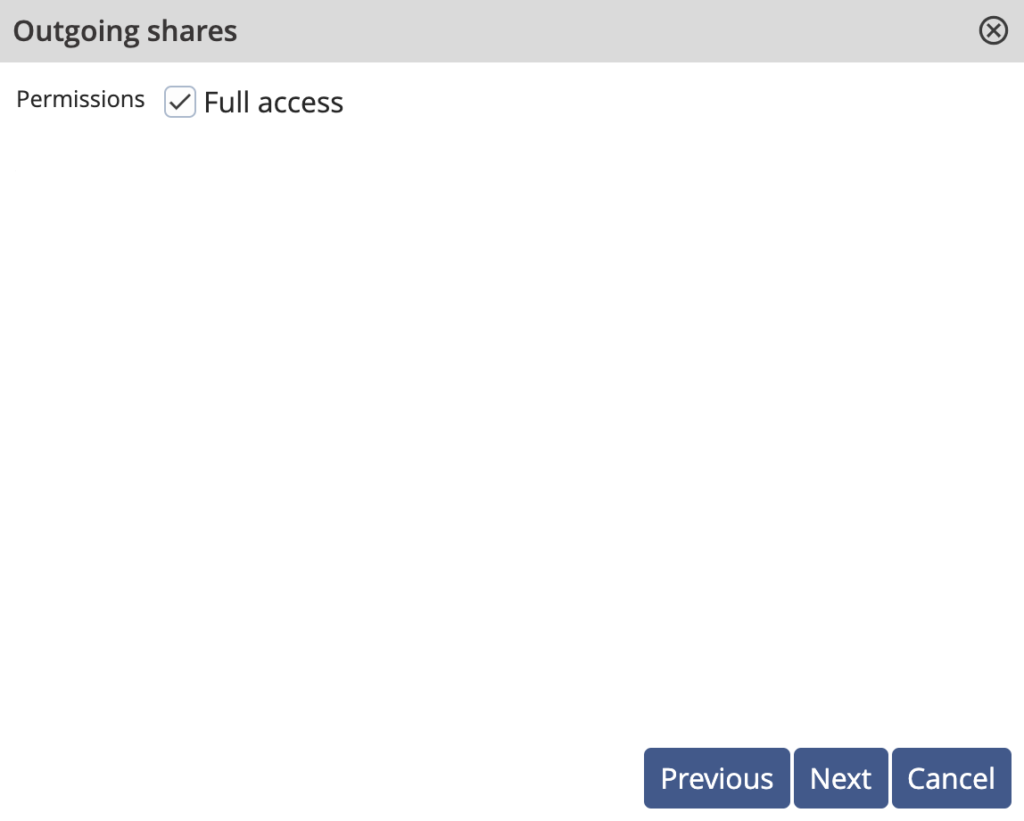
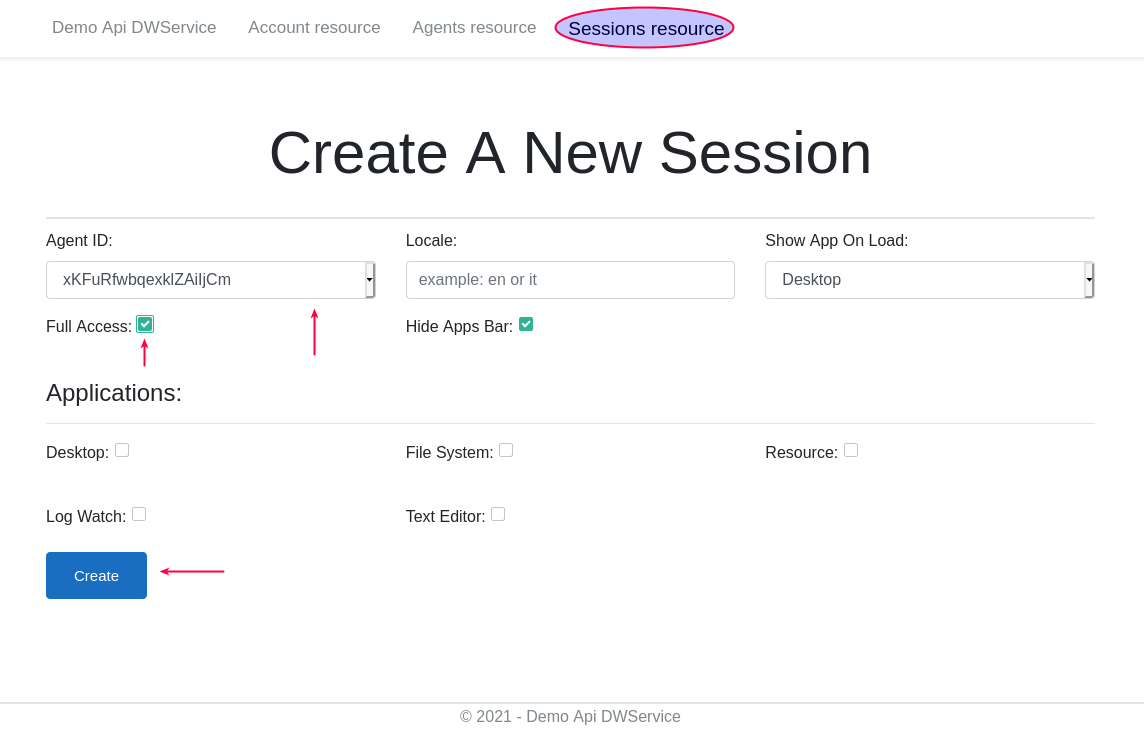
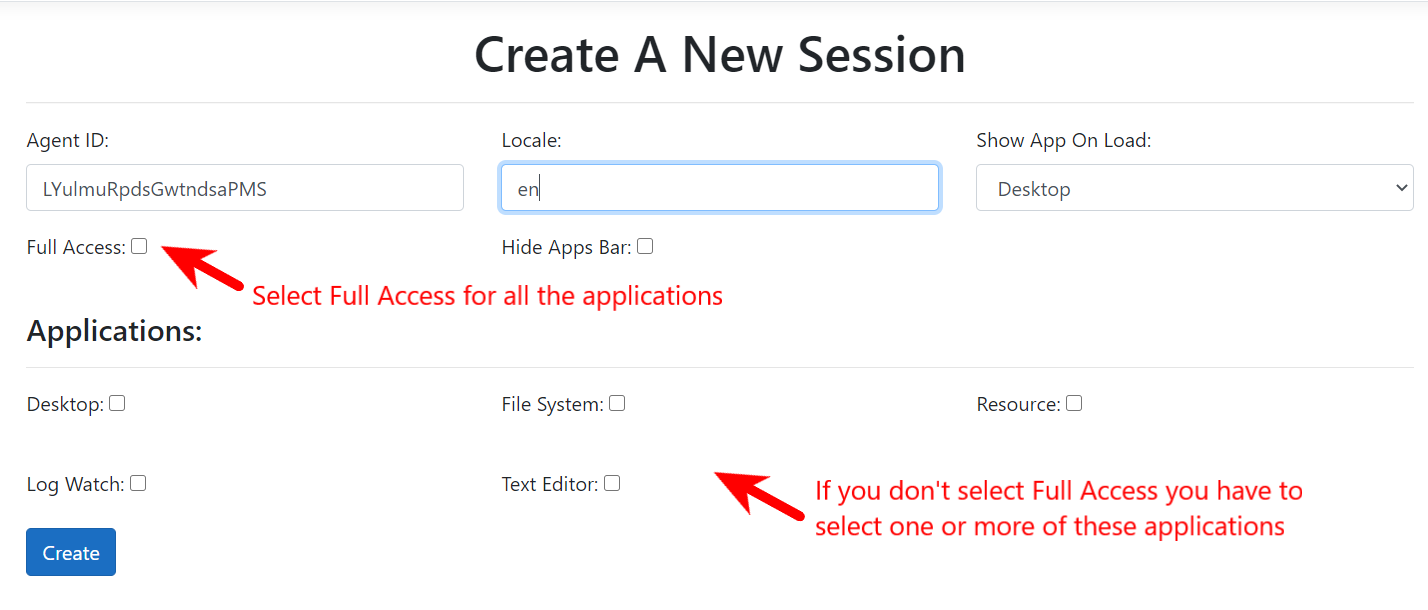
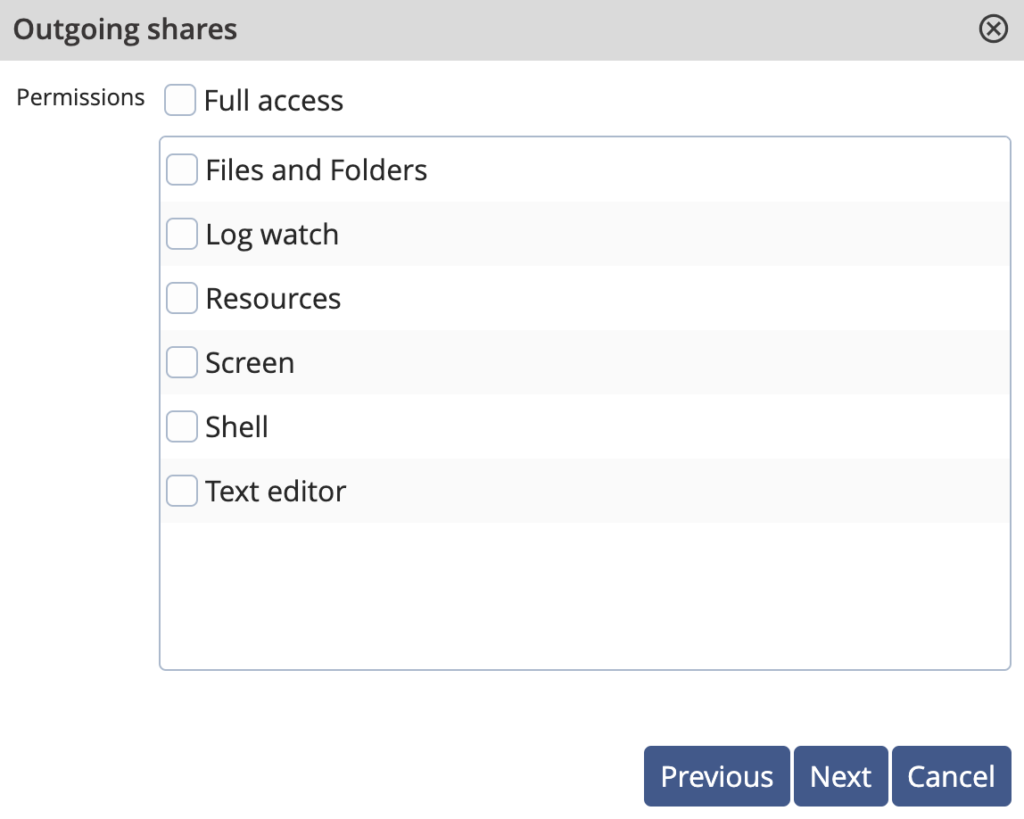
Then you can choose the permission settings. Uncheck Full Access. You will be able to share access to only that apps of your choice. Simply check the ones you want
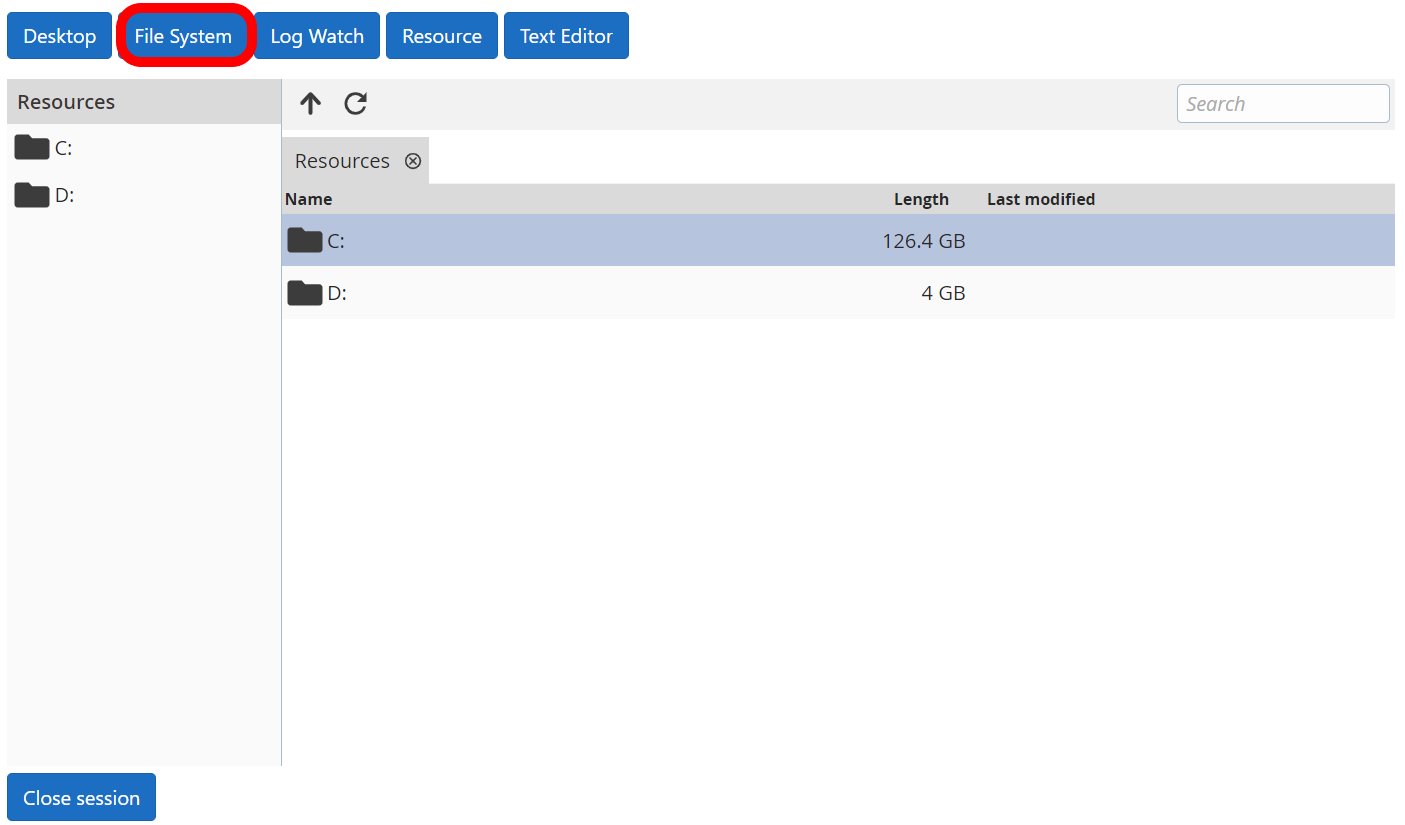
- Files and Folders
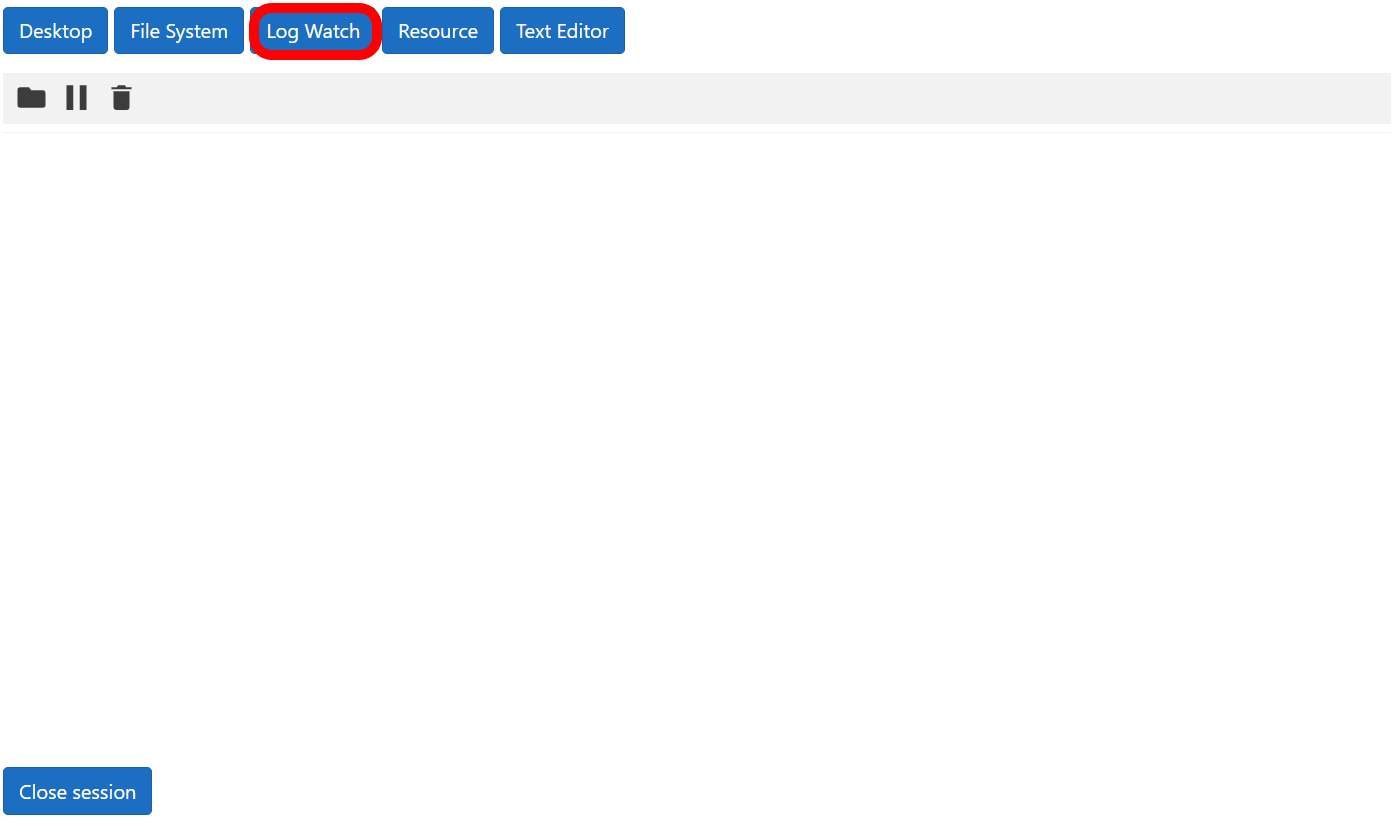
- Log Watch
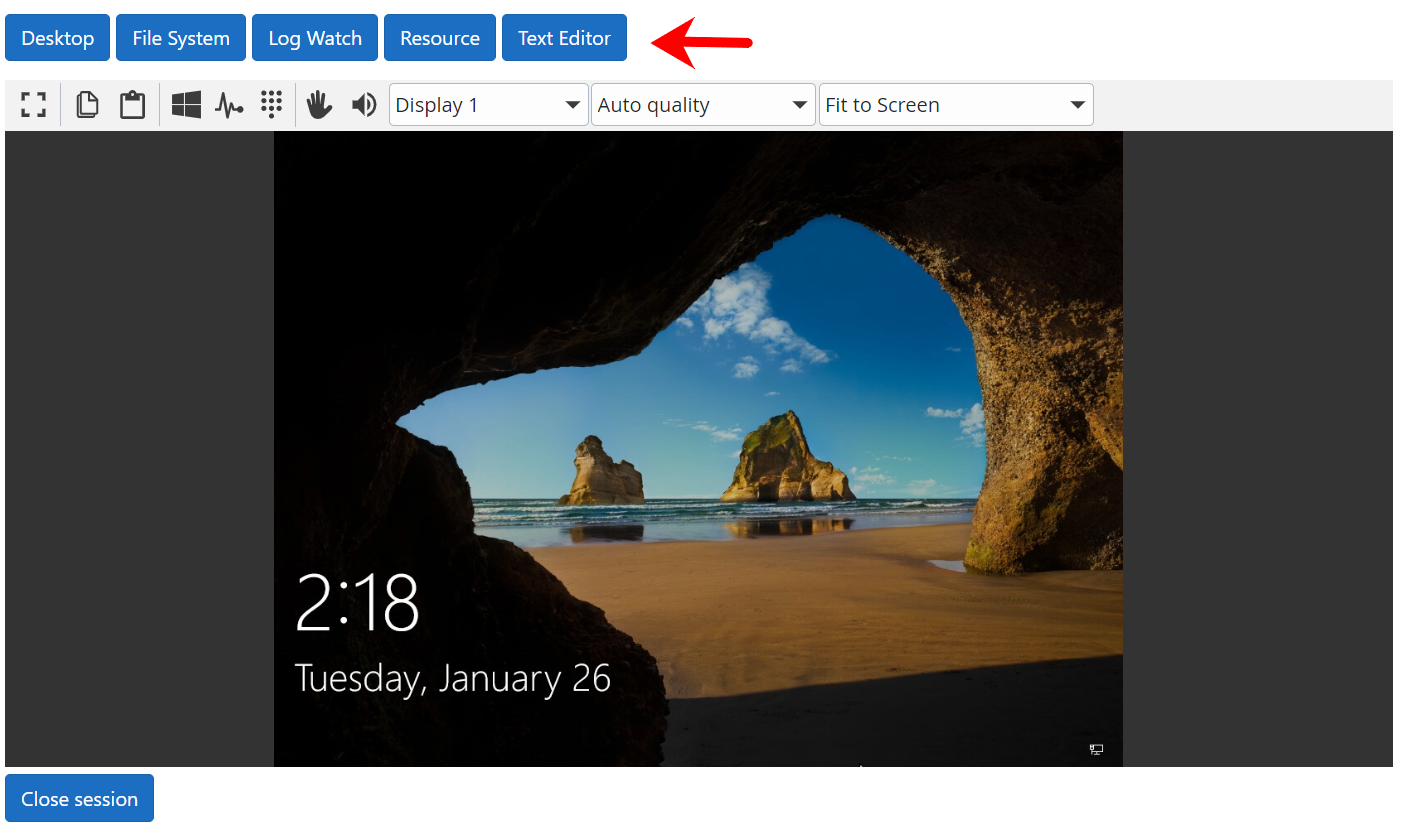
- Screen
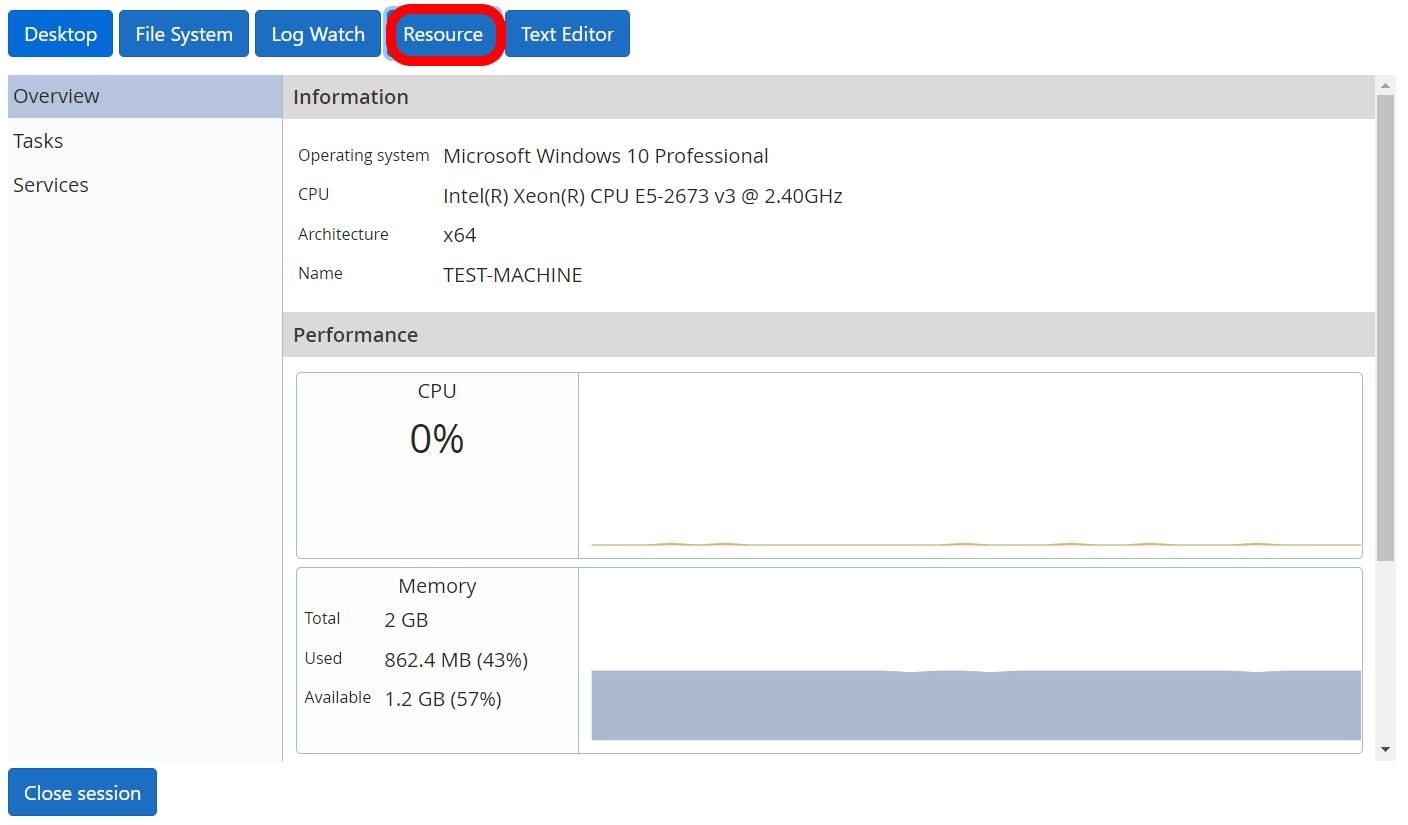
- Resources
- Text Editor
- Shell
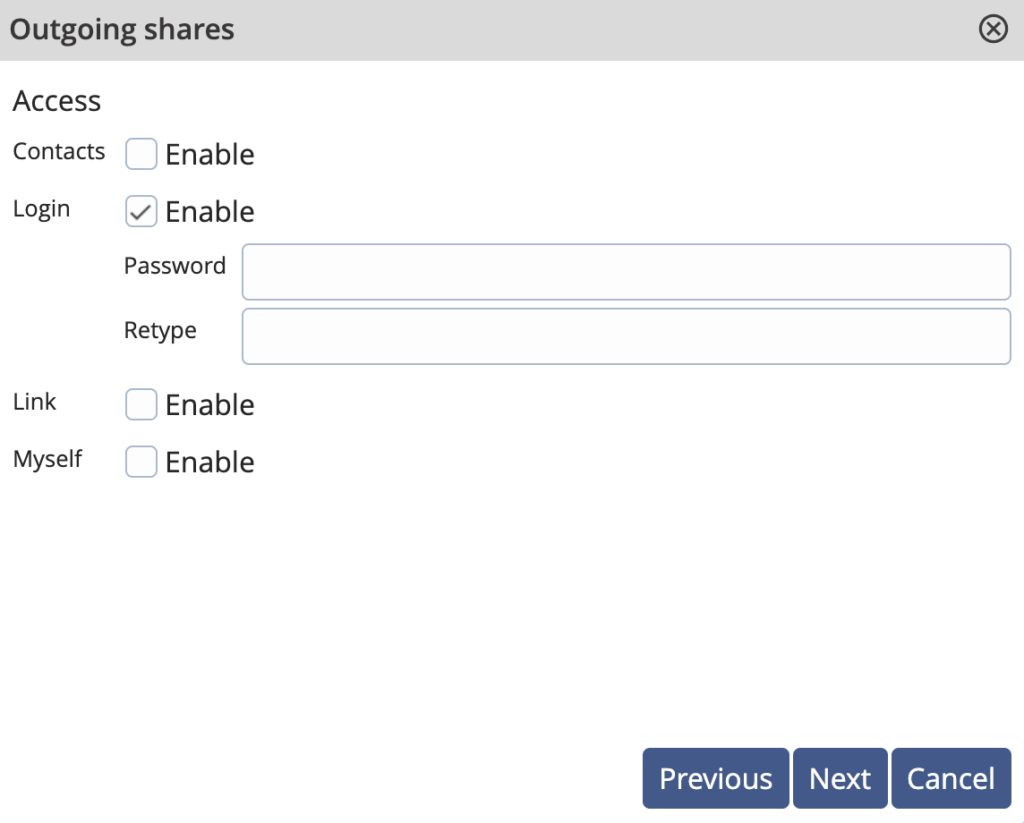
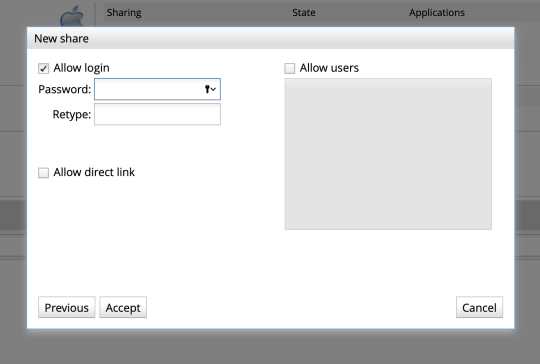
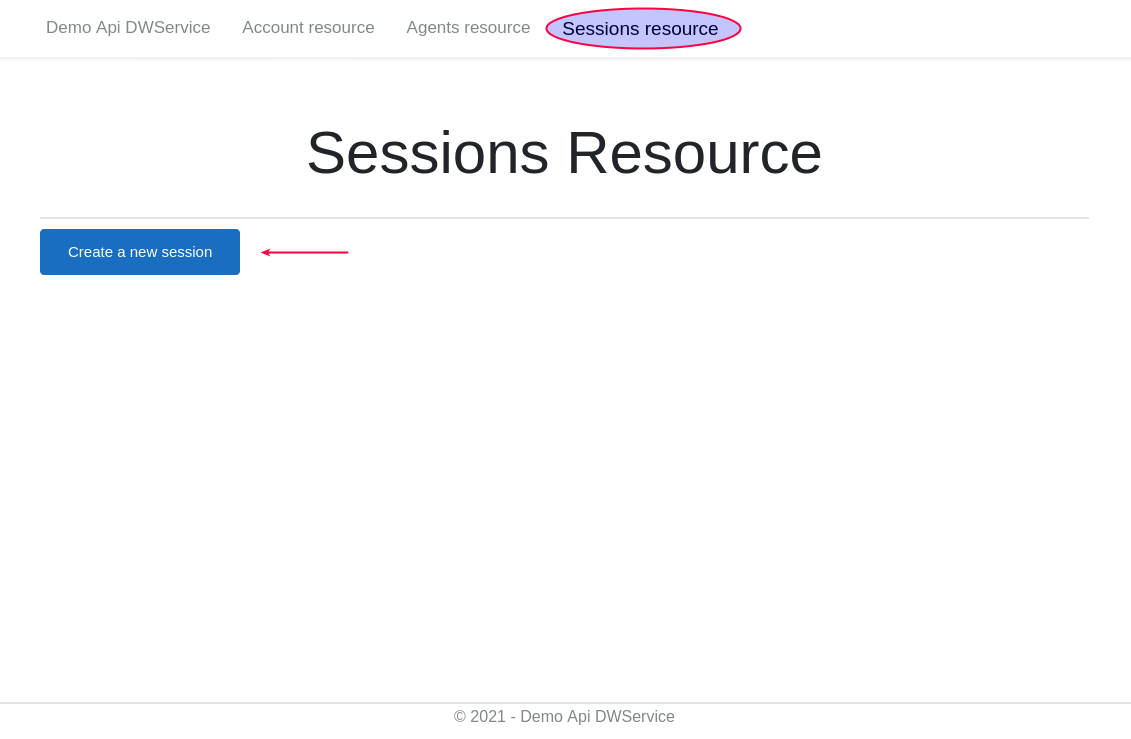
Now you will be presented with sharing methods. For the sake of this example, we’ll take the most common one : a login option. So check Login Enable and type the password of your choice.

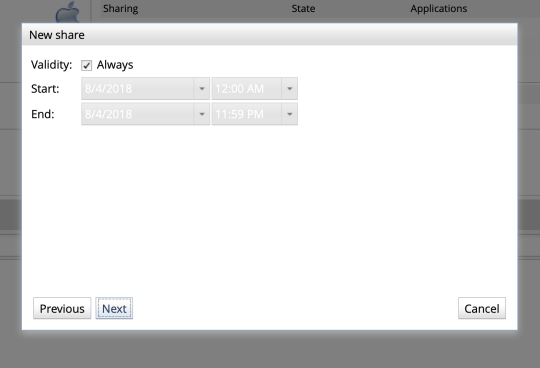
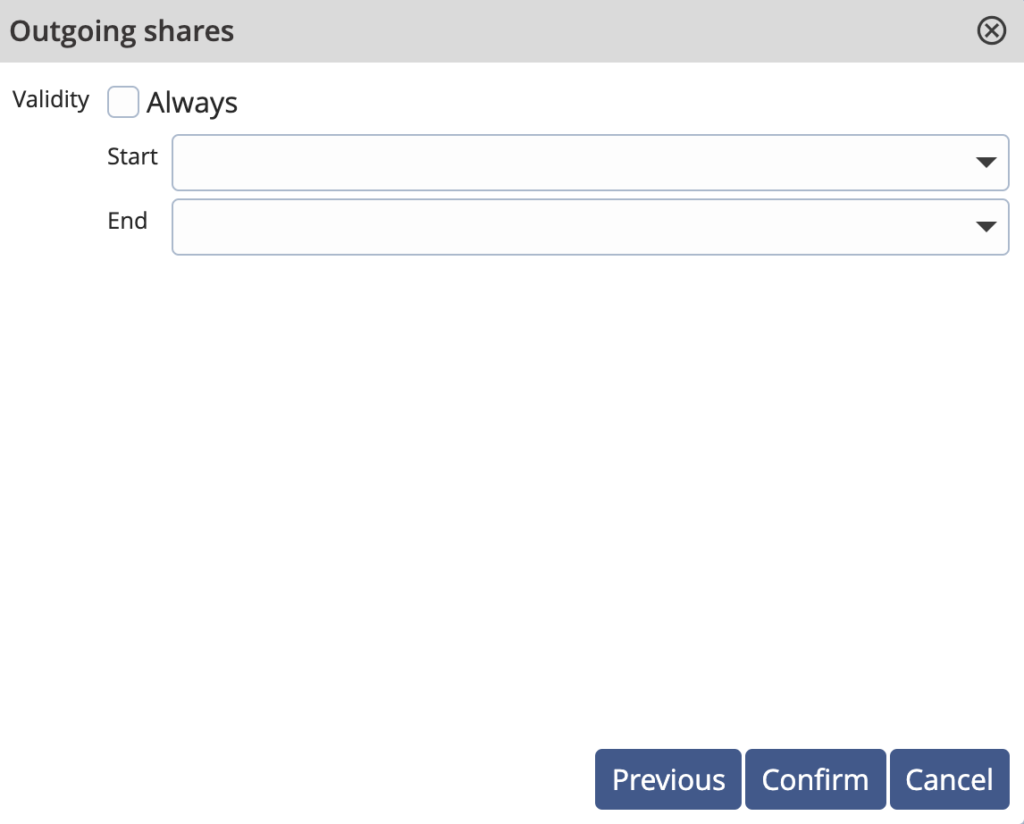
You may after configure the validity of this shared agent. If you want to teporarily share an agent with someone, simply uncheck Validity : Always. Then select a time period.
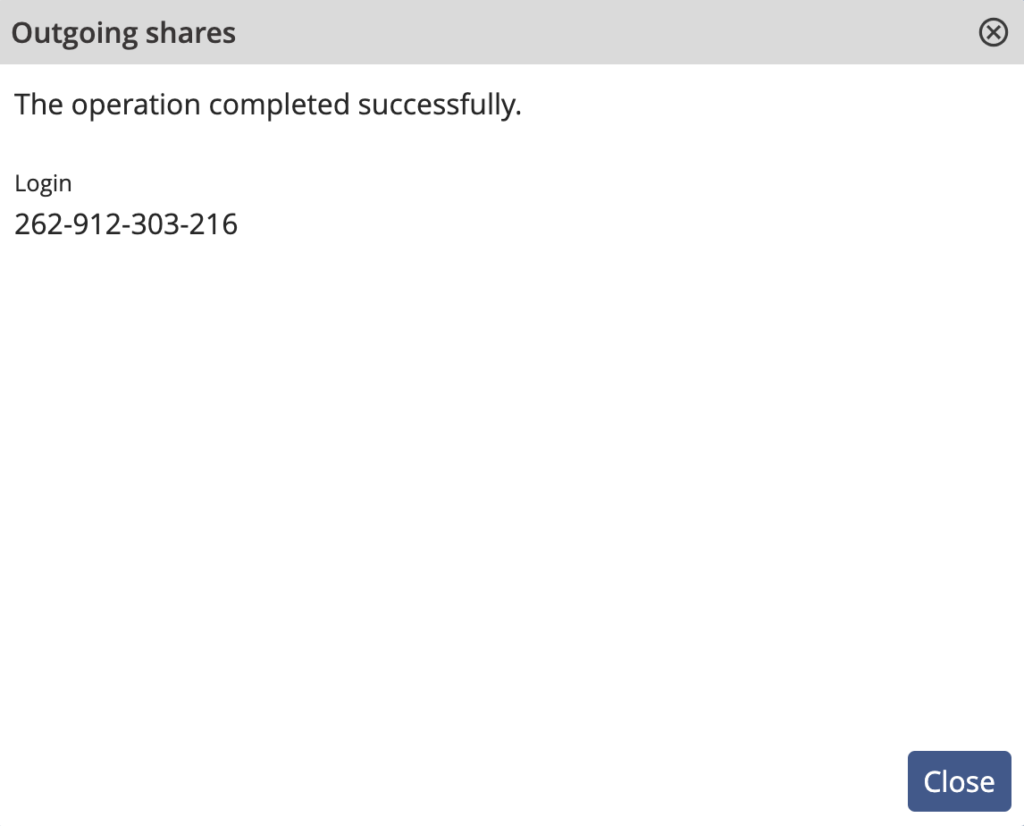
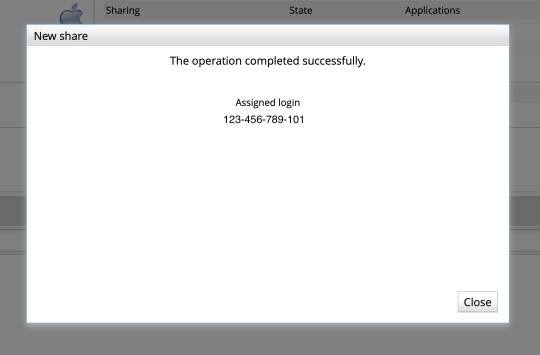
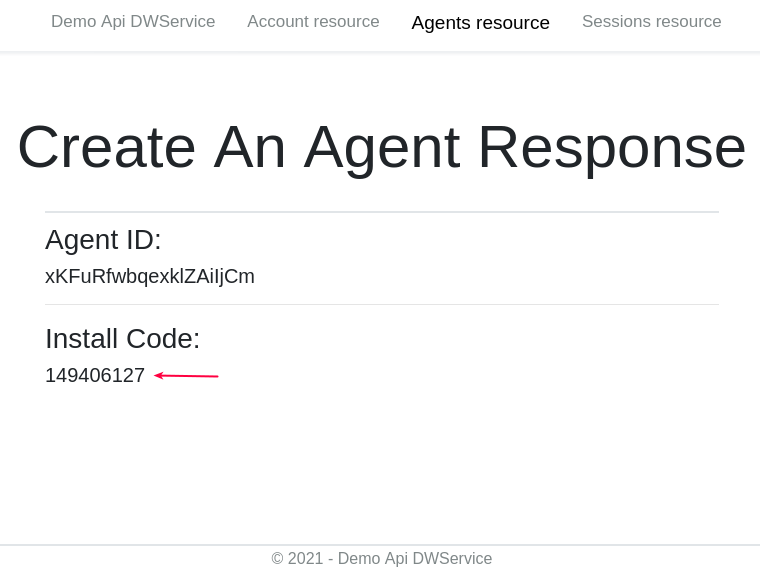
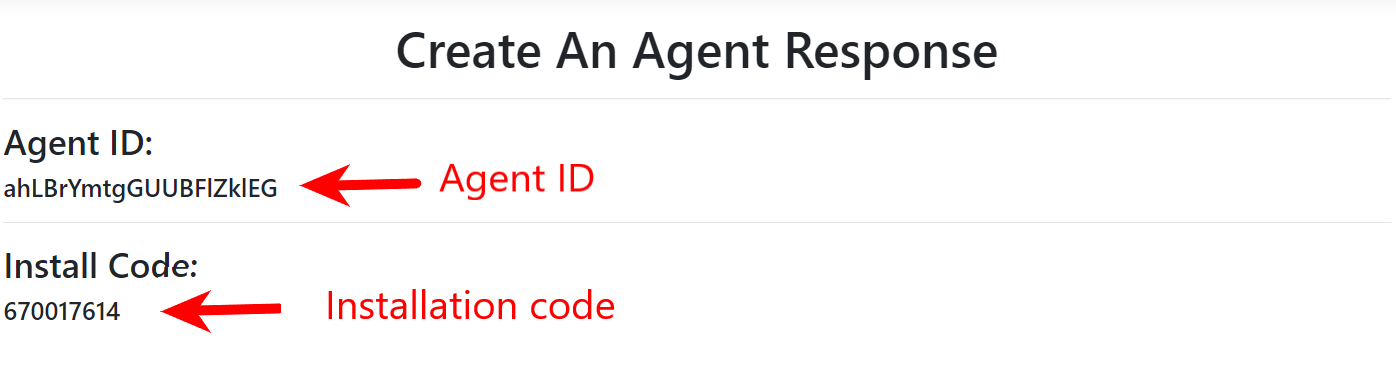
Finally, we will generate for you an ID.
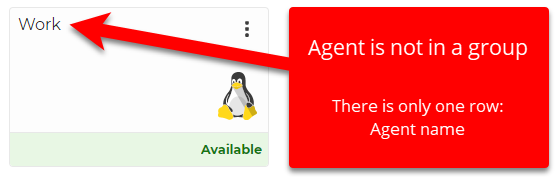
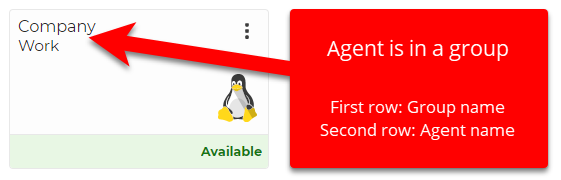
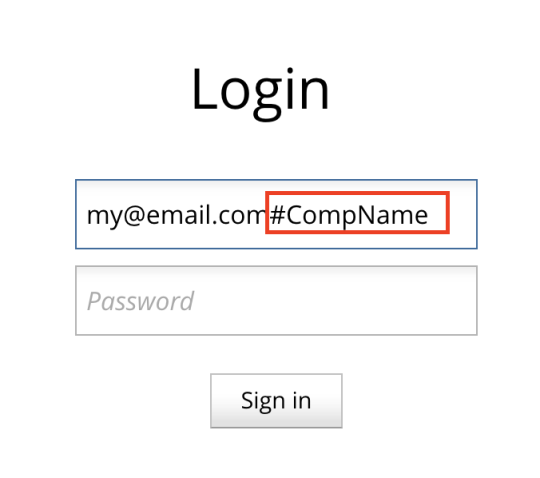
Therefore, someone else will be able to access this shared agent by ogin in www.dwservice.net by using that ID and the password that you previously chose.