
In order your Application to be fully functional in all browsers, your Web server needs a SSL certificate. This prerequisite is important is you use the IFrame.
To customize Mac OS installer you need:
- Download the Mac OS installer: dwagent.dmg
- Download the customization script: customize_installer_mac.sh
- Open a Terminal and go to download path.
- Give execute permissions to script: chmod +x customize_installer_mac.sh
- Prepare file install.json and images.
- Execute customize_installer_mac.sh <srcinstaller> <dstinstaller> <files>
(e.g. ./customize_installer_mac.sh dwagent.dmg myinstaller.dmg install.json icon.icns icon.png icon16x16.bmp icon32x32.bmp icon48x48.bmp) - You are now ready to distribute your installer.
To customize Linux installer you need:
- Download the Linux installer: dwagent.sh
- Download the customization script: customize_installer_linux.sh
- Open a Terminal and go to download path.
- Give execute permissions to script: chmod +x customize_installer_linux.sh
- Prepare file install.json and images.
- Execute customize_installer_linux.sh <srcinstaller> <dstinstaller> <files>
(e.g. ./customize_installer_linux.sh dwagent.sh myinstaller.sh install.json image.bmp icon.png icon16x16.bmp icon32x32.bmp icon48x48.bmp) - You are now ready to distribute your installer.
Requirements
- PHP 7 (or later)
This example use hash_hmac function for authentication, if you do not have it, set $this->authtype=””; in the file dwsapi.php
Setting up the demo platform
- Download this file: php_example.zip
- Extract the files to the web server folder
- Edit the file
config.php:Set your authentication for :
$dwsapiKey
$dwsapiSecret
(Refer to the section Authentication)Set
$dwsapiPostMessageOriginwith your domain url
e.g.https://www.company.com
e.g.https://127.0.0.1
e.g.https://localhost… - Open
index.phpfrom your web browser
e.g.https://127.0.0.1/php_example/index.php - Click “Account” example:
- Add services, 5 Agents and 1 Channel:
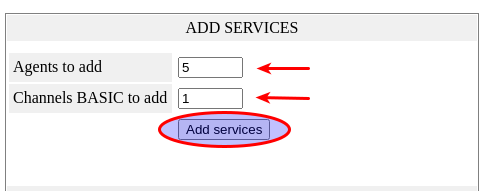
- Now you are ready to test it
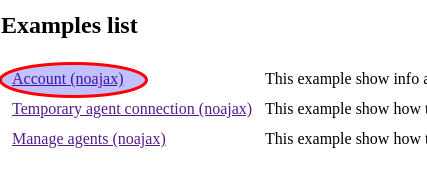
Here an overview of the examples:
Discovering the demo platform
Account example
This example shows information about your API account. You can see your credit balance, your active services (channels and agents), the monthly costs, the price list and the credit transactions. Besides, from this example you can add and remove services.
Temporary agent connection example
This example illustrates how to connect to a temporary agent (no need to actually install the agent). Unlike the standard DWService installer, there is a “run only” option that generates user and password. A code is required to start the connection so you need to make a custom installer (see customize the installer runputcode=true).
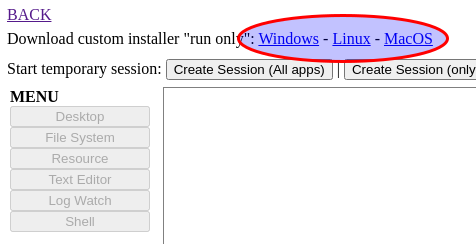
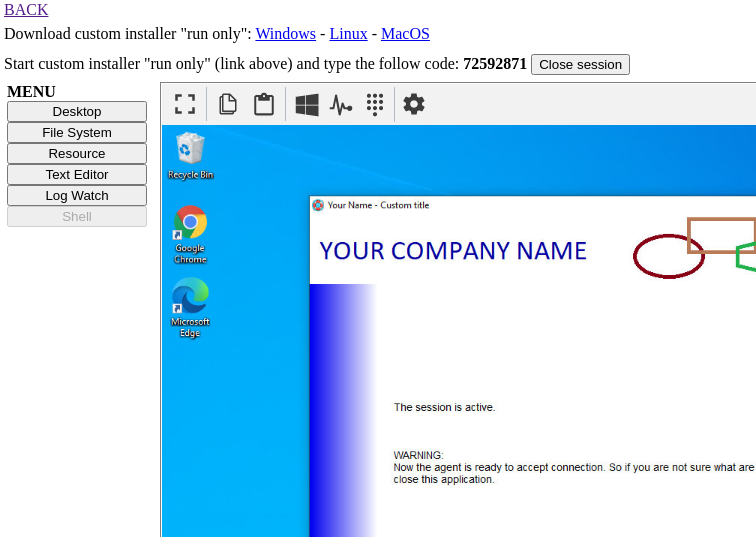
To start a temporary session you have to click on one of the three Create session buttons:
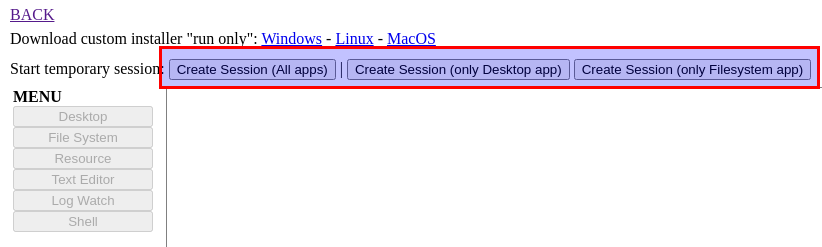
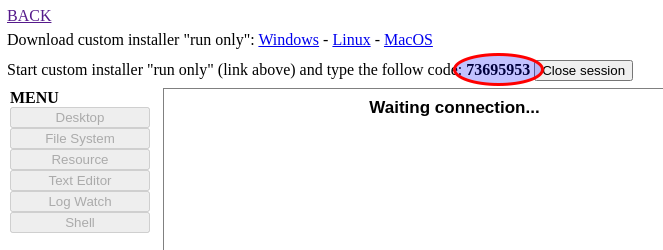
When you create a new session, it will generate a code that you need to copy and paste in the custom agent
Now you need to execute the Agent on the PC or Mac you want to connect with. So you have to download the custom installer for your OS :
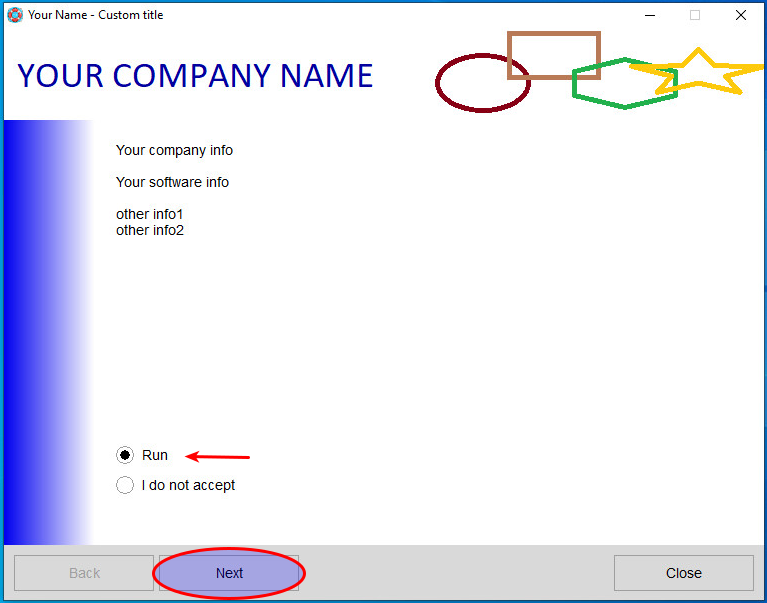
Execute the installer and choose the Run option.
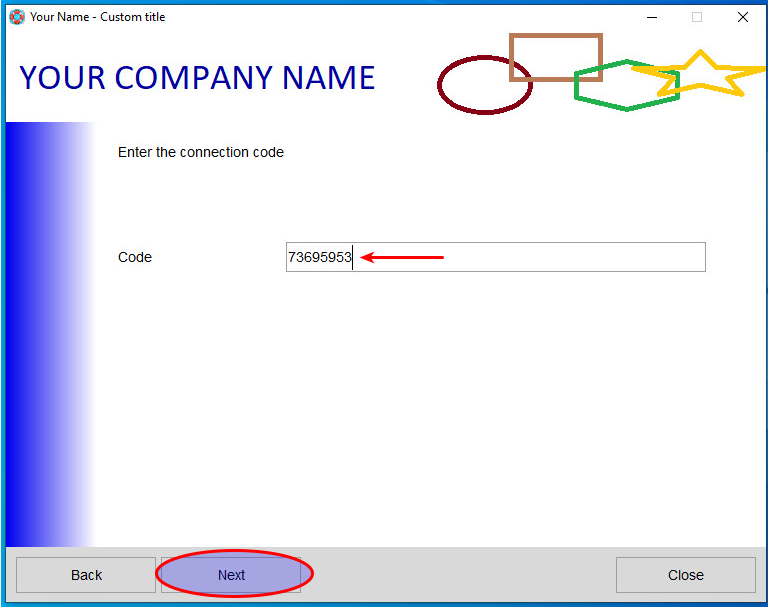
To start a session, you have to paste the code and click Next button.
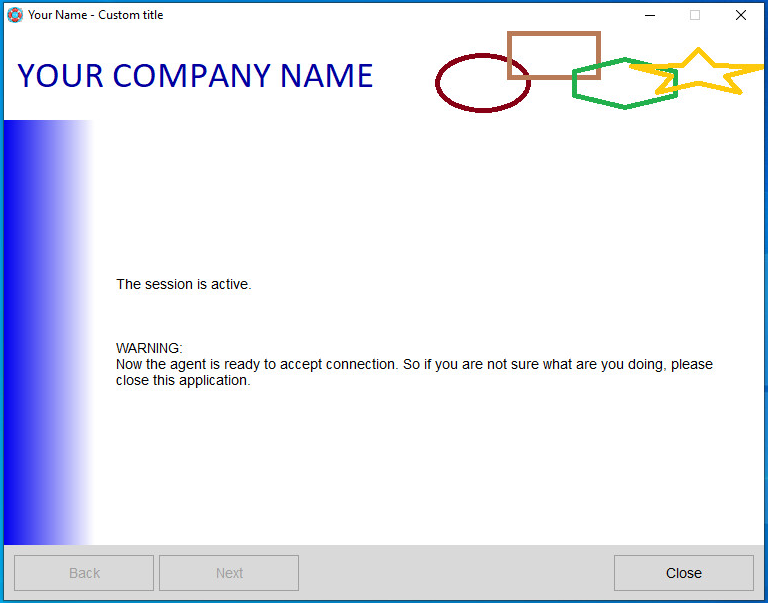
Finally the session is active and you will see the remote desktop on your web page.
Manage agents example
This example shows how to create, remove and install agents. After the agents has been installed, you can connect to it inside an IFrame or in a new window.
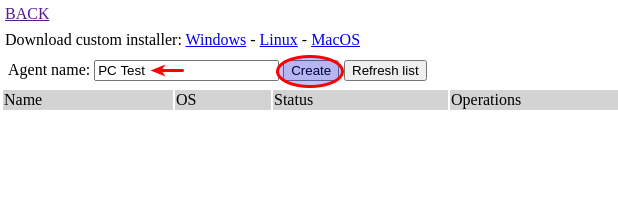
To begin, you have to create a new Agent then set a name and click the Create button:
You will see the Agent created and the “install code”. This is the code you have to use in order to initiate the Agent.
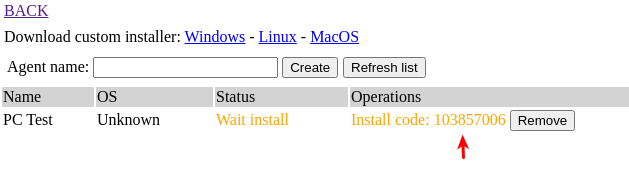
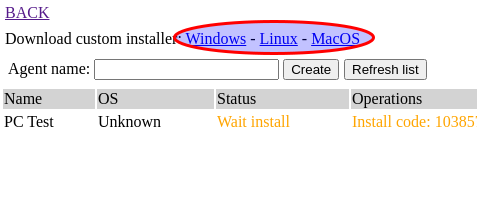
Now you need to install the Agent on the PC or Mac you want to connect with. So you have to download the custom installer for your OS:
Execute the installer and choose the Install option.
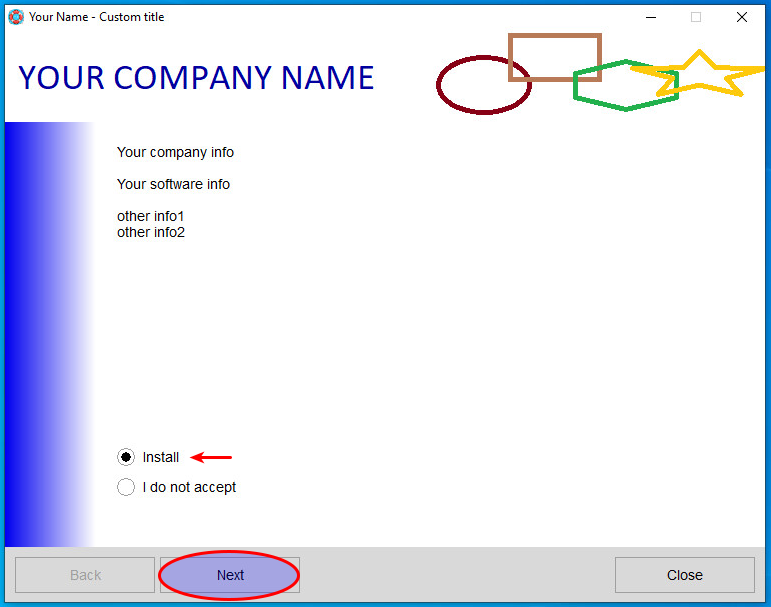
To complete to installation you have to put the install code and click the Next button.

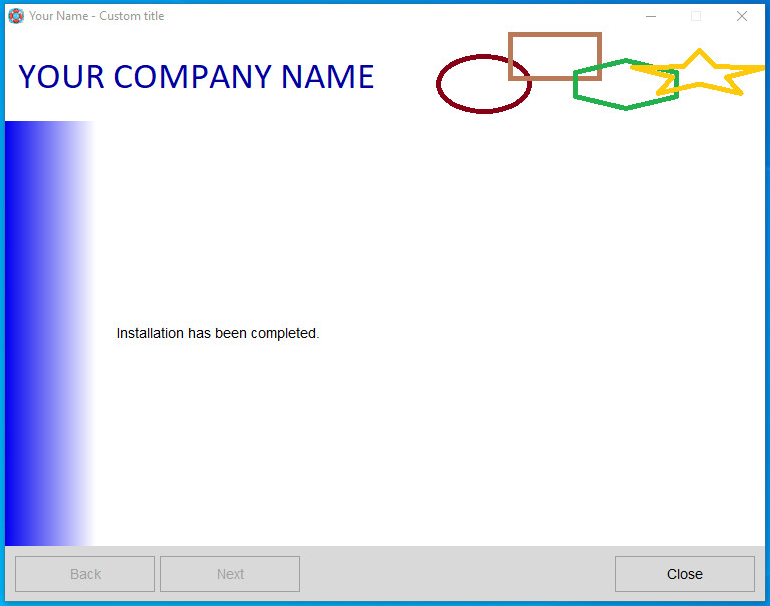
From your web page, click Refresh list button and you will see your Agent status go online.
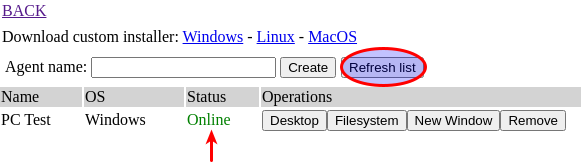
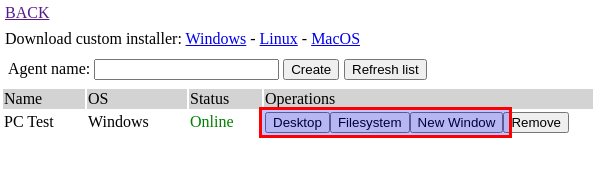
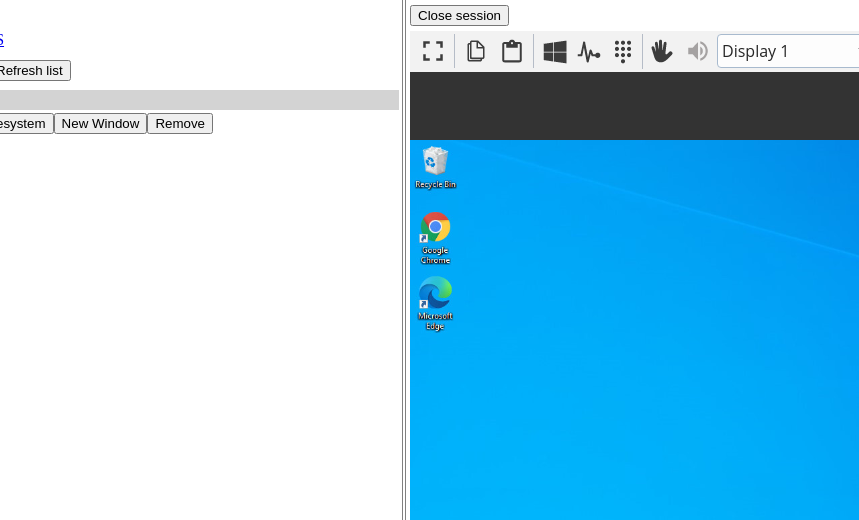
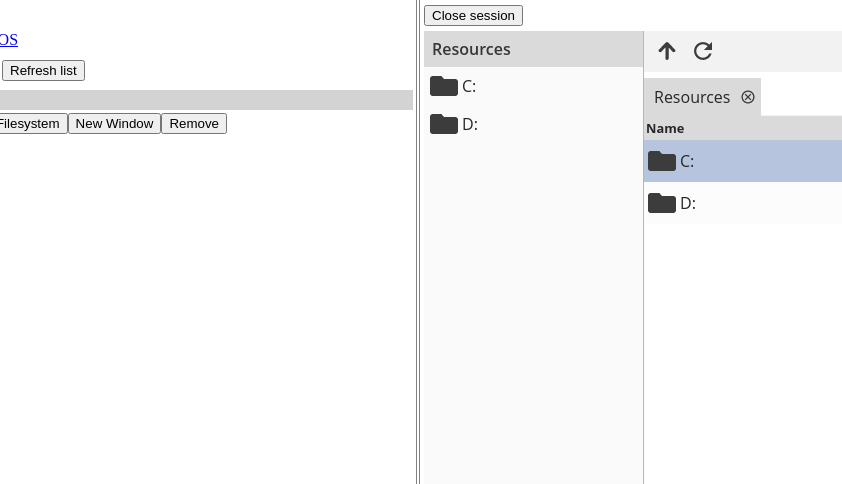
To start a session in your web page click the Desktop or the FileSystem button or if you want to initiate a session within new browser window, click the New Window button:
Before you start with examples, you need to create an API account. By doing so, you can generate an API Key in order to authenticate in our system. Please refer to the Authentication section.
Your Web server needs a SSL certificate for these examples to be fully functional in all browsers.
This section provides suggestions and solutions that you can use to find the cause of the problem and the solution.
The following possibilities are currently available:
install.json file:
{
name:
MySoft,
mainurl:
https://www.apiremoteaccess.com/,
listenport: 7956,
title:
My Title,
logo:
logo.ico,
topinfo:
My Company\nMy Address,
mode:
run,
runputcode: true,
runtoptext:
info line 1\ninfo line 2
}
or if you want to show your logo on top panel
{
name:
MySoft,
mainurl:
https://www.apiremoteaccess.com/,
listenport: 7956,
title:
My Title,
logo:
logo.ico,
topimage:
image.bmp”,
mode:
install,
installputcode: true
}
To customize Windows installer you need:
- Download the Windows installer: dwagent_x86.exe
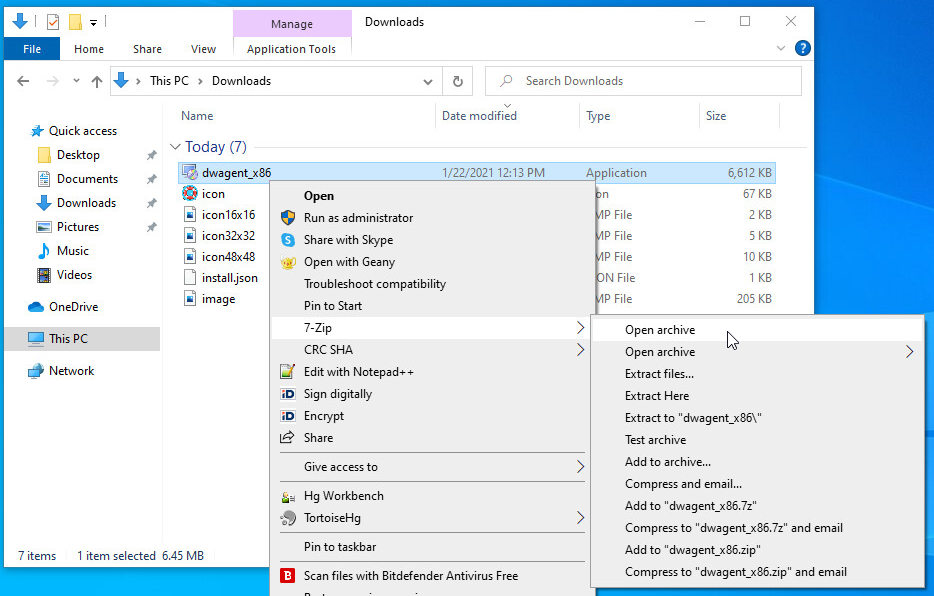
- Download and Install 7Zip.
- Prepare file install.json and images.
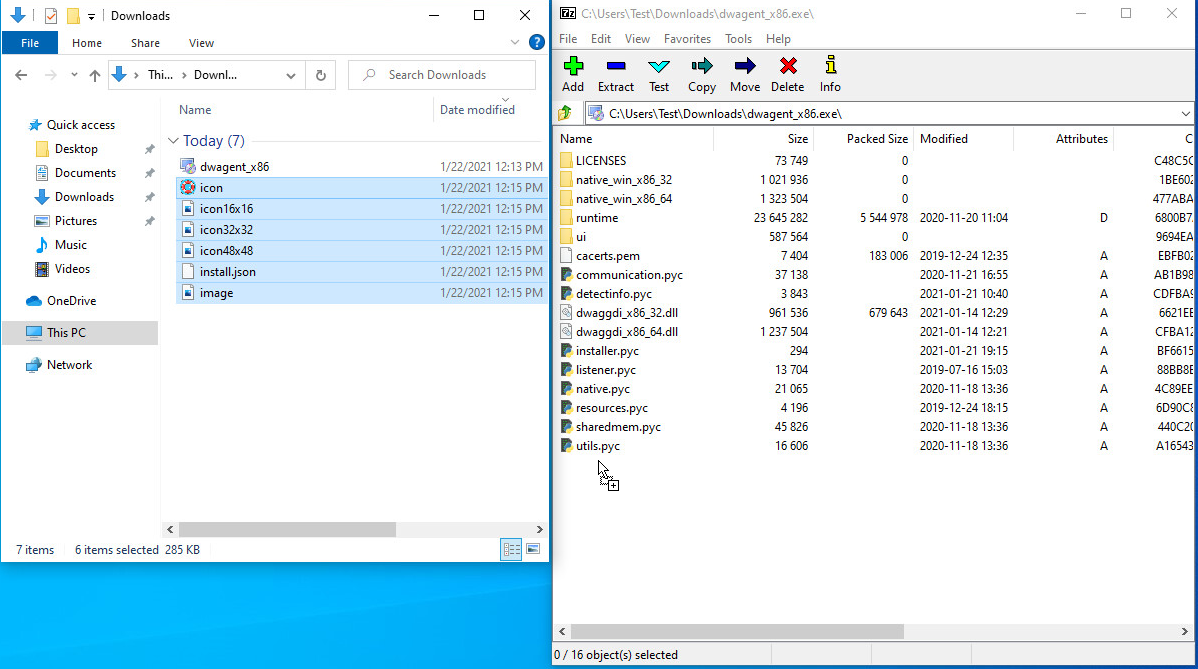
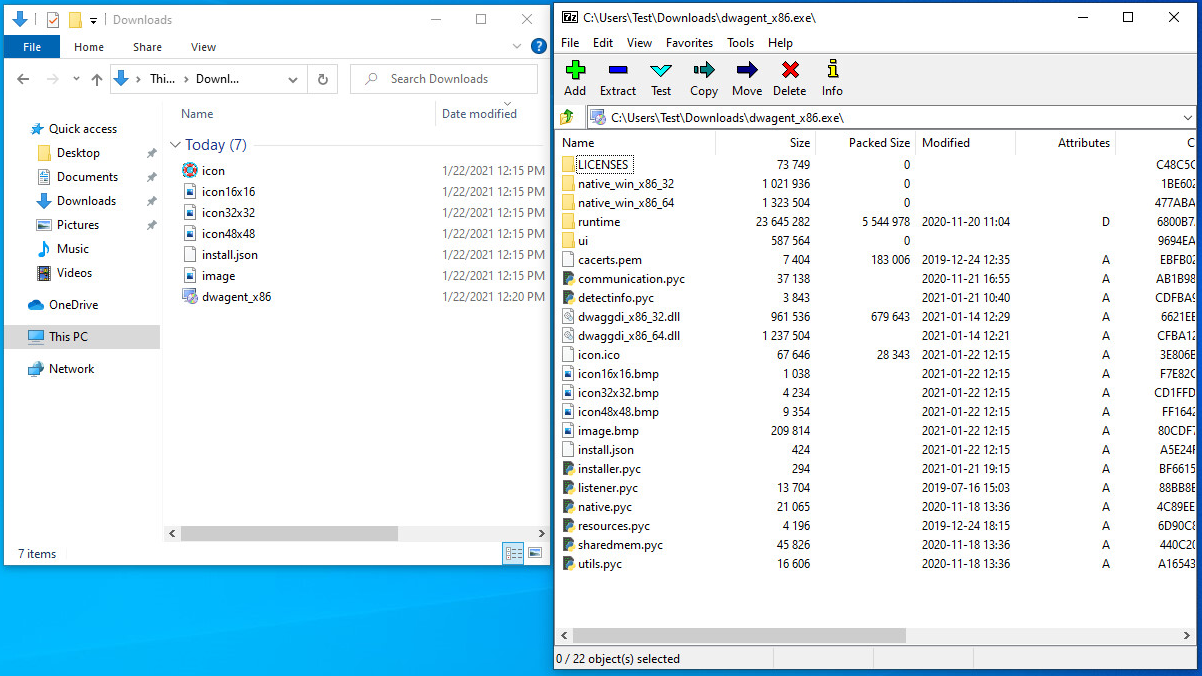
- Open dwagent_x86.exe with 7Zip Manager.
- Drag and drop install.json and images inside to 7Zip Manager window (root folder).
- Close 7Zip Manager window
- Rename dwagent_x86.exe as you prefer
- You are now ready to distribute your installer.
It is strongly recommended buy a code sign in order to sign your installer.
When injecting a file inside on dwagent.exe some antivirus like Avast and AVG will probably pick it up. So we suggest to submit your installer to be whitelisted by antivirus companies. Here are some links:
After your file has been submitted, wait a few days before publishing the installer on your site.
You can change the dwagent installer in order to modify some text elements, hide some options, show your company logo and change service and process name. To do that you have to inject the file install.json and images inside of installation package. These are the configurations you can set:
| name: | Change name of program: - installation path - start menu name - service name - process name (don’t use space or special chars) |
| mainurl: | Set this to https://www.apiremoteaccess.com/ (do not forget / at ends). In this way agent send all requests to apiremoteaccess.com instead of dwservice.net |
| listenport: | Is for future use (default dwagent port is 7951 you can use a different value e.g. listenport: 7952) |
| title: | Change window title of installer (you have to inject logo inside of installation package) |
| logoxos: | Change logo for your OS: Linux: png format 64x64 pixels. Mac OS: icns format. Windows: ico format 16x16,32x32,48x48,64x64 pixels. |
| logo16x16: | Logo in bmp format 16x16 pixels. |
| logo32x32: | Logo in bmp format 32x32 pixels. |
| logo48x48: | Logo in bmp format 48x48 pixels. |
| lang: | Force the installation language. (e.g. en, it, pt, de, ...) |
| topinfo: | Show the text on top of installer window. (use \n to start a new line). |
| topimage: | Show the image on top of installer window. Image bmp format 760x70 pixels. (you have to inject image inside of installation package). |
| leftcolor: | Change the color of left panel. (value is hexstring like 83e5ff) |
| welcometext: | Show the text on welcome page. (use \n to start a new line) |
| mode: | run/install (show only run or only install option) |
| installputcode: | true/false valid if mode=install. Show only "put code" option in installation (please always set true) |
| runputcode: | true/false valid if mode=run. Enable user to put connection code when run the installer |
| runtoptext: | Change text on top of run panel. (use \n to start a new line). |
| runbottomtext: | Change text on bottom of run panel. (use \n to start a new line). |
The file install.json must be in JSON representations. All the images must be bitmap file (.bmp) except logoxos.