Requirements
- PHP 7 (or later)
This example use hash_hmac function for authentication, if you do not have it, set $this->authtype=””; in the file dwsapi.php
Setting up the demo platform
- Download this file: php_example.zip
- Extract the files to the web server folder
- Edit the file
config.php:Set your authentication for :
$dwsapiKey
$dwsapiSecret
(Refer to the section Authentication)Set
$dwsapiPostMessageOriginwith your domain url
e.g.https://www.company.com
e.g.https://127.0.0.1
e.g.https://localhost… - Open
index.phpfrom your web browser
e.g.https://127.0.0.1/php_example/index.php - Click “Account” example:
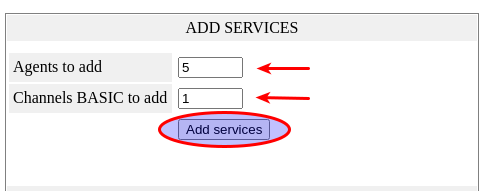
- Add services, 5 Agents and 1 Channel:
- Now you are ready to test it
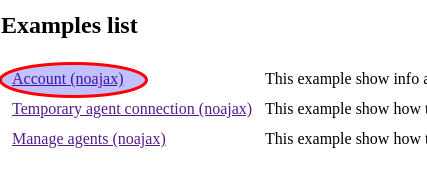
Here an overview of the examples:
Discovering the demo platform
Account example
This example shows information about your API account. You can see your credit balance, your active services (channels and agents), the monthly costs, the price list and the credit transactions. Besides, from this example you can add and remove services.
Temporary agent connection example
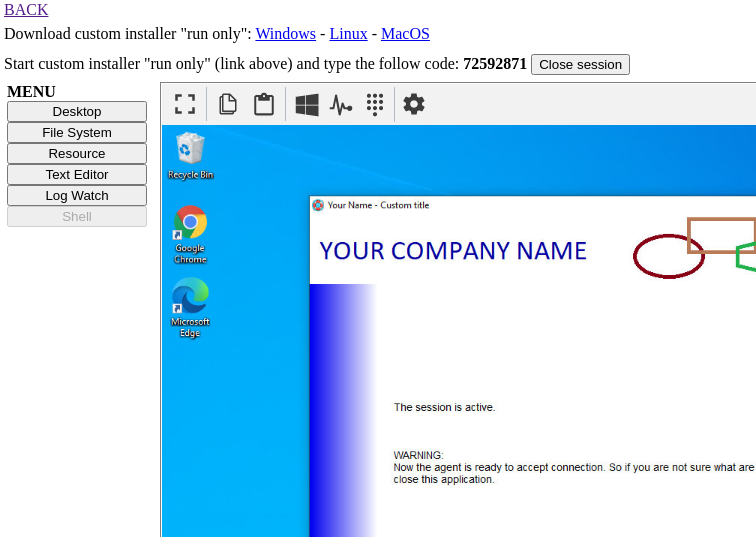
This example illustrates how to connect to a temporary agent (no need to actually install the agent). Unlike the standard DWService installer, there is a “run only” option that generates user and password. A code is required to start the connection so you need to make a custom installer (see customize the installer runputcode=true).
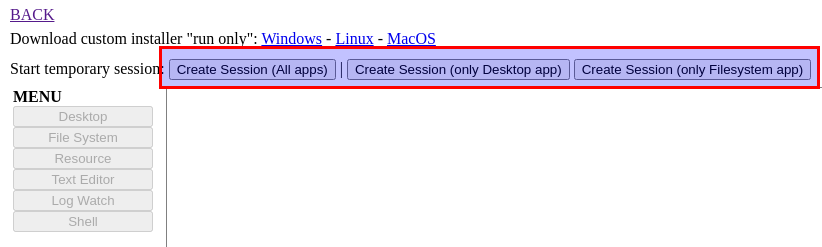
To start a temporary session you have to click on one of the three Create session buttons:
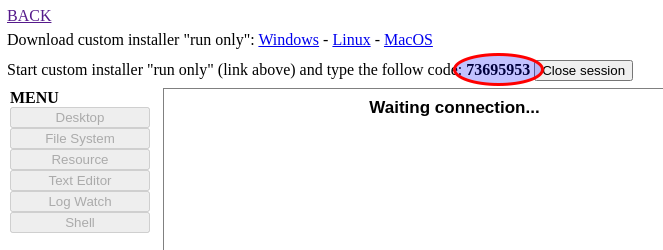
When you create a new session, it will generate a code that you need to copy and paste in the custom agent
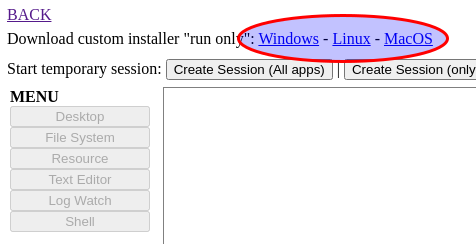
Now you need to execute the Agent on the PC or Mac you want to connect with. So you have to download the custom installer for your OS :
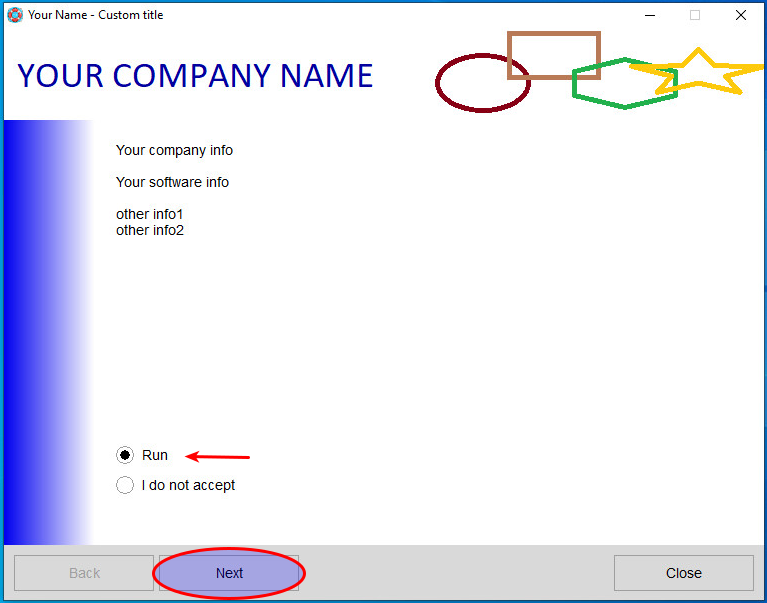
Execute the installer and choose the Run option.
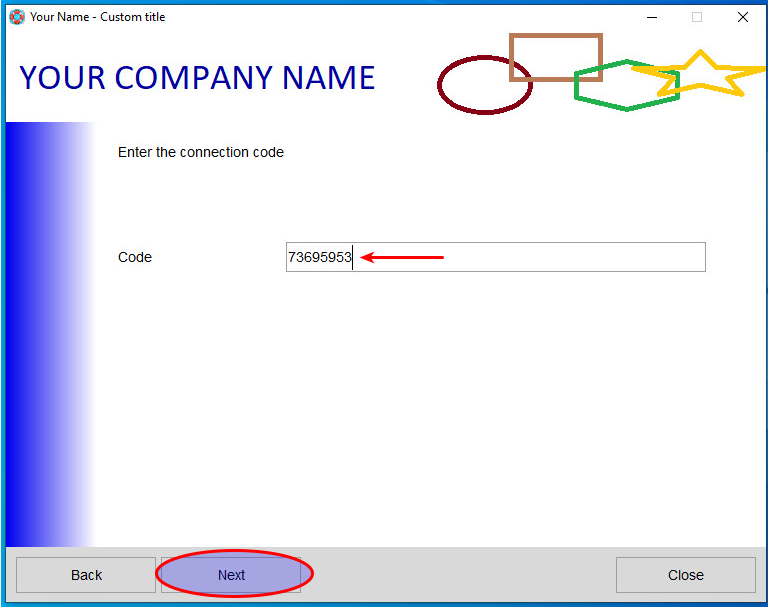
To start a session, you have to paste the code and click Next button.
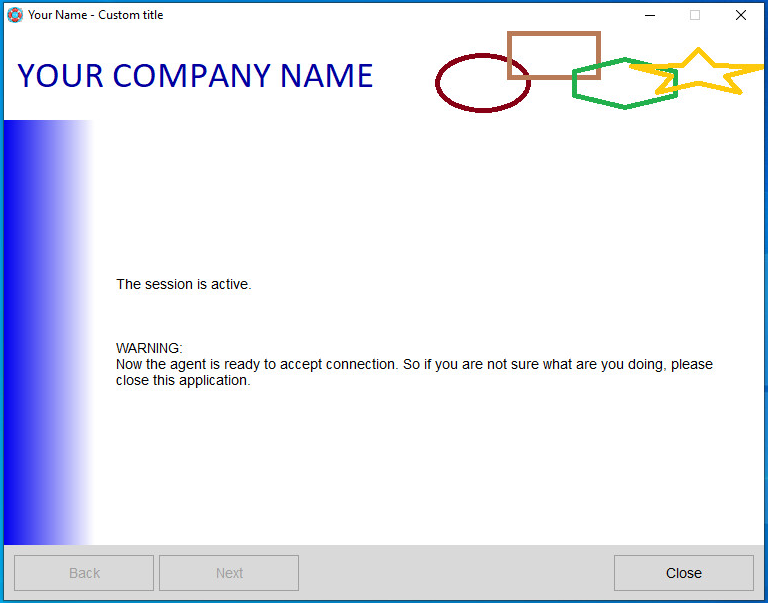
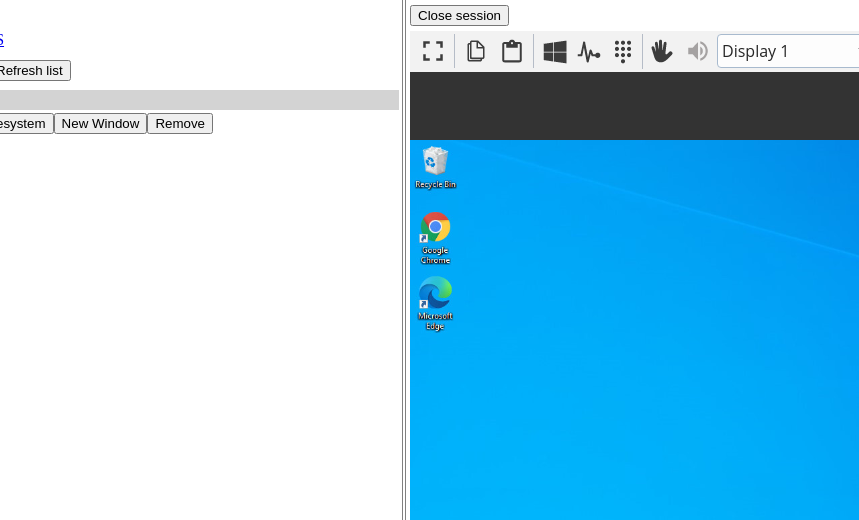
Finally the session is active and you will see the remote desktop on your web page.
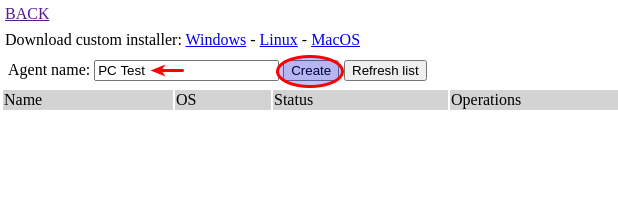
Manage agents example
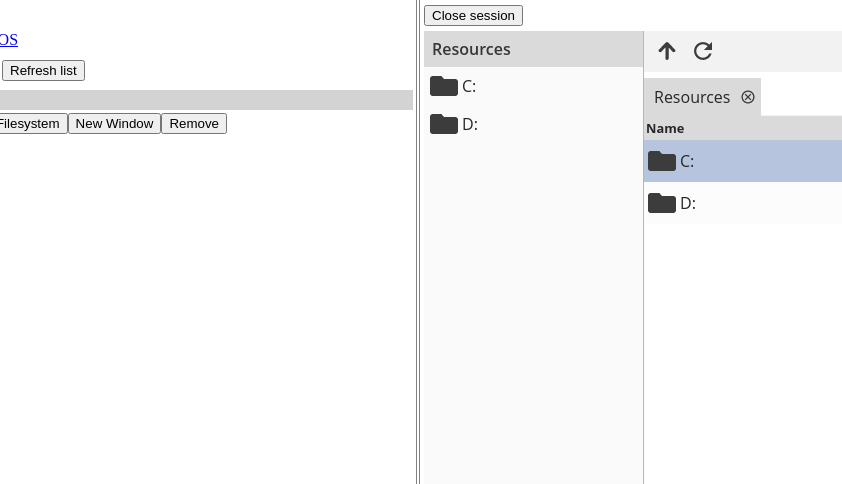
This example shows how to create, remove and install agents. After the agents has been installed, you can connect to it inside an IFrame or in a new window.
To begin, you have to create a new Agent then set a name and click the Create button:
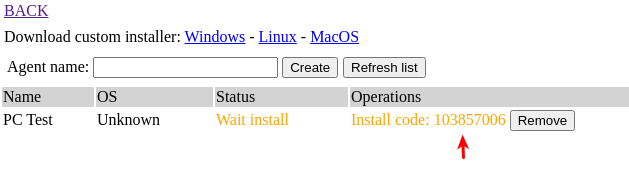
You will see the Agent created and the “install code”. This is the code you have to use in order to initiate the Agent.
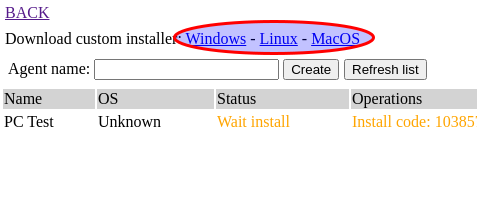
Now you need to install the Agent on the PC or Mac you want to connect with. So you have to download the custom installer for your OS:
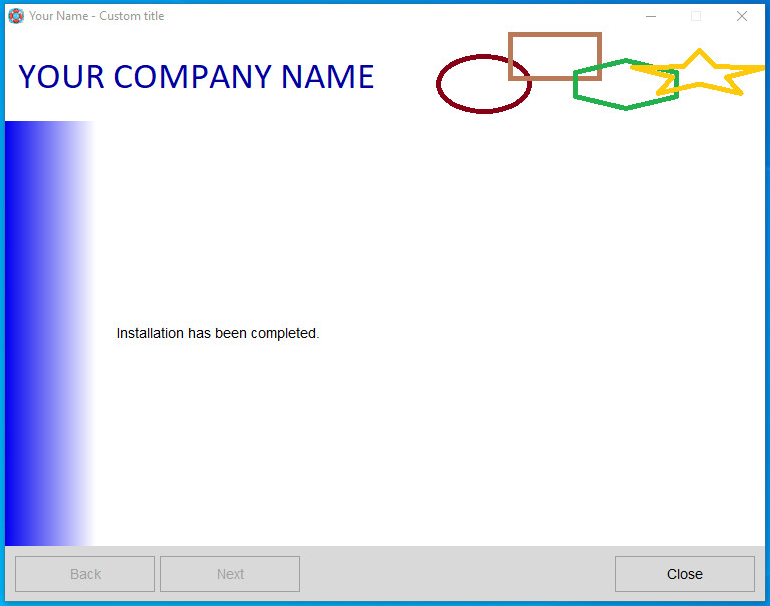
Execute the installer and choose the Install option.
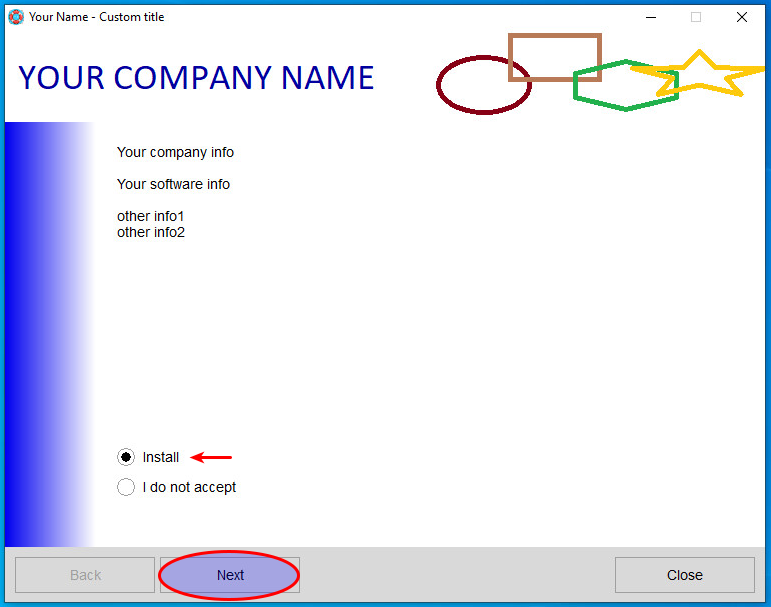
To complete to installation you have to put the install code and click the Next button.

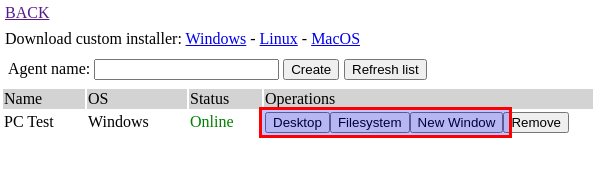
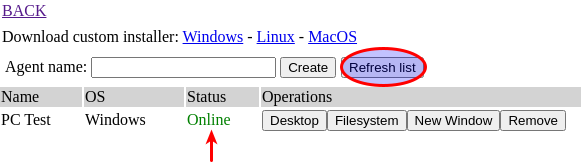
From your web page, click Refresh list button and you will see your Agent status go online.
To start a session in your web page click the Desktop or the FileSystem button or if you want to initiate a session within new browser window, click the New Window button: