In case you choose this installation method, you should follow our next guide, step-by-step.
Visit our website: https://www.dwservice.net
1. Login to your account. You can read more about the login process here: Login
Your dashboard appears:
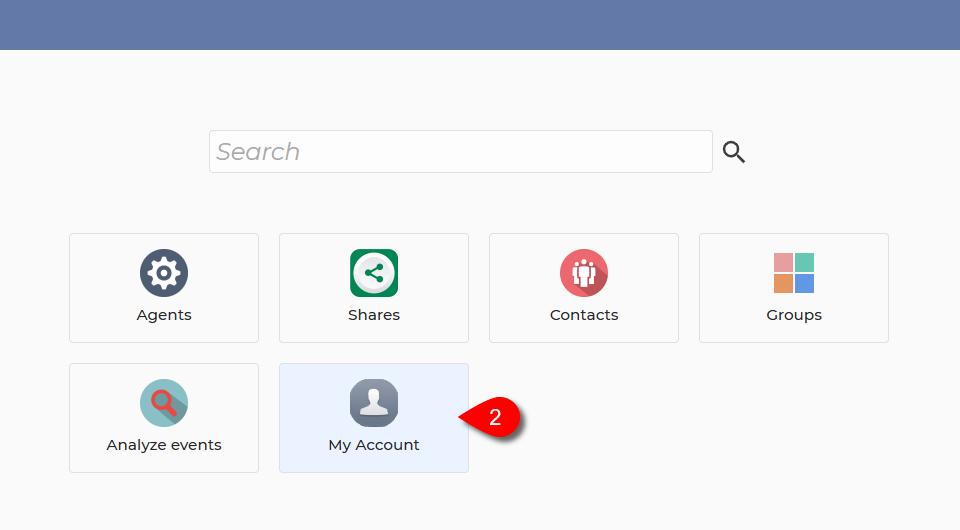
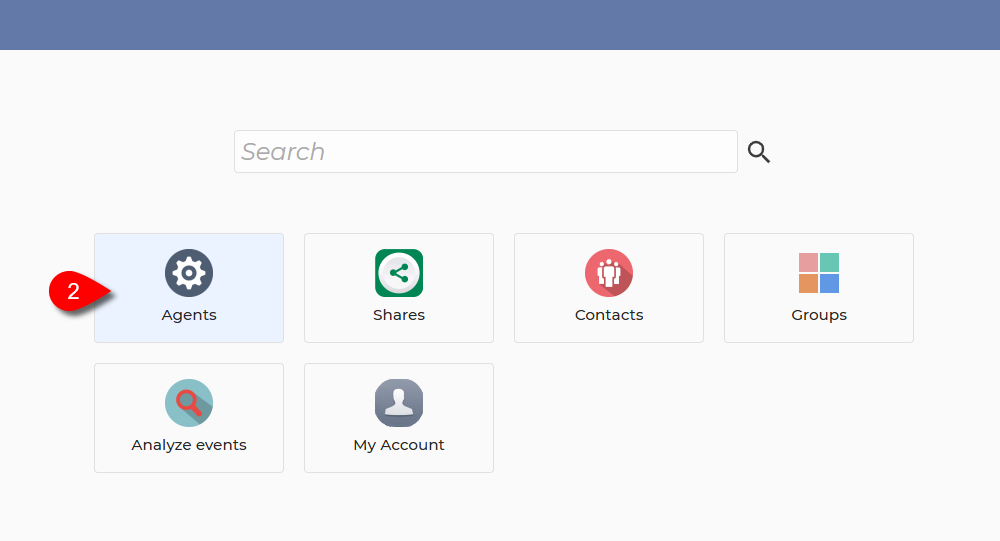
2. On your Dashboard, select My Account.
After selecting My Account, this will be displayed:

3. From the menu on the left, select Account.
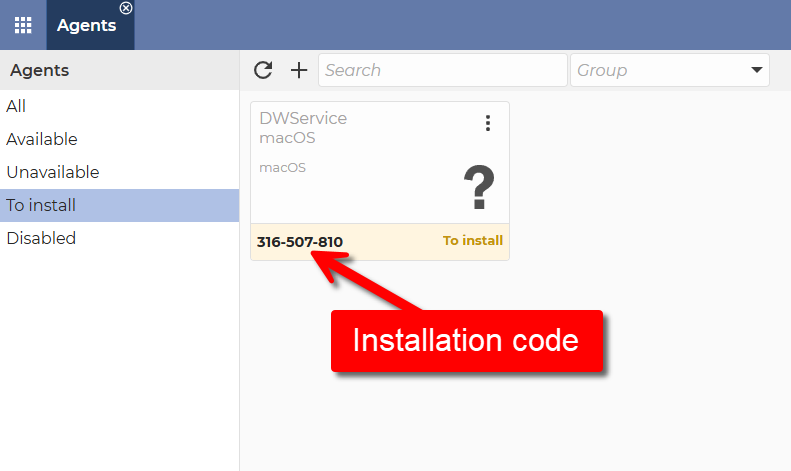
4. Enter the Agent installation password, which you will be asked to enter when you install the Agent.
📖 You can read more about the Agent installation password here: Installation password
⚠️ Important: For security reasons, this password cannot be the same as your account password. Choose a different password.
5. To save the password, click on the Update credentials button.
The following window will appear:
6. Click on the Ok button.
Now let’s see how to install the Agent.
Download the Agent installer for your device from our download page (https://www.dwservice.net/download.html).
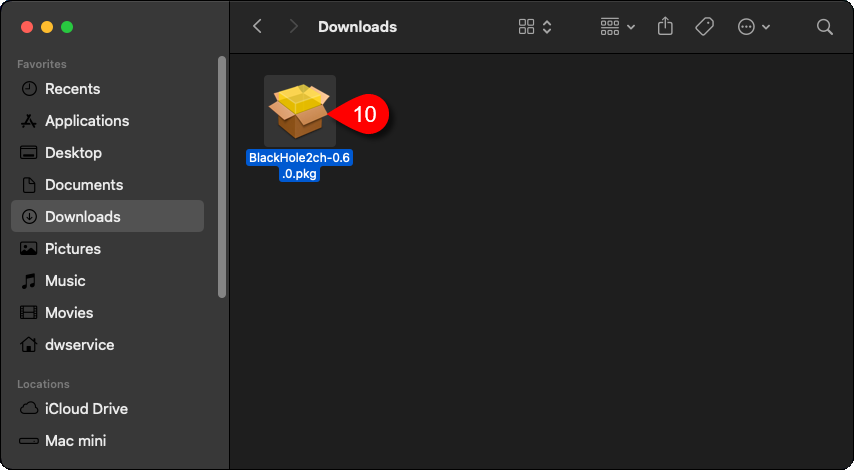
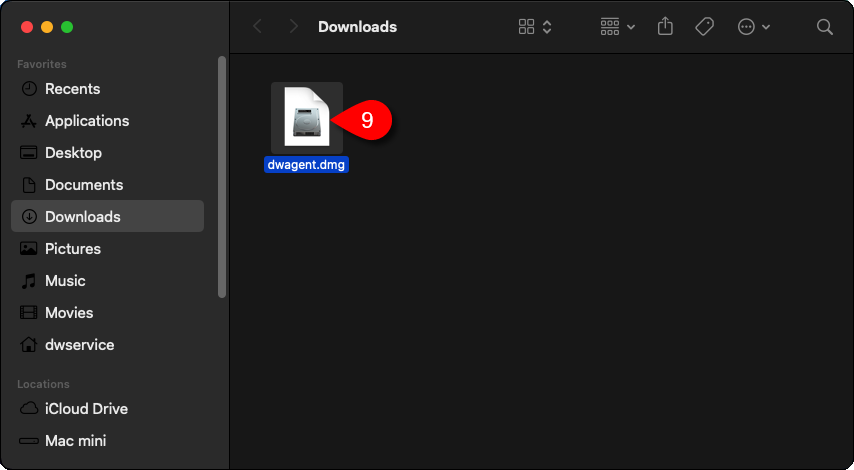
Open the folder where you downloaded the Agent. By default, the Downloads folder.
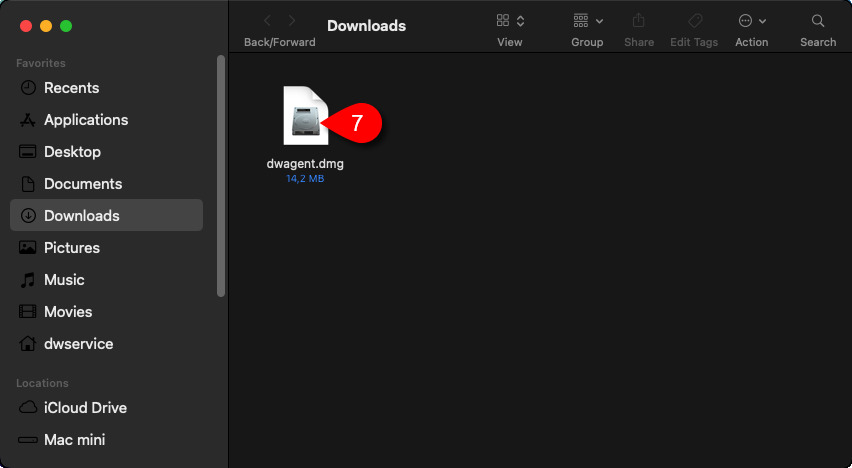
7. Double–click on the downloaded dwagent.dmg file.
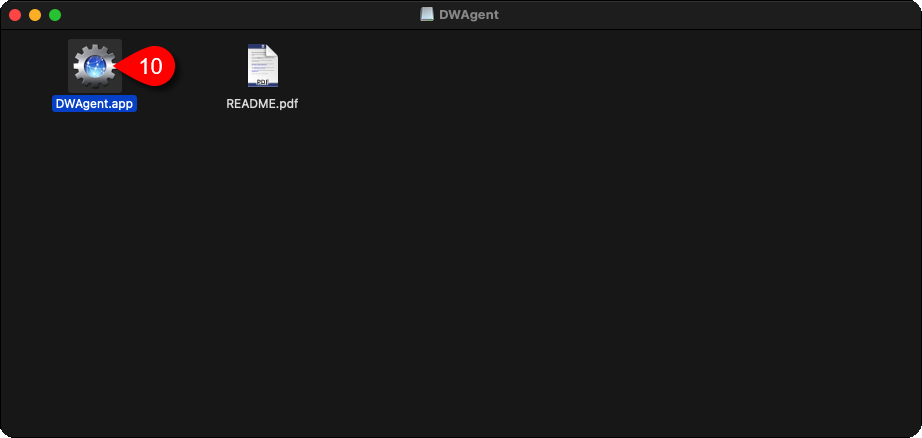
Another window appears on the screen:
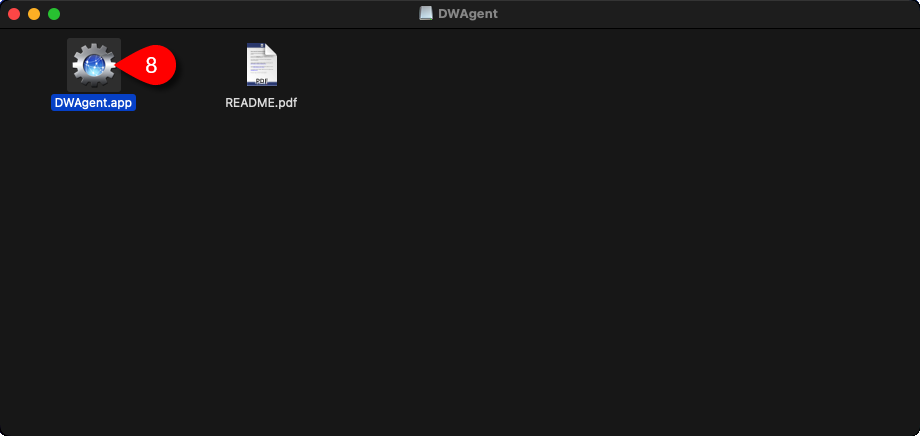
8. Double–click on the DWAgent.app file.
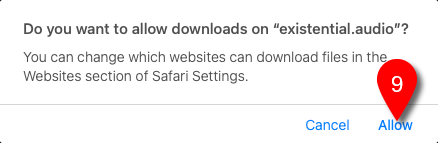
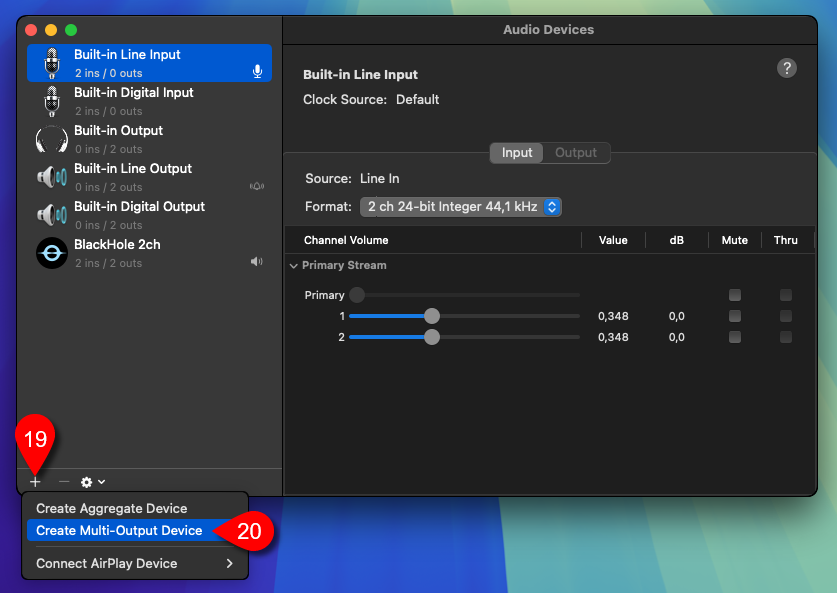
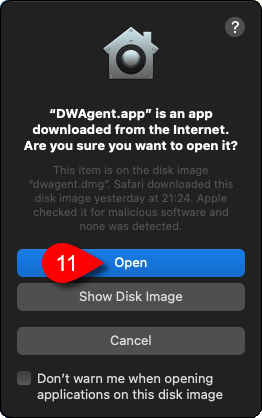
Because you downloaded the file from the Internet, a security warning appears:
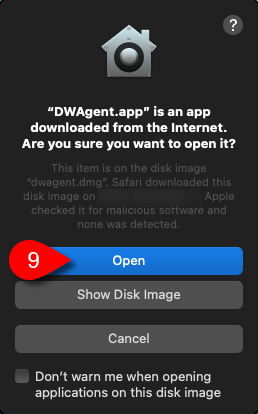
9. Click on the Open button.
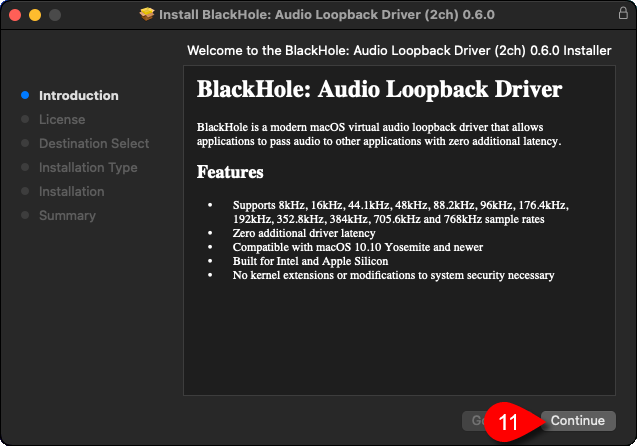
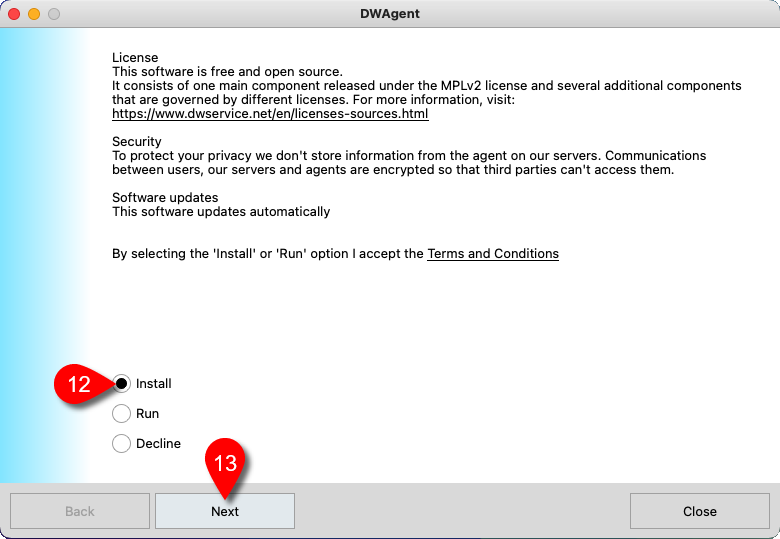
A wizard will be launched to guide you through the installation.
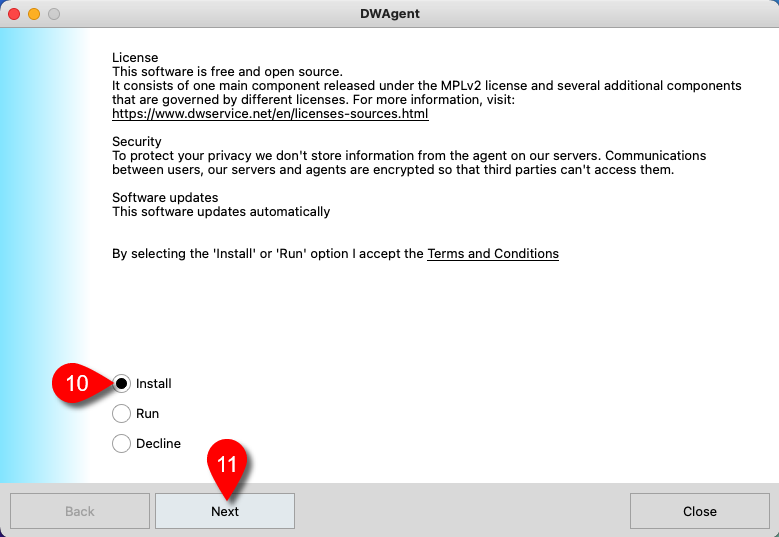
10. From the options, select Install.
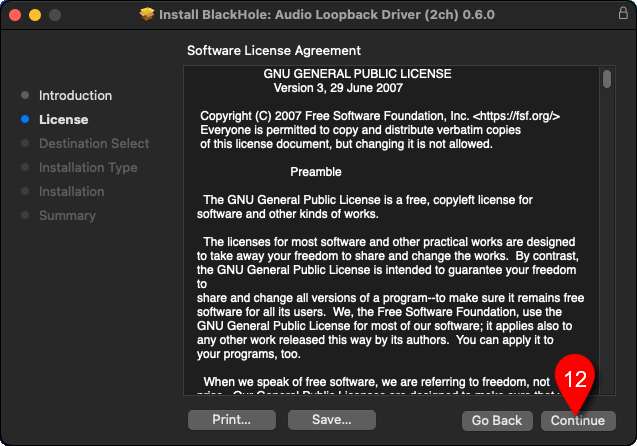
11. Click on the Next button.
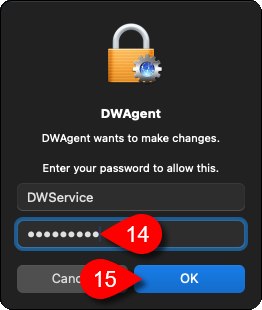
A confirmation window will appear:
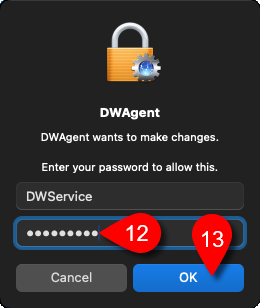
12. Enter the password of your MacOS operating system.
13. Click on the OK button.
Then the wizard appears again:
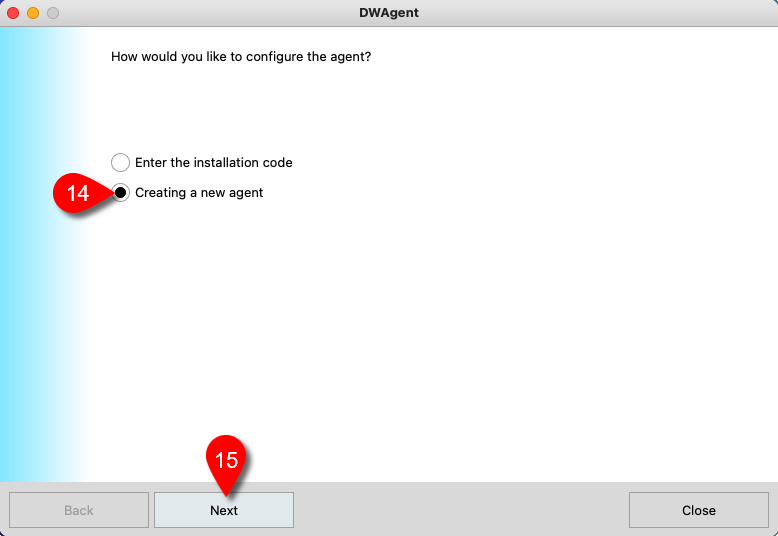
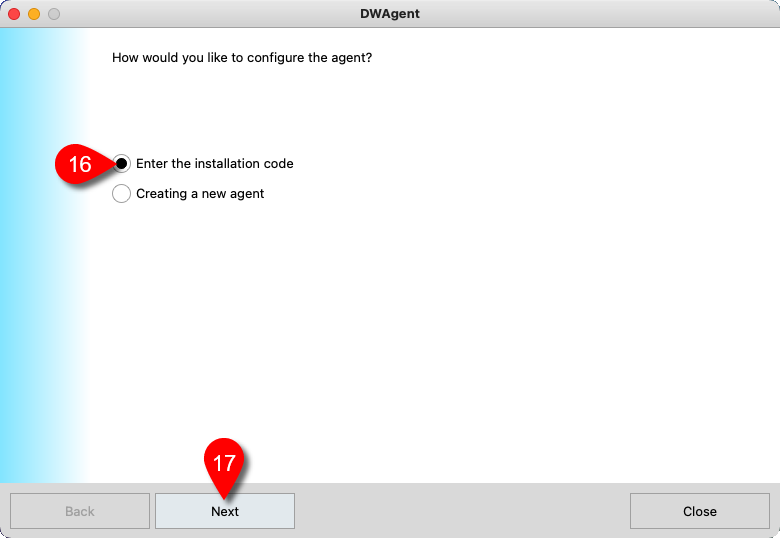
14. From the two installation modes, select the Creating a new agent option.
15. Click on the Next button.
The next page of the wizard is displayed:
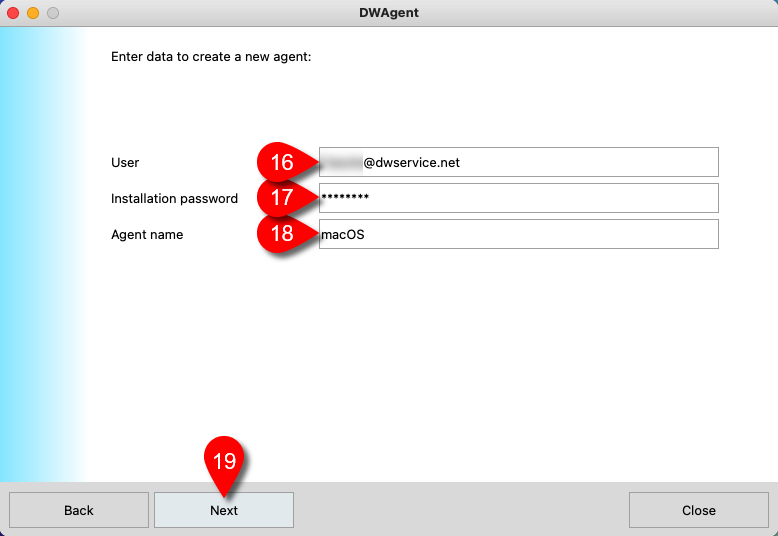
16. Enter your DWService account username (your email address)
17. Enter the Agent installation password. You have previously set this up in your account in the Credentials section. ⚠️ Important: this is not your account password.
18. Enter a name for the Agent you want to create.
19. Click on the Next button.
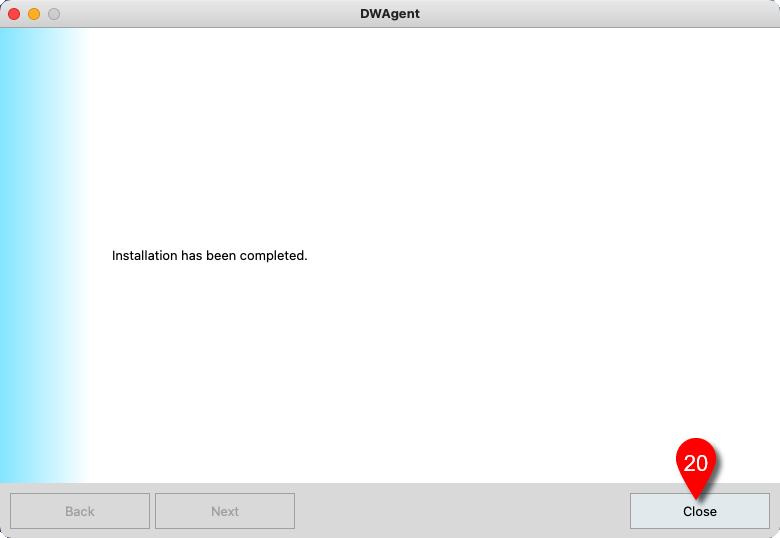
The next page of the wizard is displayed:
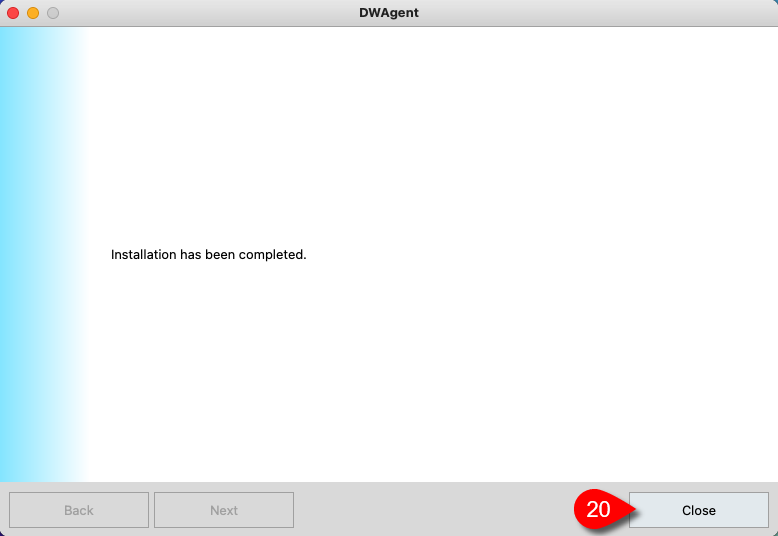
As you can see, the Agent has been successfully installed.
20. Click on the Close button to close the wizard.
Once the installation is complete, you will also need to grant permissions to use the Agent. You can do this as follows:
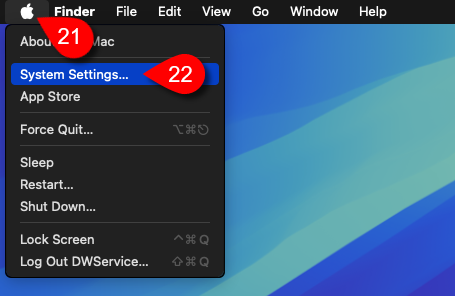
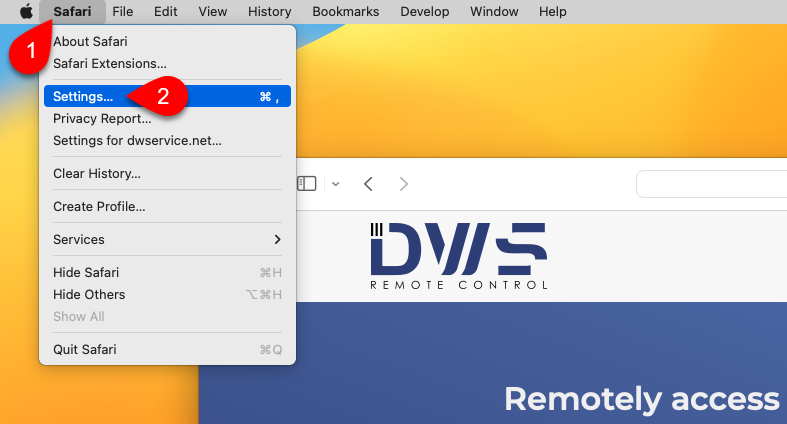
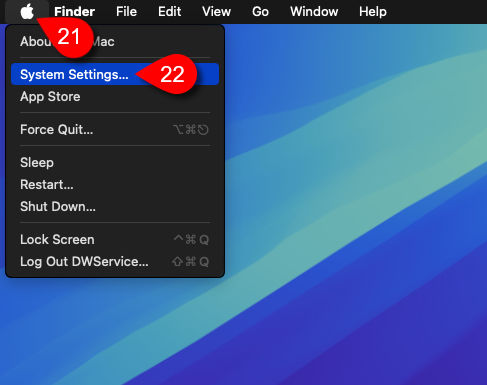
21. Click on Apple icon.
22. Select System Settings…
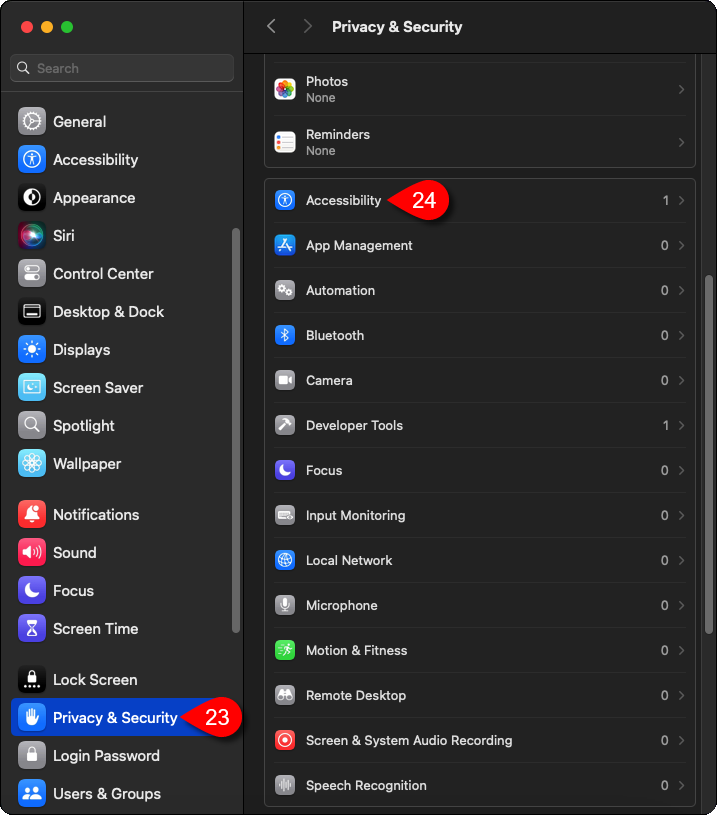
The System settings window appears: 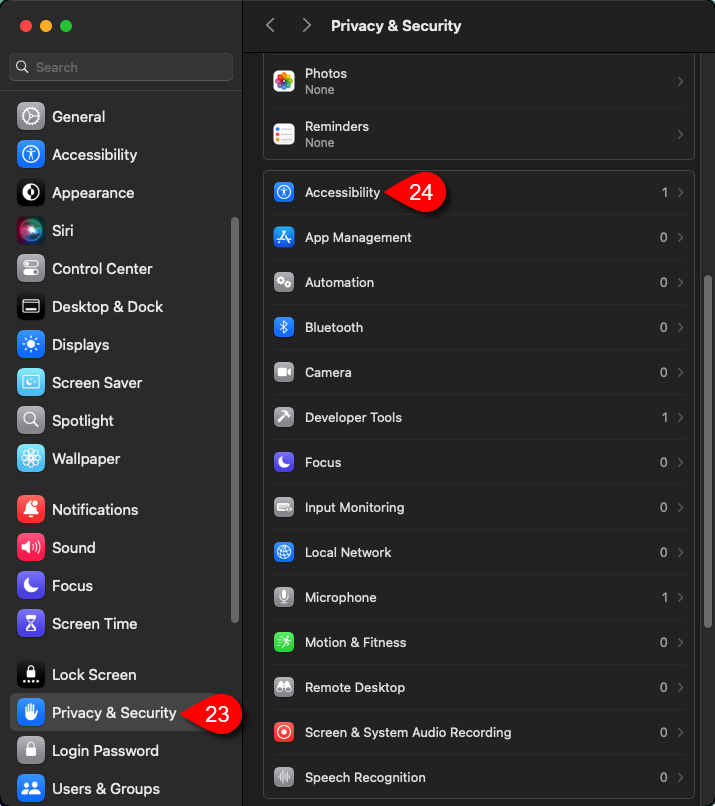 23. From the menu on the left, select Privacy & Security.
24. From the list on the right, select Accessibility.
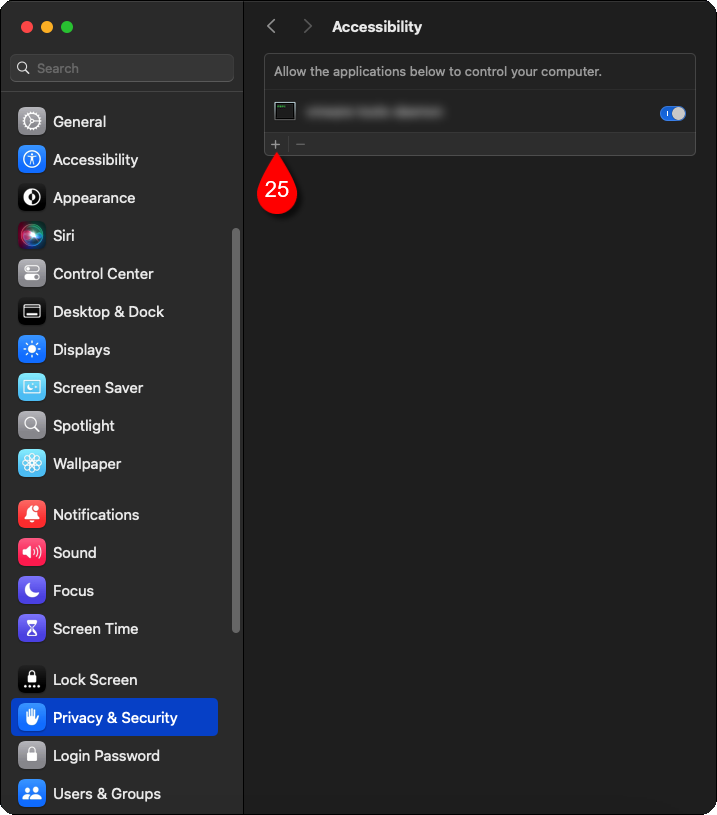
You will see the following window:
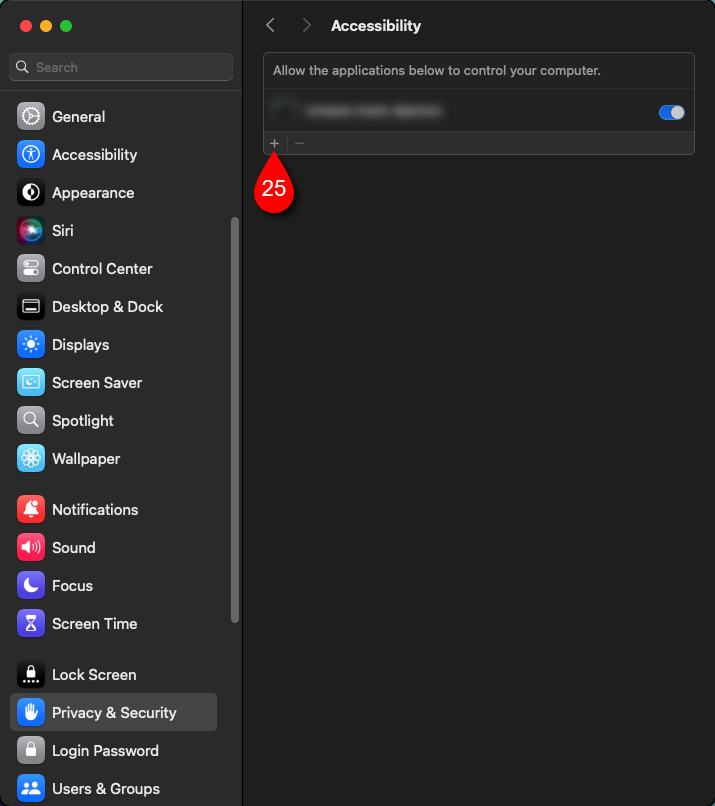
25. Click on the + (Plus) button.
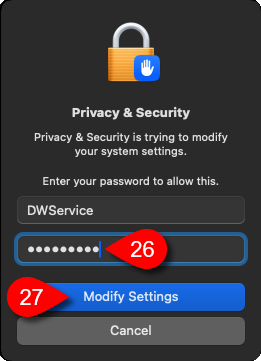
A password prompt window will appear:
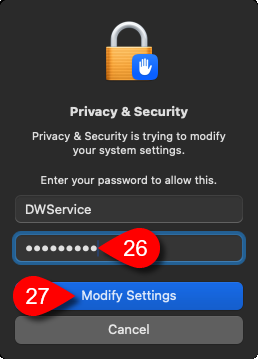
26. Enter your MacOS password.
27. Click on the Modify Settings button.
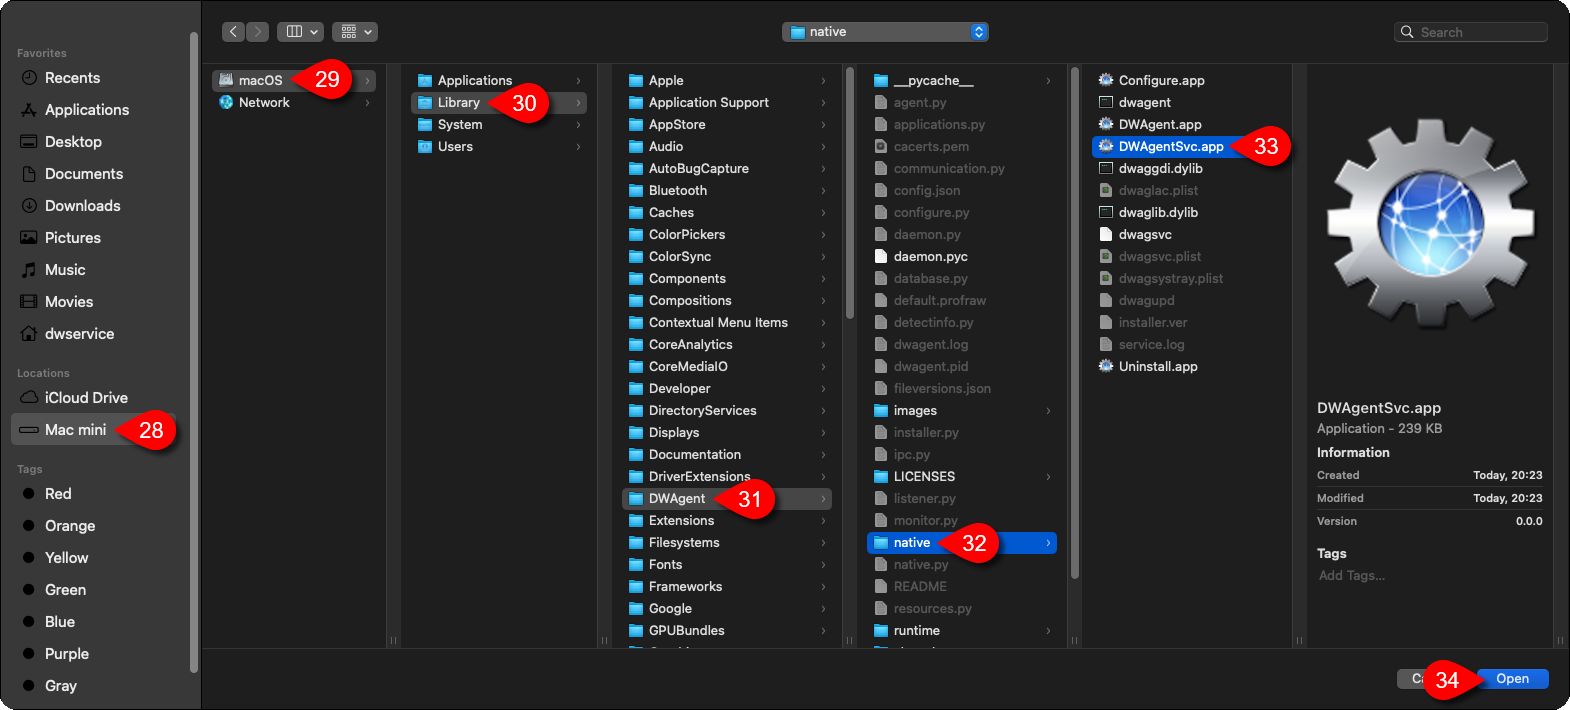
The following window will appear:
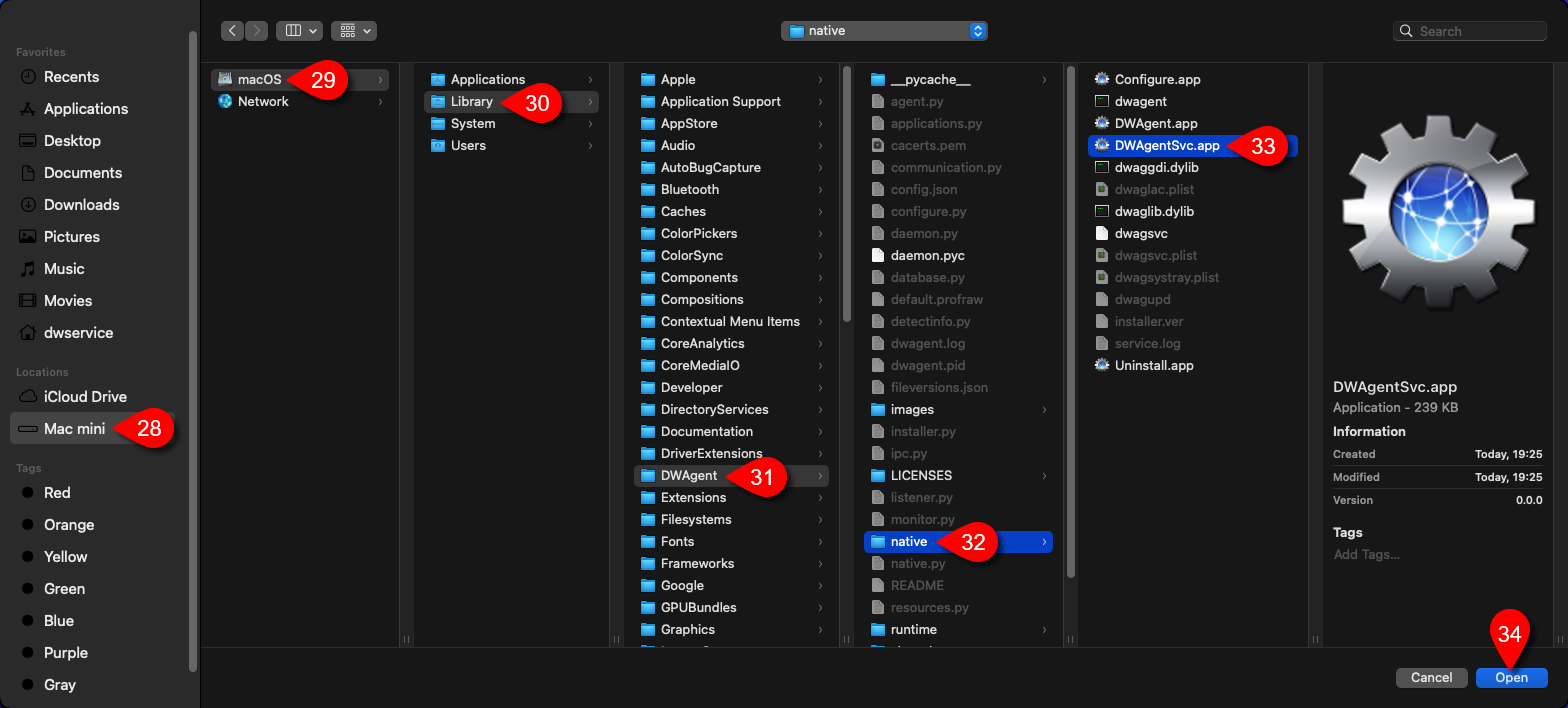
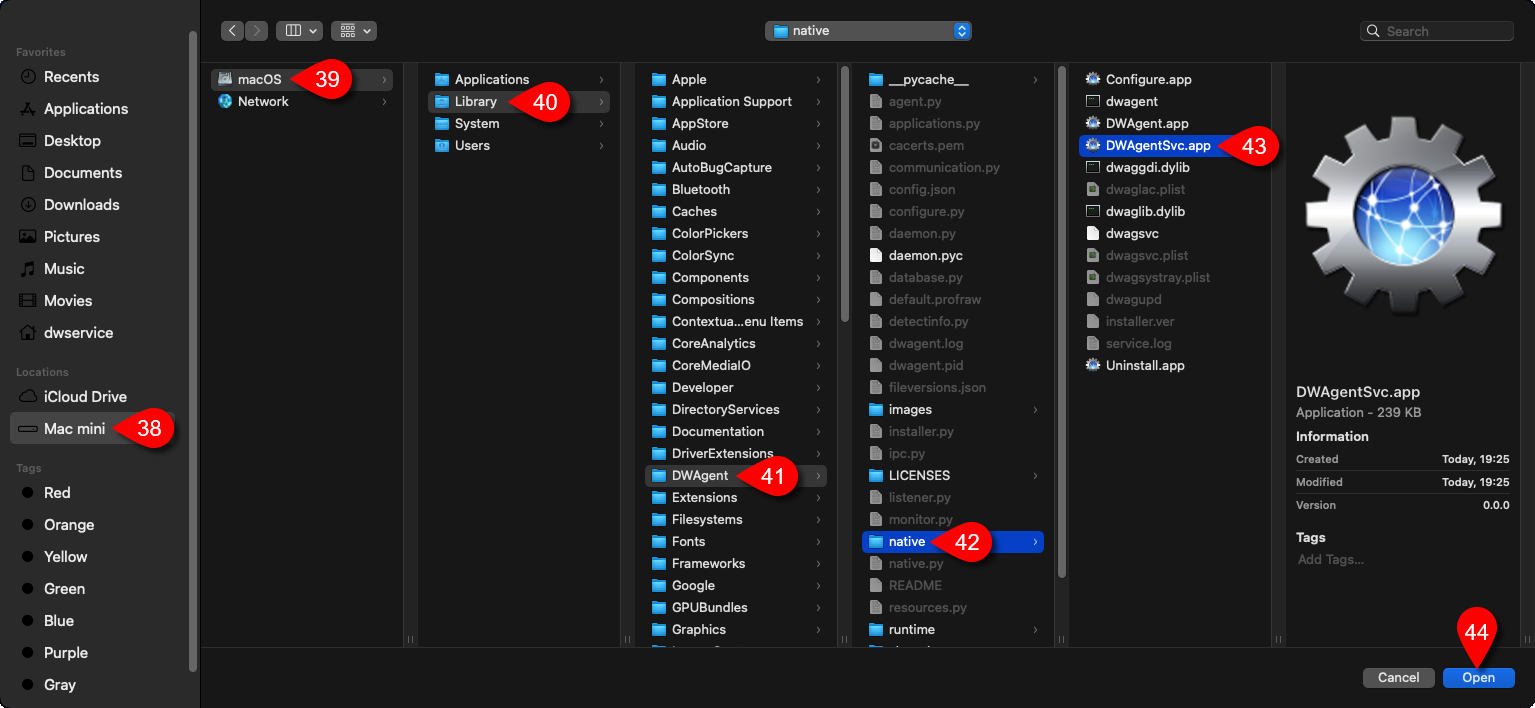
Select where the Agent is located (/Library/DWAgent/native/DWAgentSvc.app):
28. Select your Mac device.
29. Select the drive.
30. Select the Library folder.
31. Select the DWAgent folder.
32. Select native folder.
33. Select the DWAgentSvc.app file.
34. Click on the Open button.
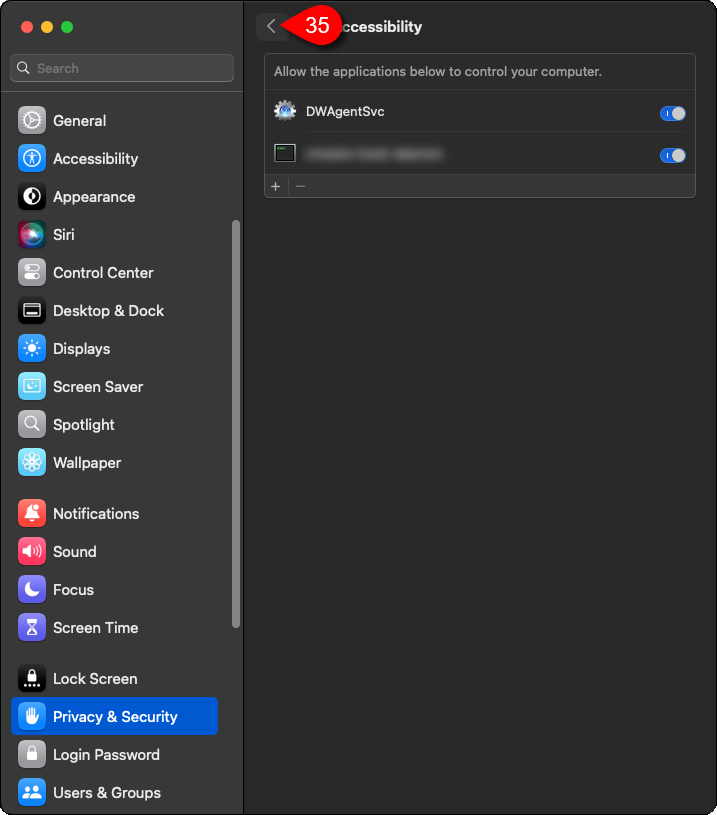
You will see the following window:
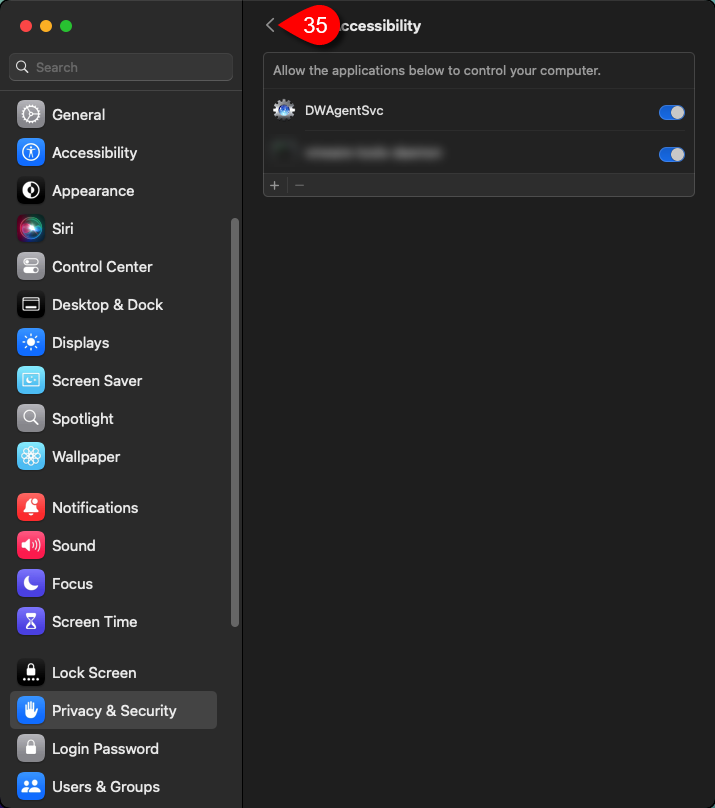
35. Click on the Back button.
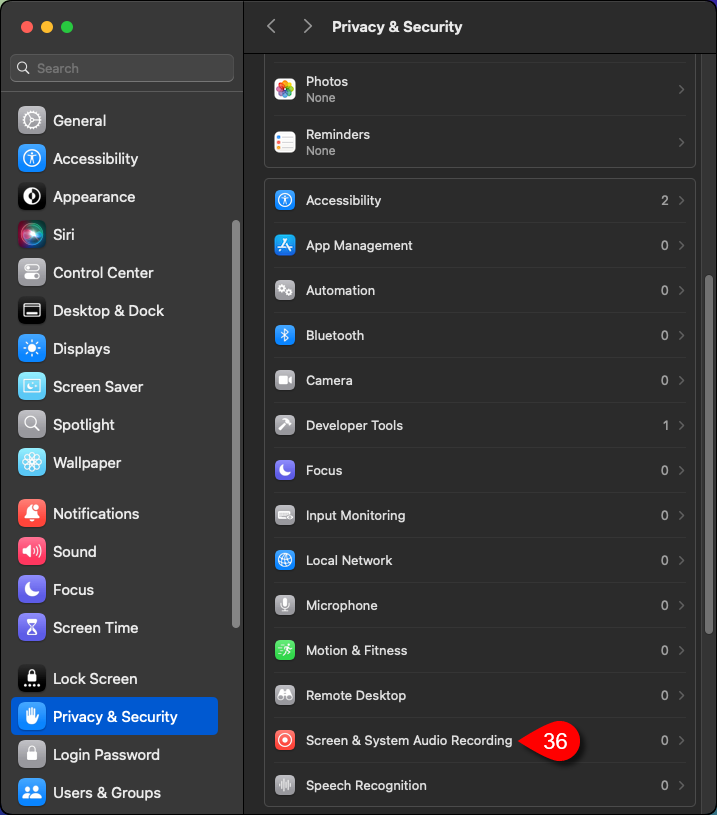
The System settings window appears again:
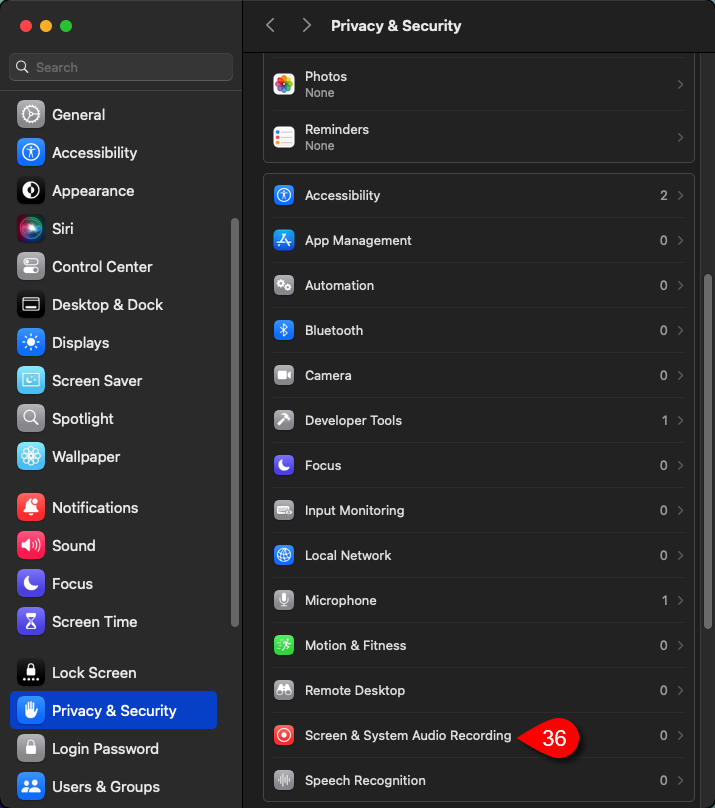
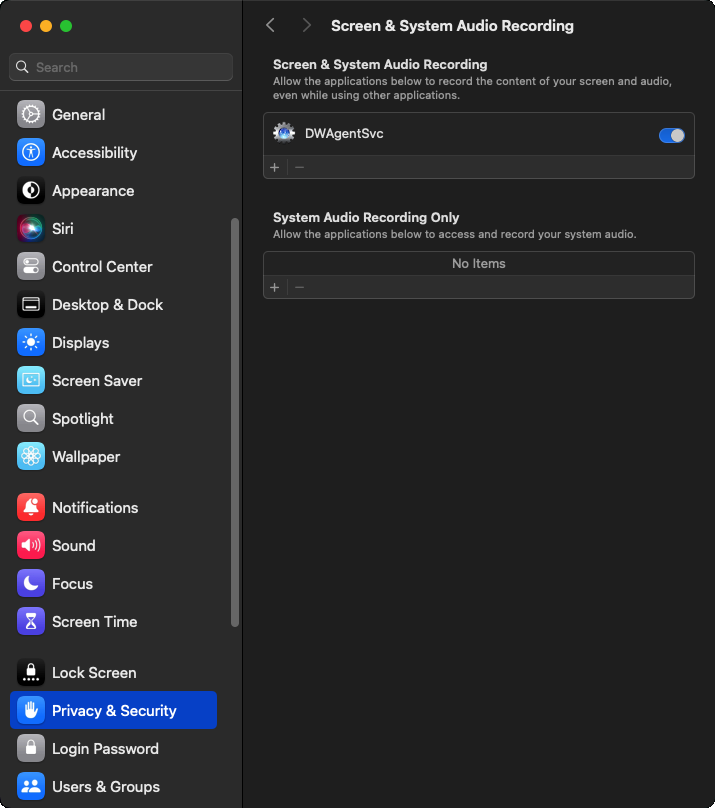
36. Select the Screen & System Audio Recording option.
Note: On systems prior to macOS Sequoia (macOS15), this menu item is Screen Recording.
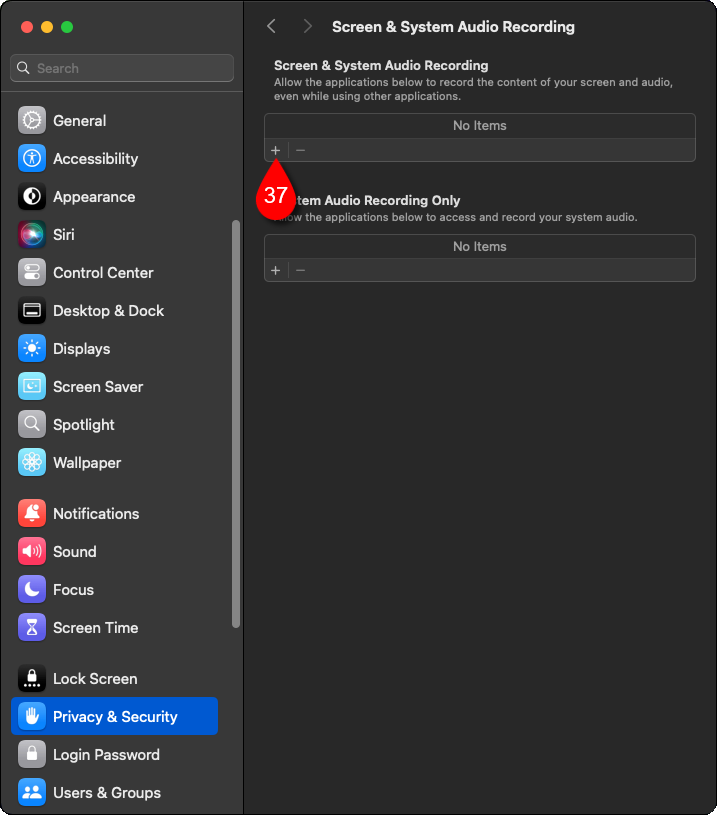
You will see this:
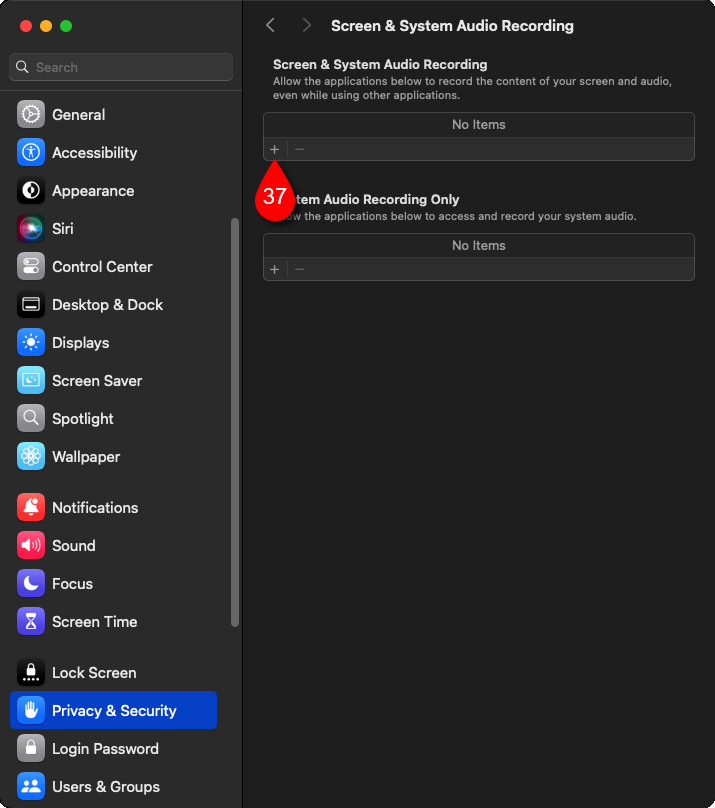
37. Click on the + (Plus) button.
The following window will appear:
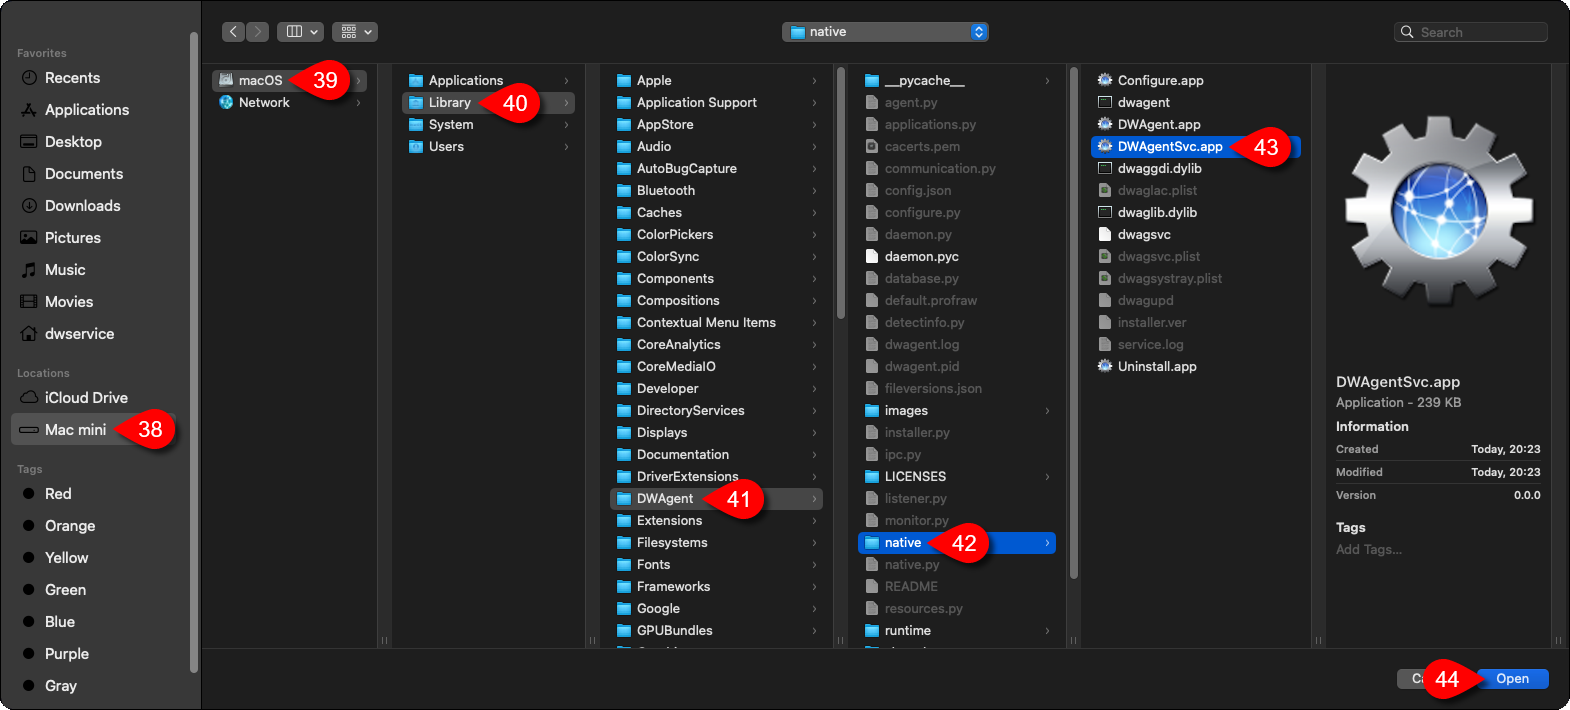
Select where the Agent is located (/Library/DWAgent/native/DWAgentSvc.app):
38. Select your Mac device.
39. Select the drive.
40. Select the Library folder.
41. Select the DWAgent folder.
42. Select native folder.
43. Select the DWAgentSvc.app file.
44. Click on the Open button.
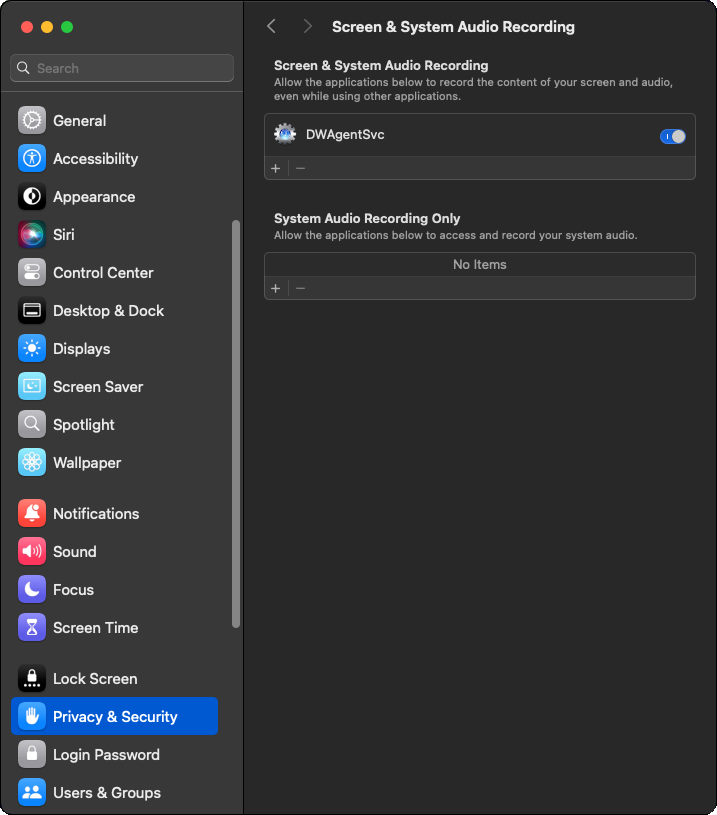
You will see the following window:
You can close the System Settings window.
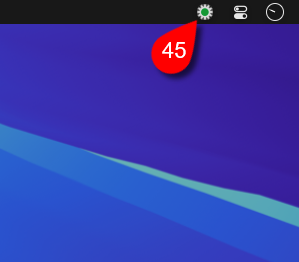
45. Click on the Monitor icon to show the DWAgent – Monitor window.
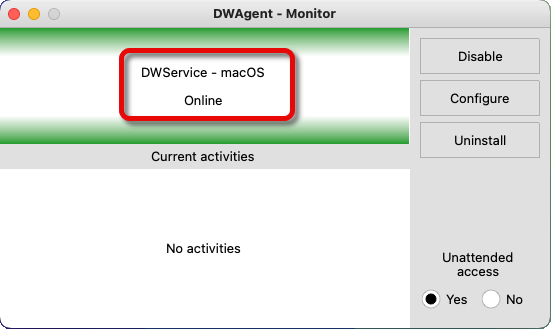
The DWAgent – Monitor will appear:
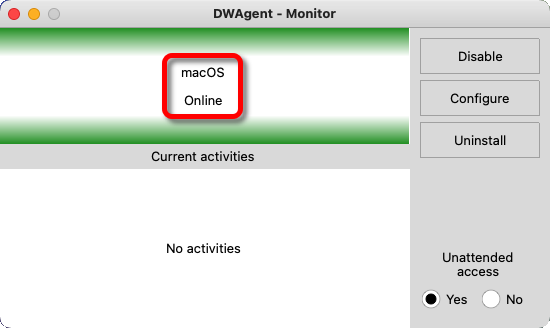
In the image above you can see that the Agent is active, and the status is Online. From now on it is possible to connect to this Agent.
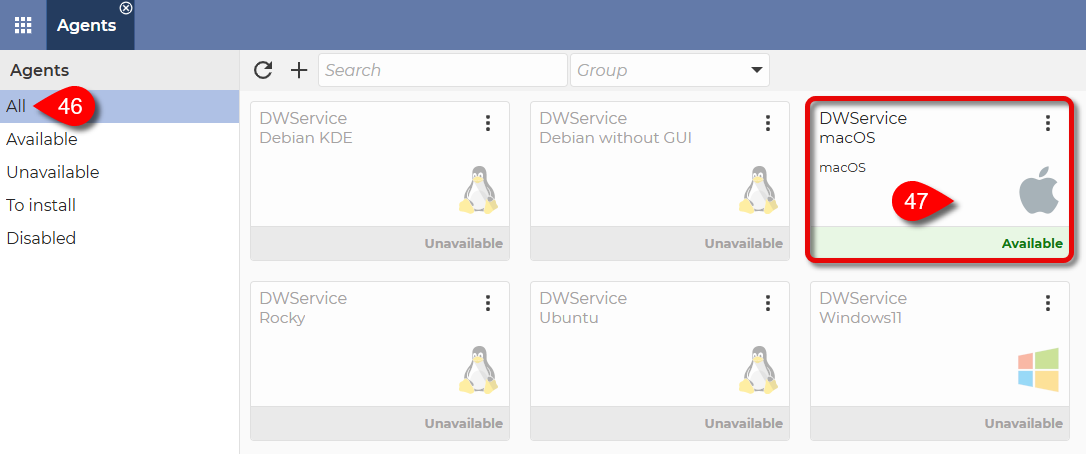
Now let’s go back to the account where you can see the Agent you created:
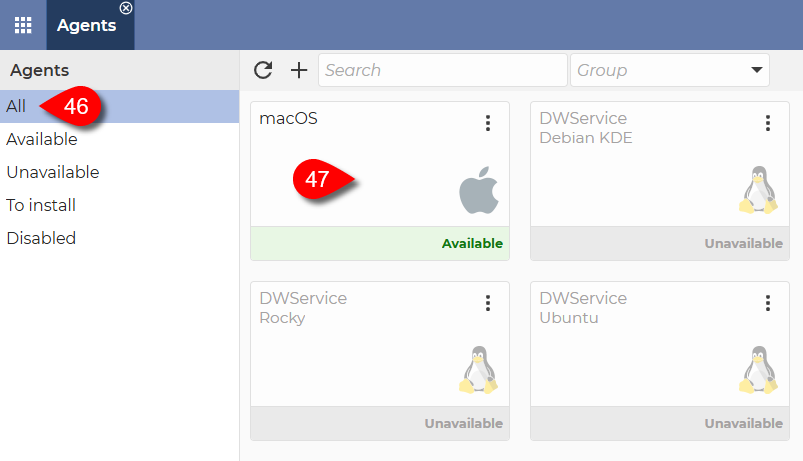
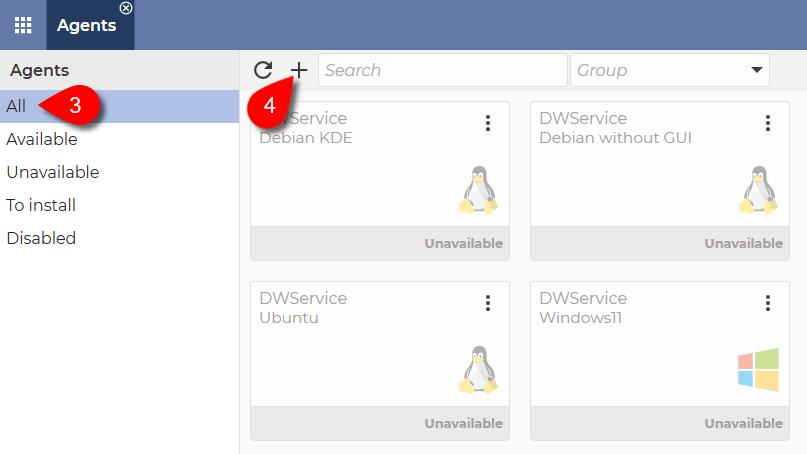
46. In the menu on the left, select All.
47. The Agent is available. As you can see, the agent created is not in a group, nor does it have a description. If you don’t need these, we are now at the end of the process. The Agent is ready for use.
You can connect to the agent by clicking on it.
The following steps are optional:
If you would like to put the Agent in the group and/or add a description to it, please do the next few steps:
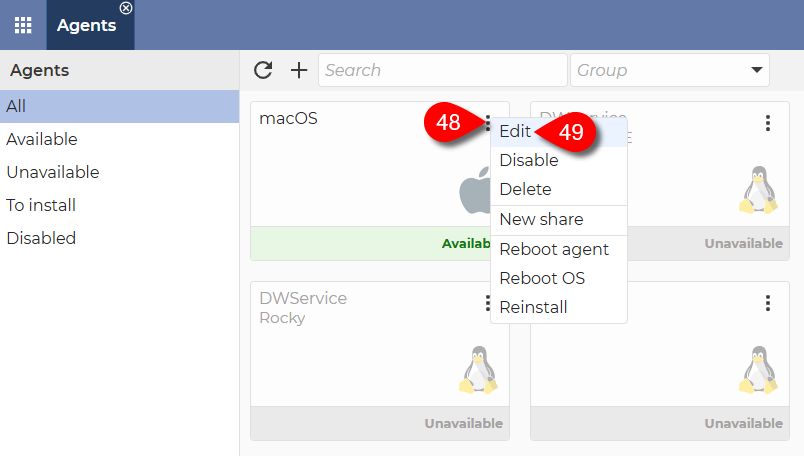
48. Click on the three dots in the top right corner of the Agent. This will open the menu of the Agent.
49. From the menu that appears, select Edit.
You see the Edit window of the Agent:

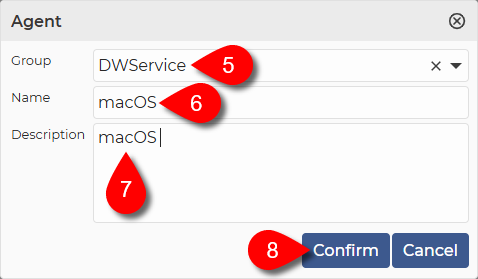
50. The selection of Group is optional.
- If you do not wish to add the agent to a group, simply leave this field blank.
- If you want to add the Agent to a group, select the desired group from the drop-down menu. If there is no Group in the drop-down menu that suits you, you can create a new Group by selecting Groups in the Dashboard. For more details, click here.
51. Optionally, you can provide a Description of the Agent, which will help you to identify the Agent later.
52. To save the changes, click on the Confirm button.
After the window closes, you will see this:
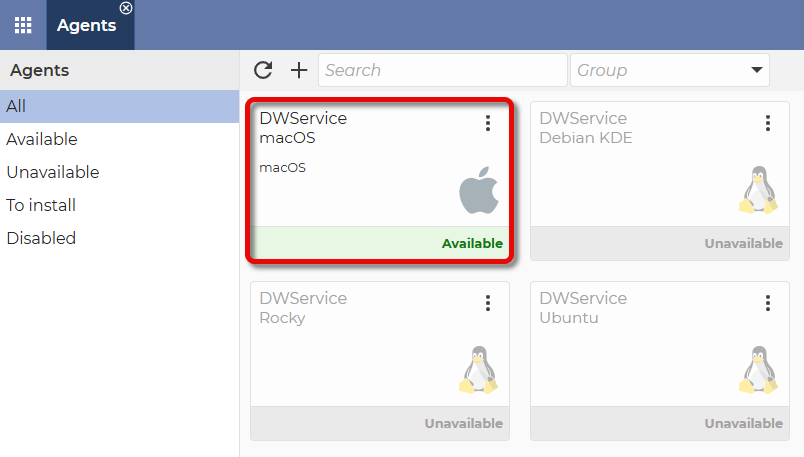
✅ The Agent is available and ready to use.
Note: If you also need the remote audio function, you will need additional setup to use it. Our documentation, which guides you step-by-step through the setup process, is available here: How to set up remote audio on a remote macOS
This brings us successfully to the end of the installation process.
Use our service with maximum satisfaction. 😀