
✅ Wayland support is now available and ready to use.
⚠️ However, there are currently some limitations.
📖 You can read more about these here: Wayland
If you decide to use X11 instead of Wayland, you can follow the instructions below:
1. Visit our website: https://www.dwservice.net
2. Login to your account. You can read more about the login process here: Login
3. Your dashboard appears:
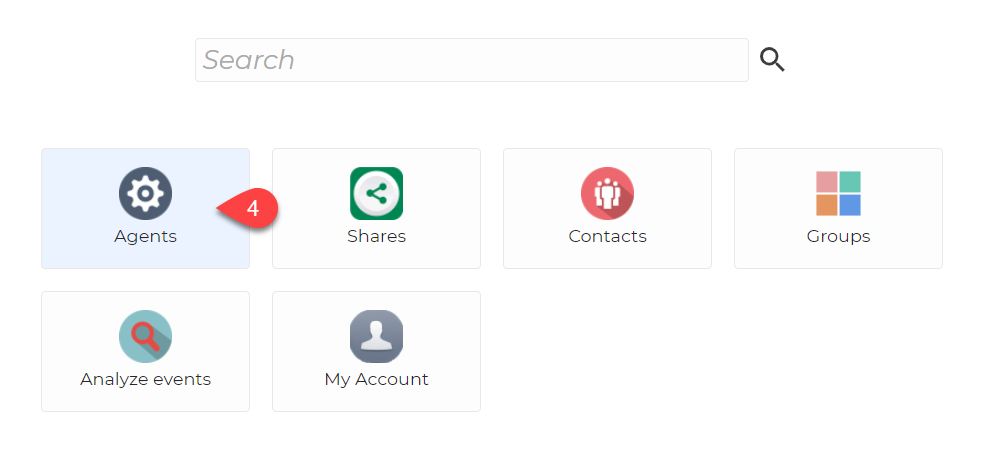
4. Select Agents.
After selecting Agents, you will see your Agents:
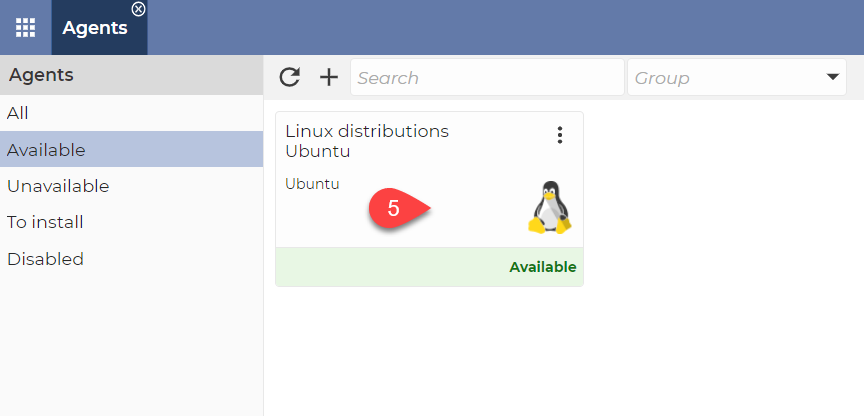
5. Click on the Agent (which shows you the XWayland error message) to connect to it. You will see the applications:
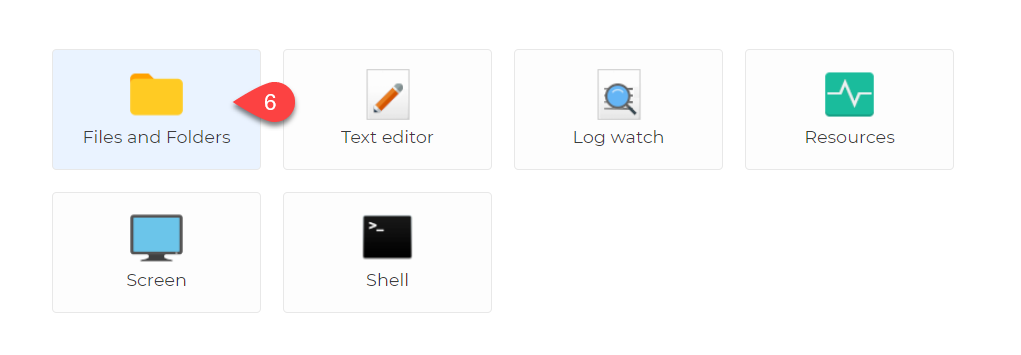
6. Select the Files and Folders application.
The application opens:
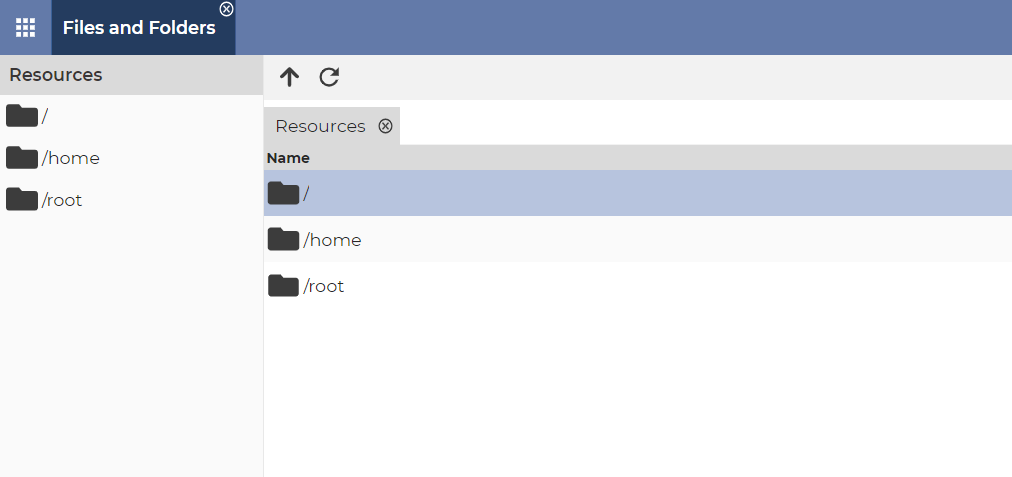
7. Search for the following file: /etc/gdm3/custom.conf (or /etc/gdm/custom.conf):
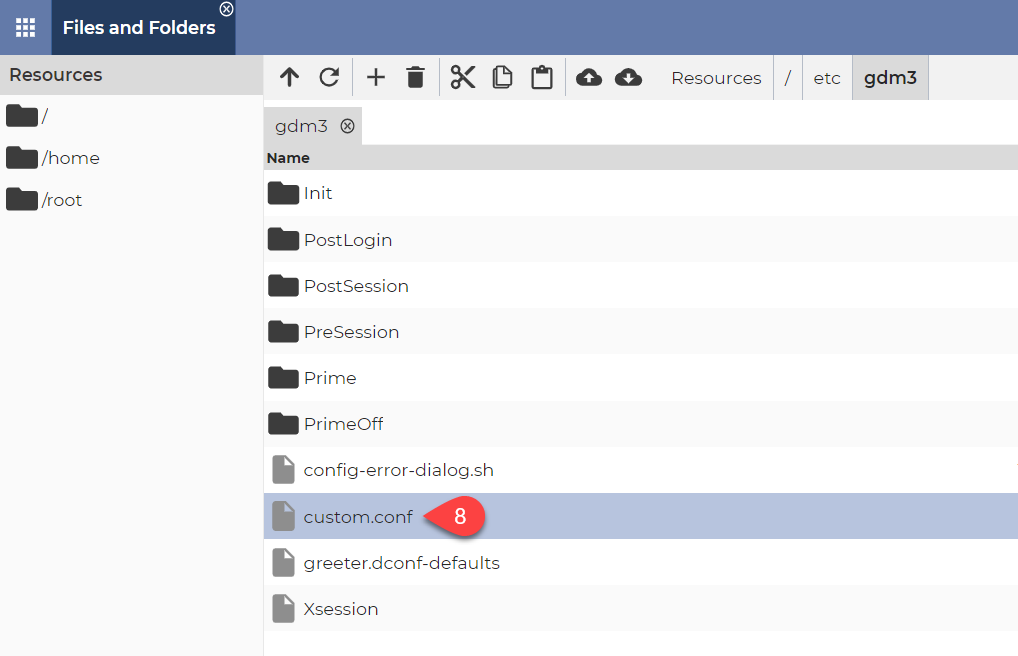
8. Open the custom.conf file (double click on it).
The file opens in the Text Editor application:
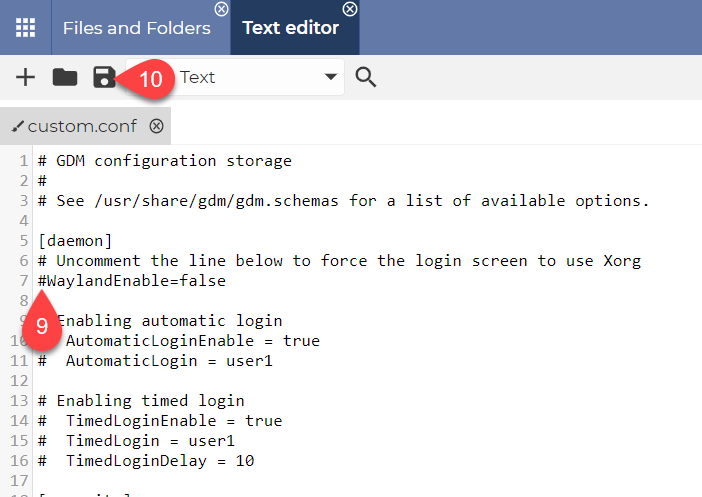
9. Delete the # character from the beginning of the line WaylandEnable=false.
10. Click on the Save icon to save the file.
Close the applications window. You are back to your Agent.
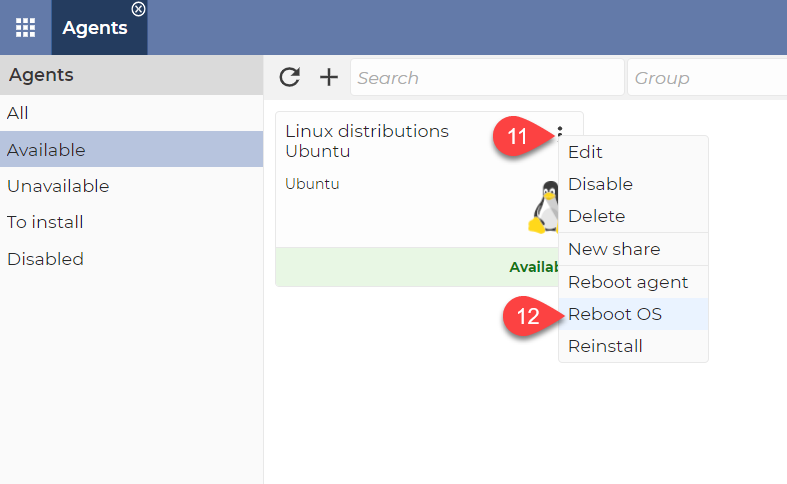
11. Click on the 3 dot to open the menu.
12. Click on the Reboot OS.