ℹ️ Subscriptions and invoicing are handled by our reseller partner.
You can read more about our partner here: Paddle – The complete payments, tax, and subscriptions solution for SaaS
You will receive a receipt or invoice by email on a regular basis (monthly or yearly) until you cancel your subscription. The invoice you receive from help@paddle.com should be in your inbox.
⚠️ Note: Therefore, if you cannot find the email in your inbox, please check your Spam/Junk and any other folders in your mailbox as well.
window
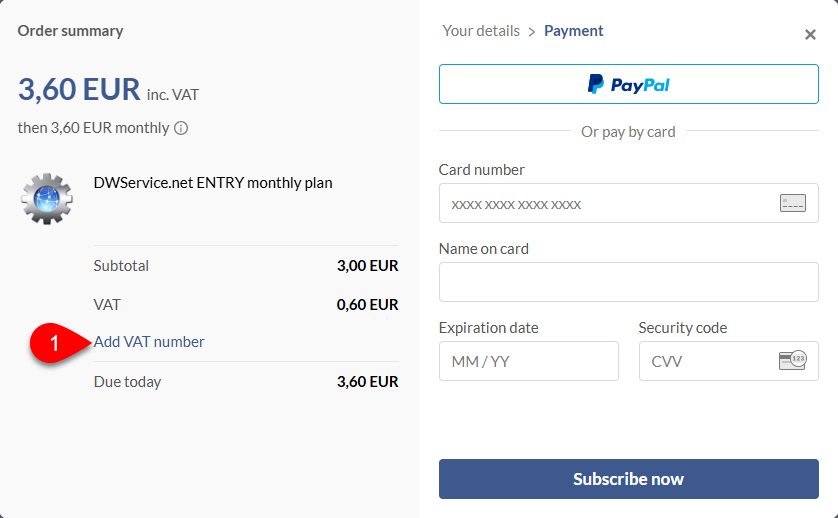
1. Click on the Add VAT number text.
You will see the following form:
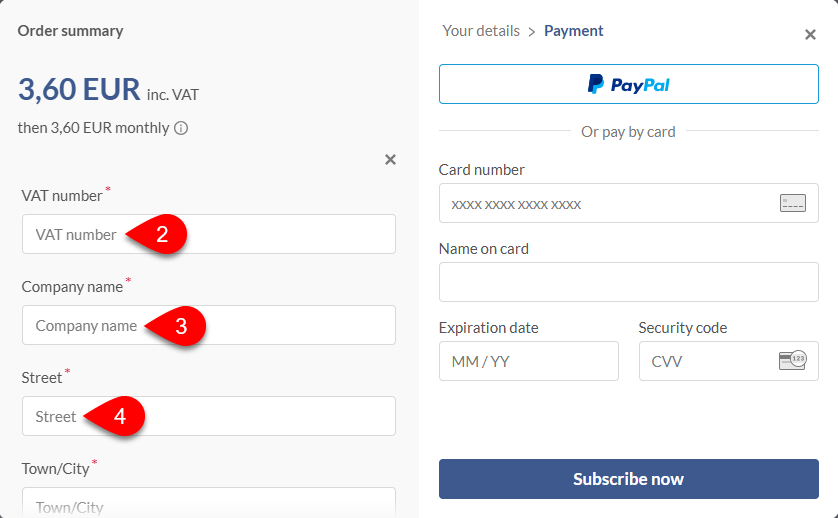
2. Enter the VAT number. (required)
3. Enter the Company name. (required)
4. Enter the Street name. (required)
Scroll a bit to see the rest of the form:
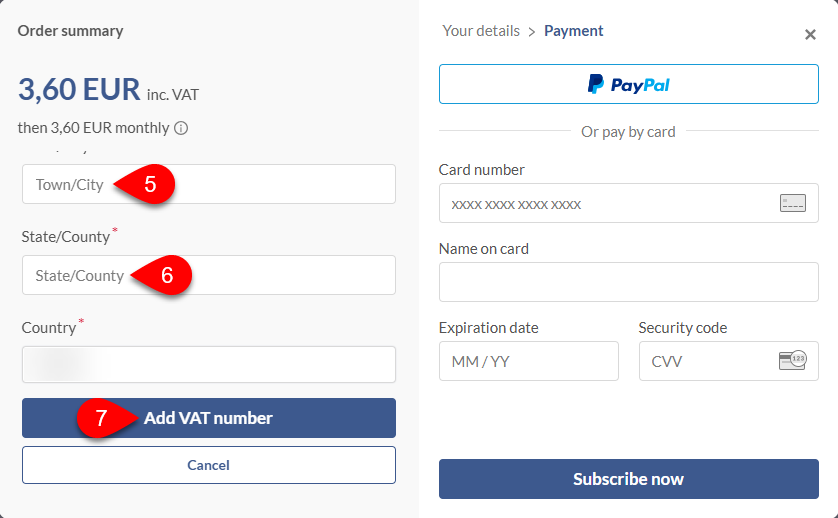
5. Enter the Town/City name. (required)
6. Enter the State/County name. (required)
7. Click on the Add VAT number button.
▶️ DWService – How to subscribe (if you decide to) – YouTube
The video will show you where and how to provide your invoicing information.
You received a receipt via email that includes a “View Receipt” button:
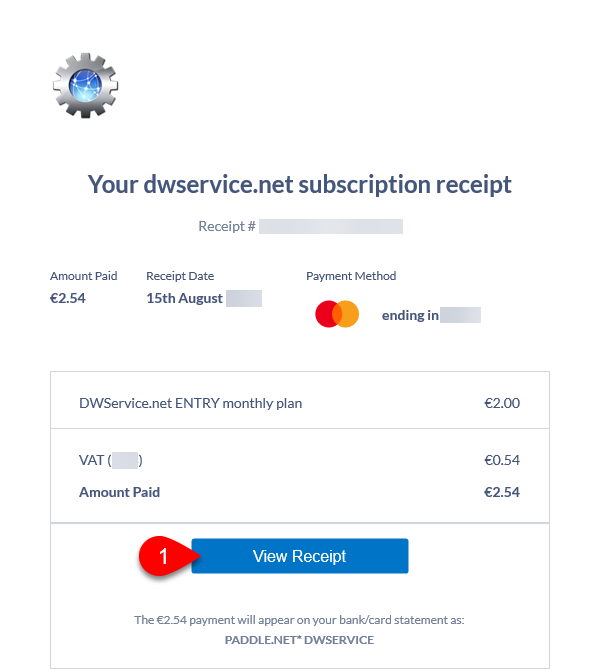
1. Click on the View Receipt button.
Your receipt opens, which looks like this:

2. Click on the Add address & VAT Number text.
A window will open where you can enter your invoicing details:
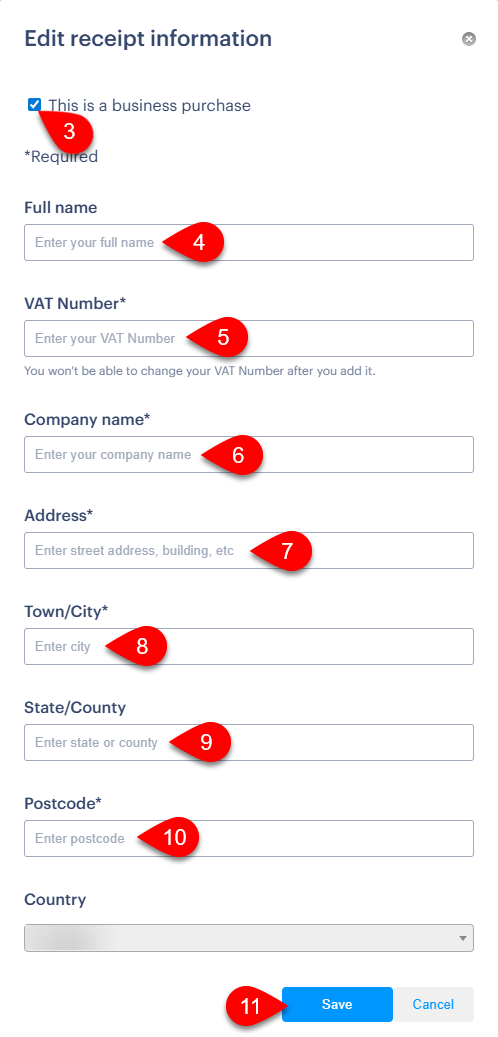
3. Tick the checkbox (This is a business purchase).
4. Enter your full name. (optional).
5. Enter your VAT Number. (required)
6. Enter your company name. (required)
7. Enter street address, building, etc. (required)
8. Enter city. (required)
9. Enter state or county (optional)
10. Enter postcode. (required)
11. Click on the Save button.
3. If you have already subscribed to our service – via the support site of our reseller partner.
ℹ️ Our subscriptions and invoicing are handled by our reseller partner (Paddle – The complete payments, tax, and subscriptions solution for SaaS), so you should contact them in this case. You can do this as follows:
➡️ Go to support website of our reseller partner: Paddle.net
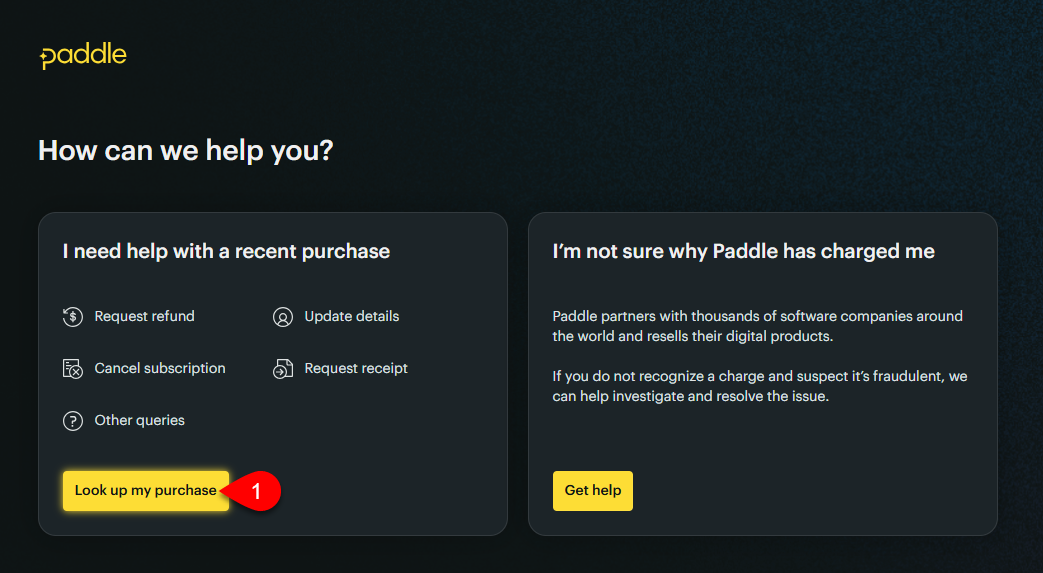
1. Click on the Look up my purchase button.
![]()
2. Enter your e-mail address.
3. Tick the “Verify you are human” checkbox.
4. Click on the Locate my purchase button.
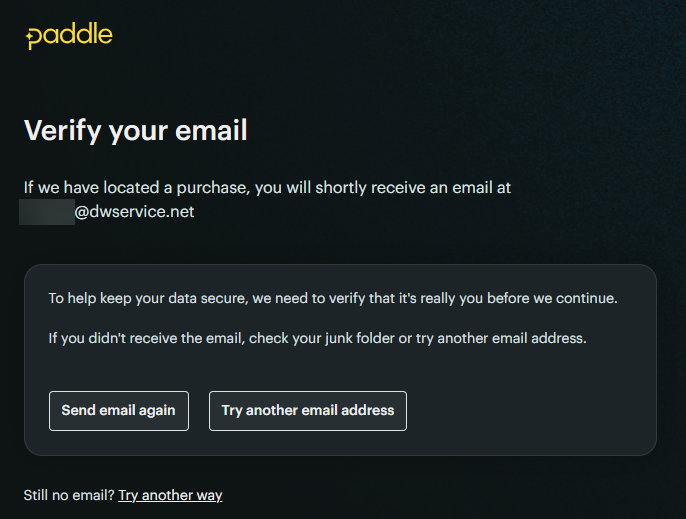
Check your mailbox. You will receive an email to your email address:
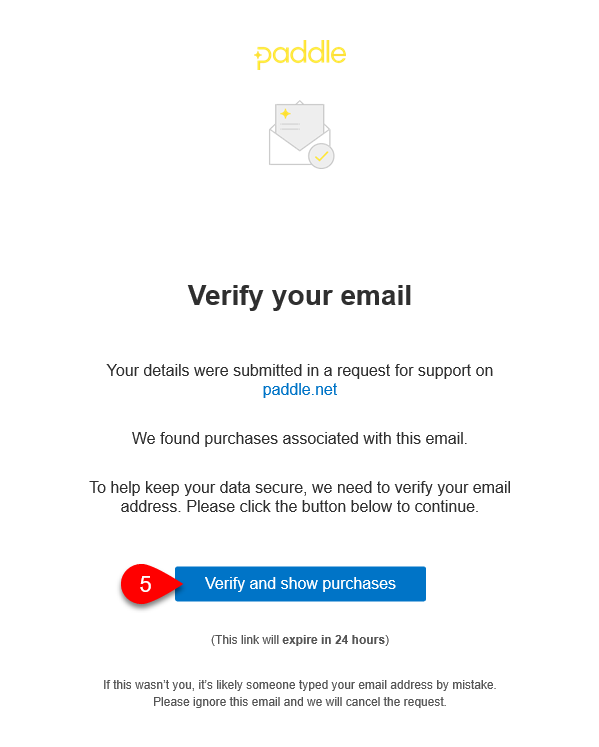
5. Click on the Verify and show purchases button.
A web page will open with the details of your subscription:
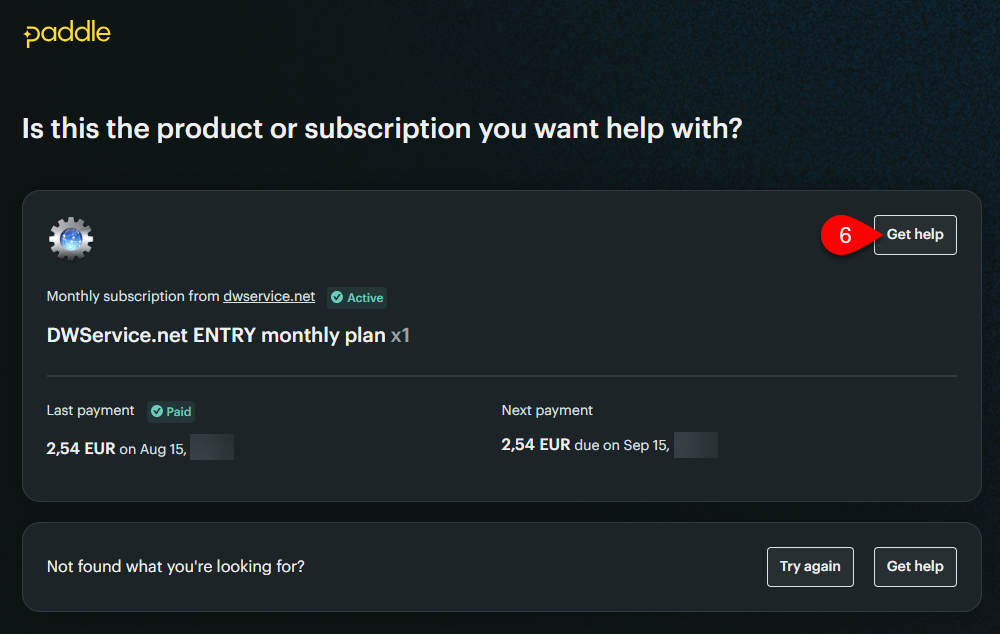
6. Click on the “Get Help” button.
A chat window will appear:
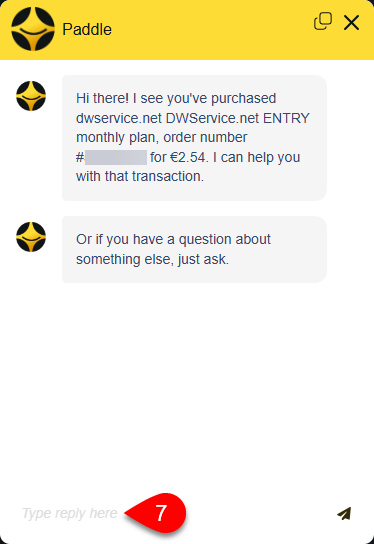
7. At the bottom of the chat window, you can request update details or request invoice.