🛡️ Nowadays, personal information and data need to be protected more and more. Security and privacy are very important to us, which is why we have made it possible for everyone to use Two-Factor Authentication to protect their personal accounts.
⭐ In fact, we offer three different solutions (For details click on one of the links below):
✅ However, the effectiveness of your account protection is up to you. You need to enable one of these solutions.
We encourage you to activate it and take advantage of the enhanced protection.
💡 It is much better to prevent trouble, data loss and other harms. Do not let your personal data be exposed to an unauthorized person.
📧 If you have doubts, concerns, questions or any feedback, please feel free to contact us at support@dwservice.net.
TOTP
📖 More information on TOTP is available here: TOTP
A form of Two–Factor Authentication that can be selected when you enable Two–Factor Authentication.
To benefit from this 2FA protection, you need to enable Two-Factor Authentication as follows:
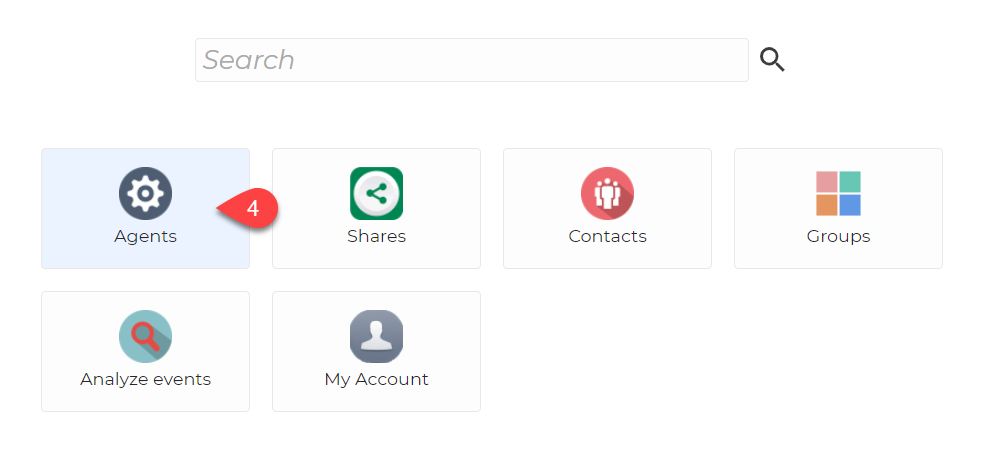
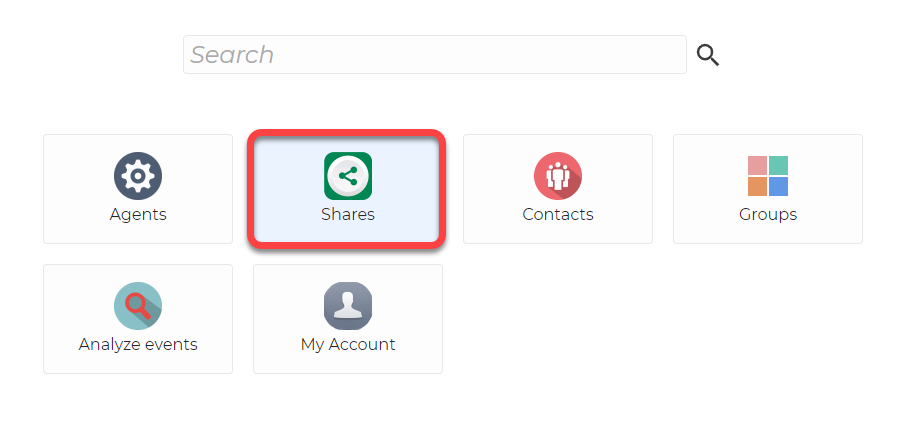
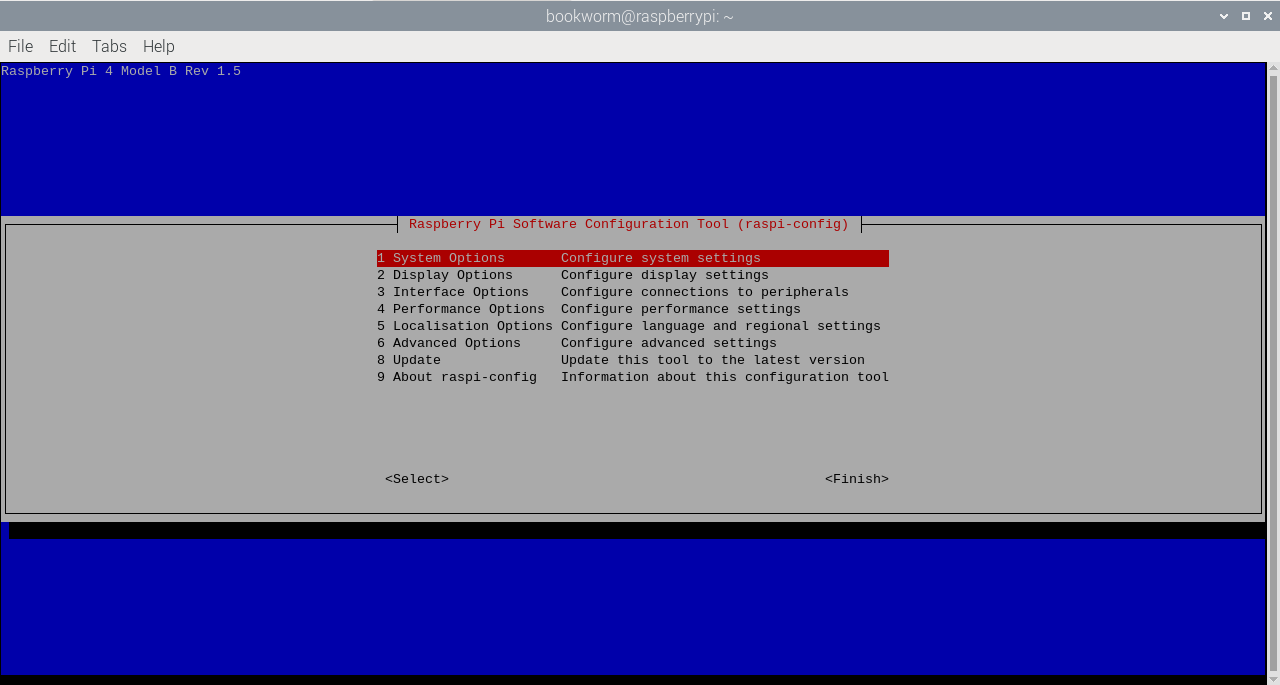
After signing in to your personal account, you will see these options:
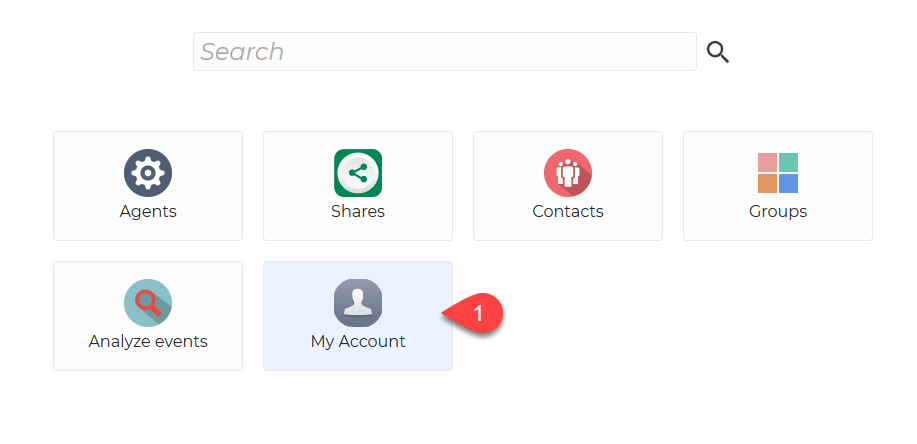
- Select My Account
Look for the Two–Factor Authentication section:
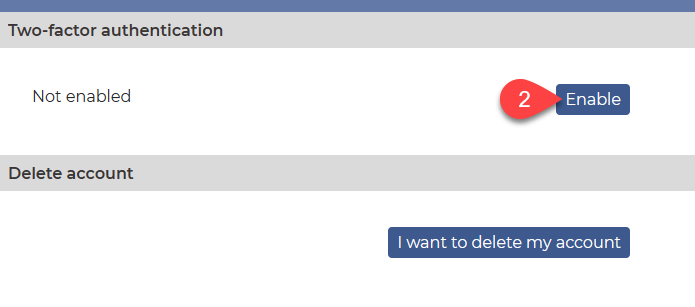
2. Click on the Enable button.
The following list appears:
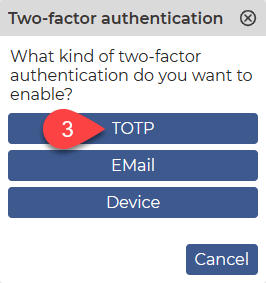
3. Click on the TOTP
The following window appears:
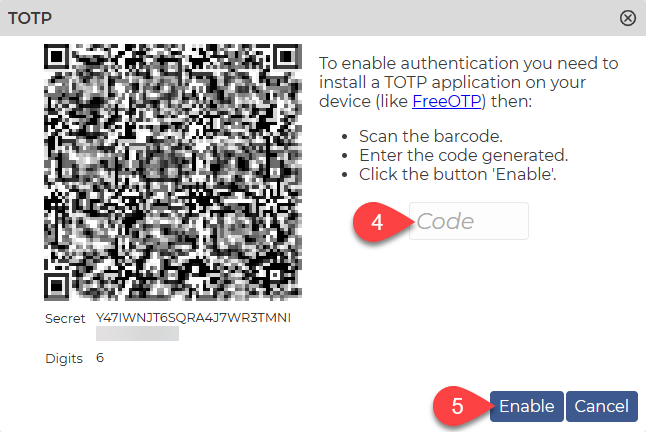
Add a new authentication on your mobile device or in your app (You can find instructions here: TOTP):
- If you have a camera, use the QR code to add the authentication.
- Alternatively, or if you do not have a camera, enter the Secret (32 digits) below the QR code
Use your device or application to generate a code.
4. Enter the resulting code in the Code field.
5. Click on the Enable button.
The following window appears:
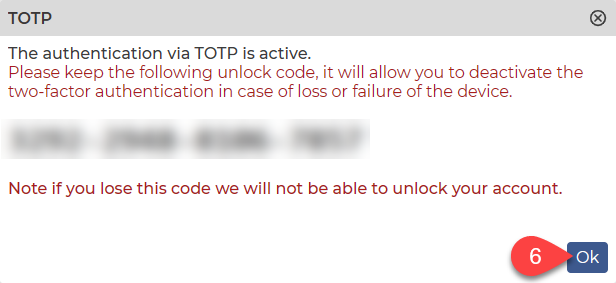
⚠️ Keeping the Unlock Code is extremely important. Keep it in a really safe place.
📖 You can read more about the Unlock Code here: Unlock Code
6. Click the Ok button.
✅ You have successfully set up your Android device as a Two–Factor Authentication device.
EMail
A form of Two–Factor Authentication that can be selected when you enable Two–Factor Authentication.
To benefit from this 2FA protection, you need to enable Two-Factor Authentication as follows:
After signing in to your personal account, you will see these options:

- Select My Account
Look for the Two–Factor Authentication section:

2. Click on the Enable button.
The following list will appear:
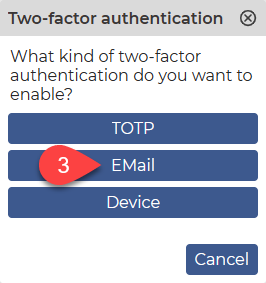
3. Select the EMail option.
You will see the following window:

4. Enter in the Code field the 6-digit code that was sent to your email address.
5. Click on the Enable button.
If you have entered the correct code, you will see the following window:
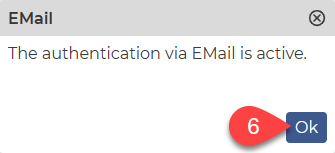
6. Click on the Ok button.
✅ You have successfully activated Two-Factor Authentication via Email.
Device
A form of Two–Factor Authentication that can be selected when you enable Two–Factor Authentication.
You can enable it as follows:
- Download and install our Client for your Android device. You can find more information here: Client
- Add your account and sign into your account.
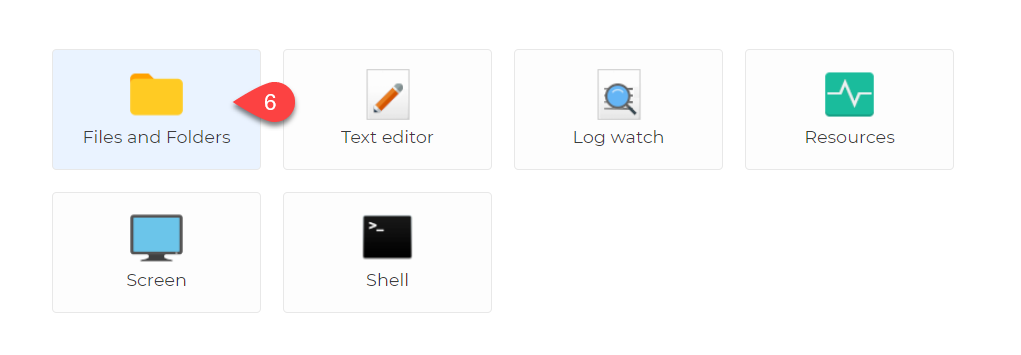
After signing in to your personal account, you will see these options:

- Select My Account
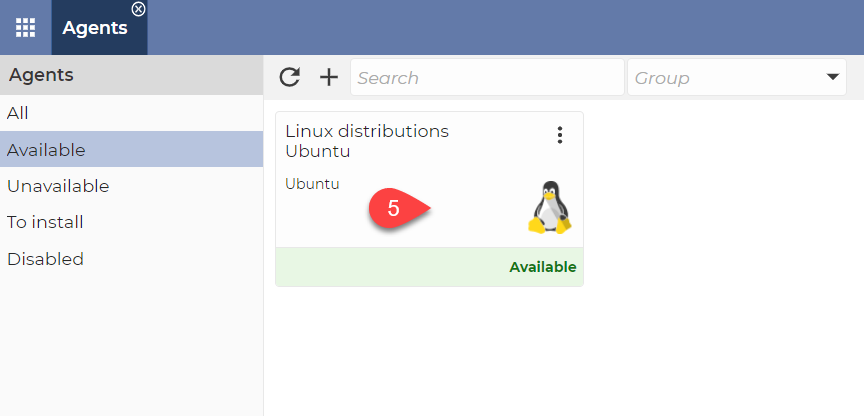
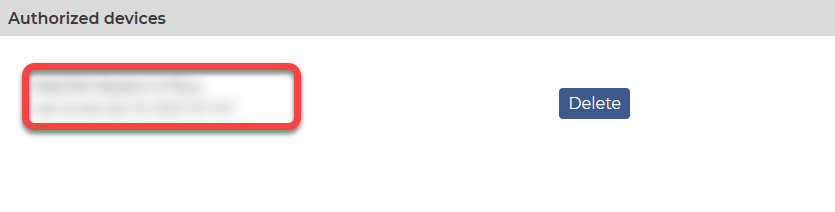
You will see your device in the Authorized devices section:
After that, look for the Two–Factor Authentication section:

2. Click on the Enable button.
The following list will appear:
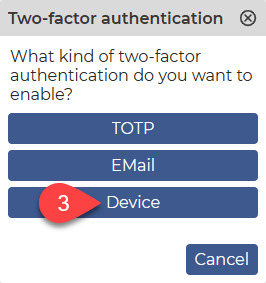
3. Click on the Device button.
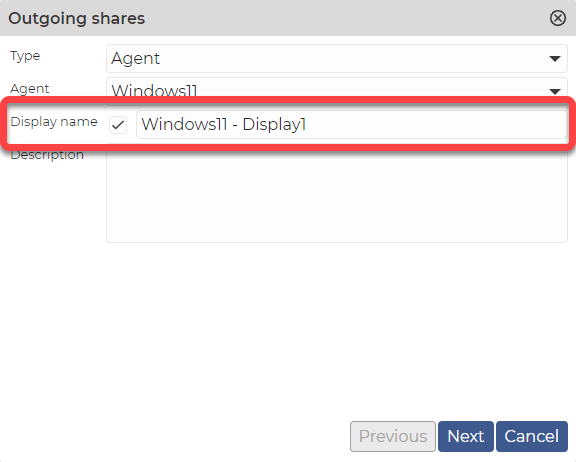
The next window appears:
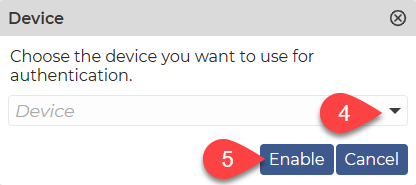
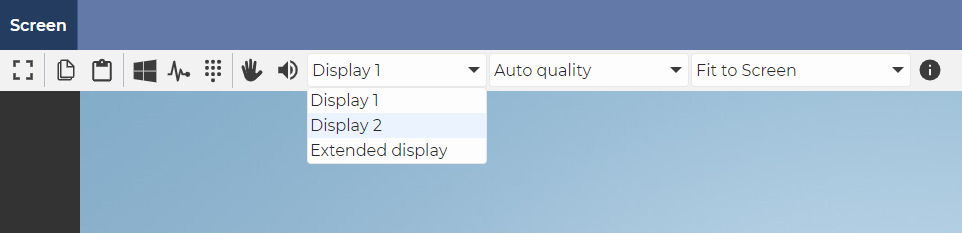
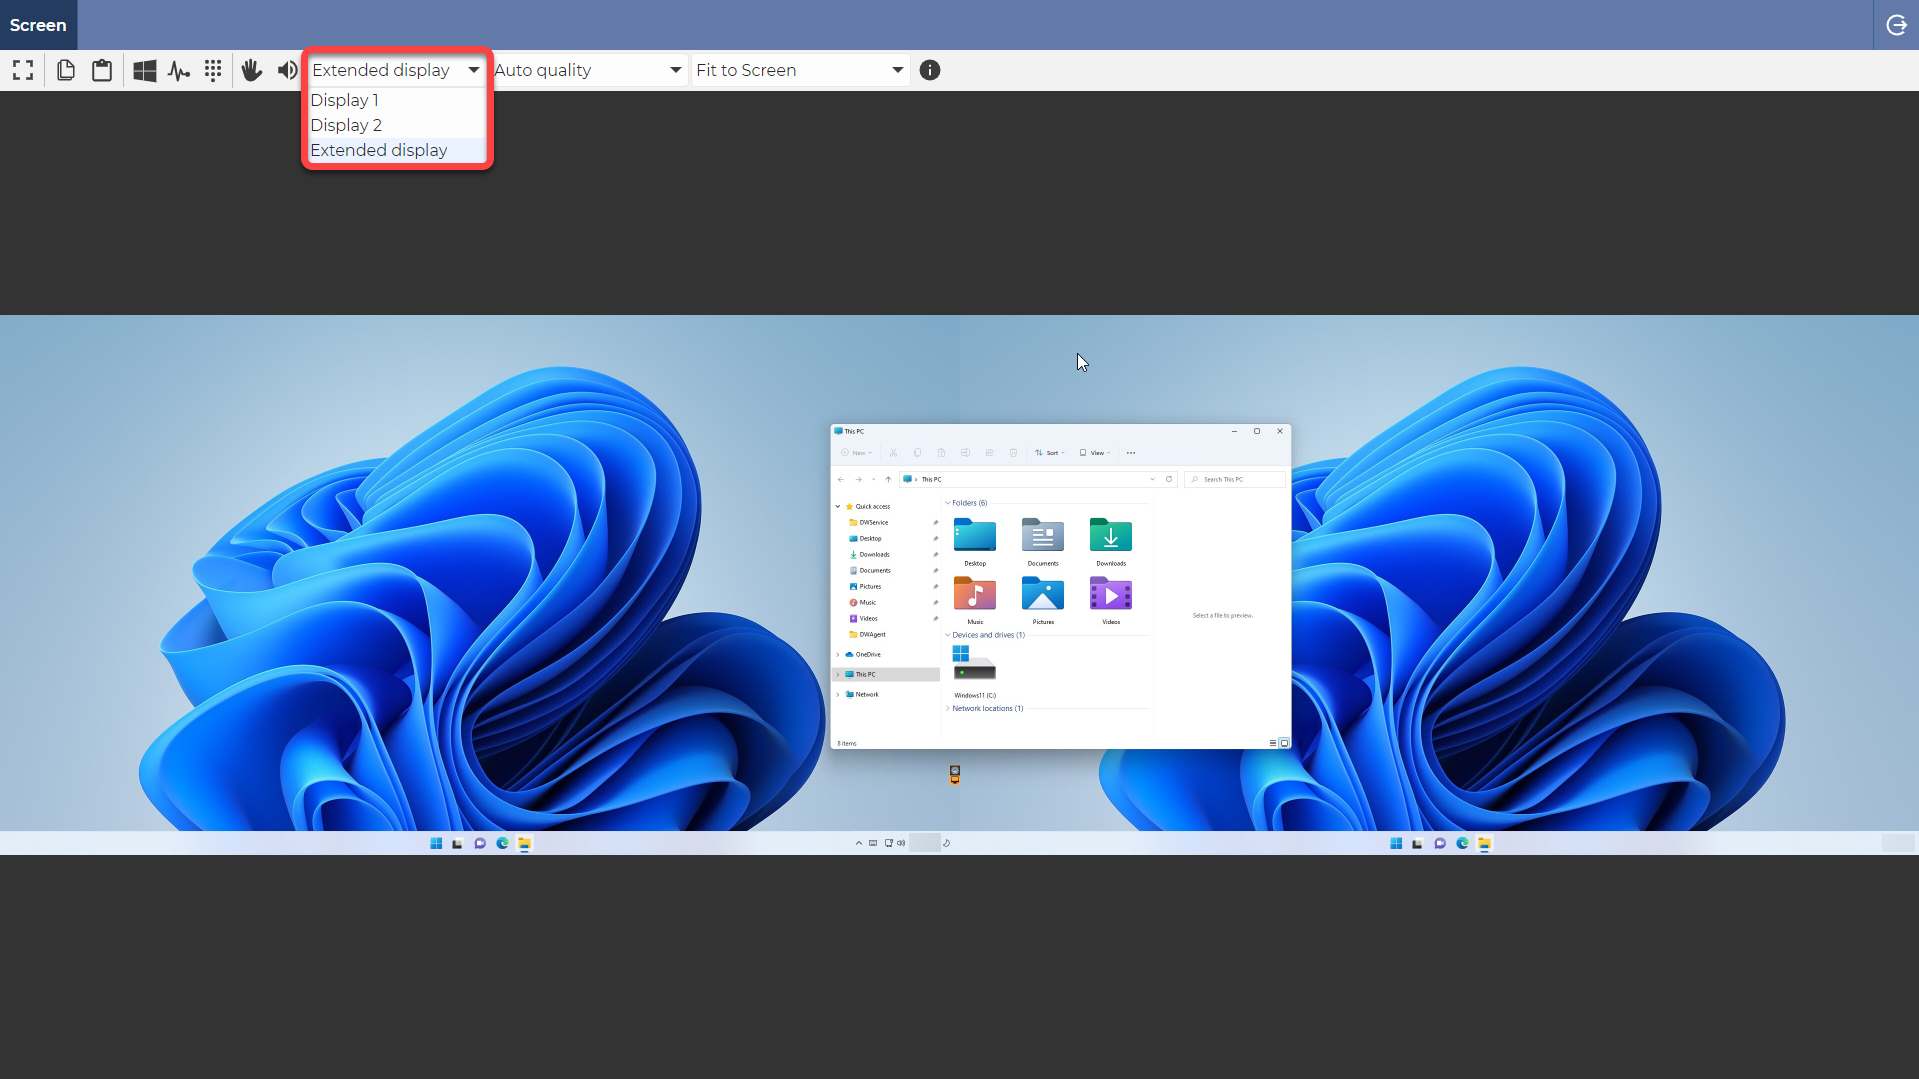
4. Select your device using the drop-down list.
5. Click on the Enable button.
Accept the request on your Android device.
Your Unlock Code appears:
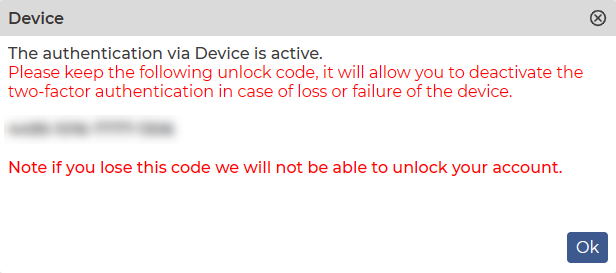
⚠️ Keeping the Unlock Code is extremely important. Keep it in a really safe place.
📖 You can read more about the Unlock Code here: Unlock Code
Click the Ok button.
✅ You have successfully set up your Android device as a Two–Factor Authentication device.

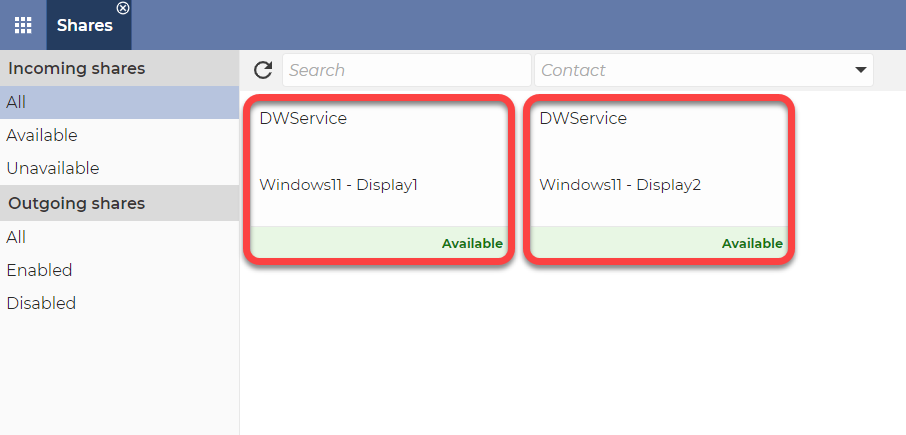
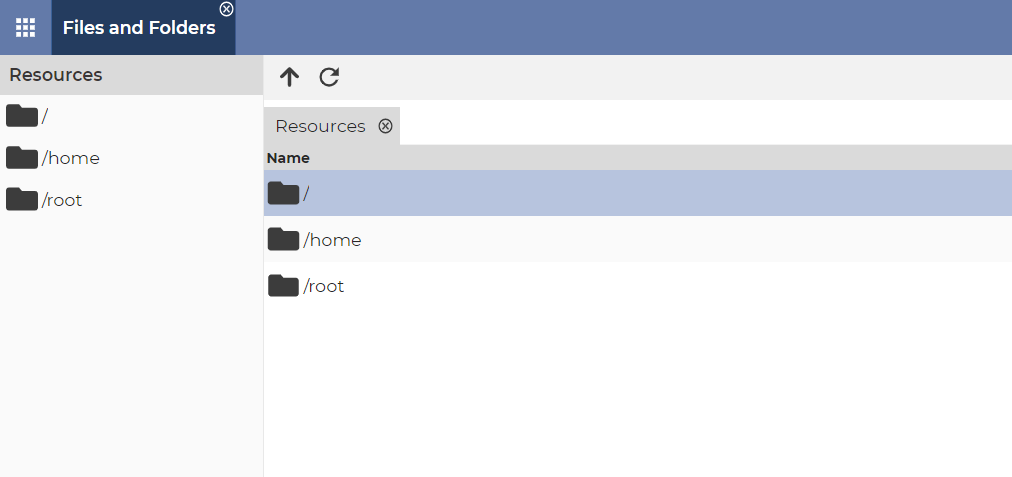
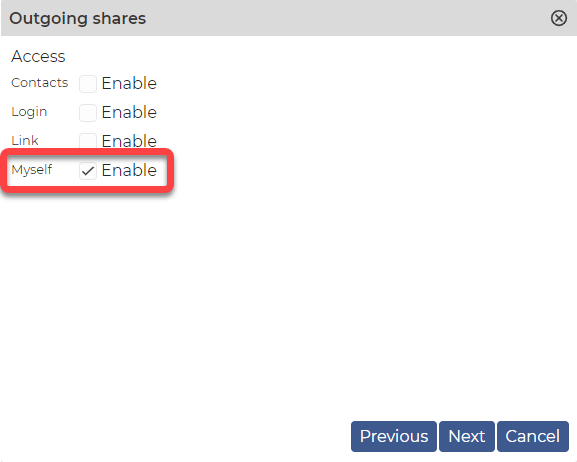 Once you have created the two shares you can use them to connect.
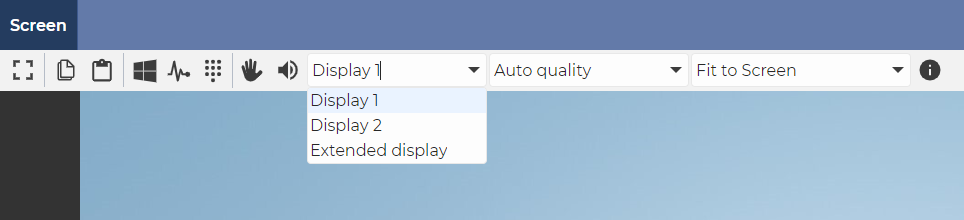
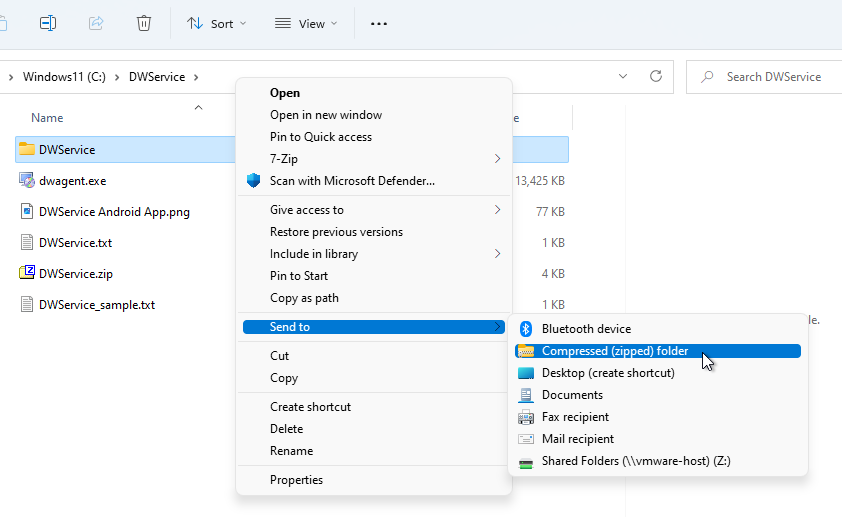 Right click on the folder that you would like to zip ⇒ Send to ⇒ Compressed (zipped) folder.
 1. Click on the Upload button.
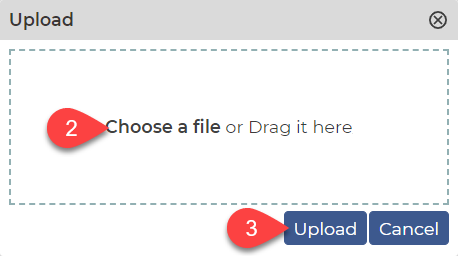 2. Click on the Choose a file text or drag the zip file into the window.
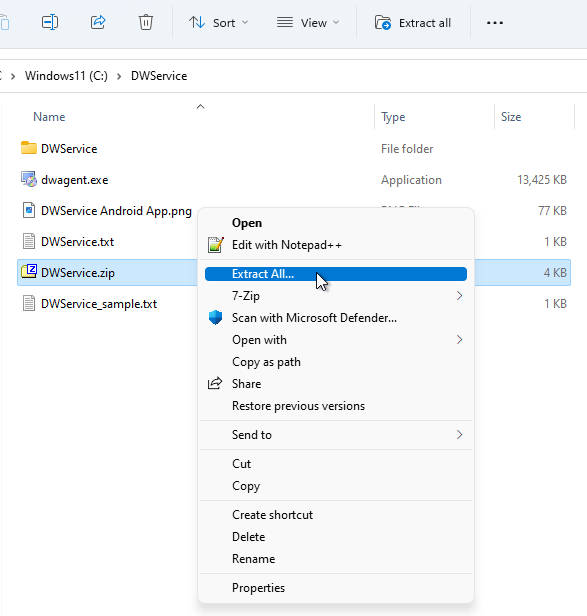 Right click on the zip file ⇒ Extract All…
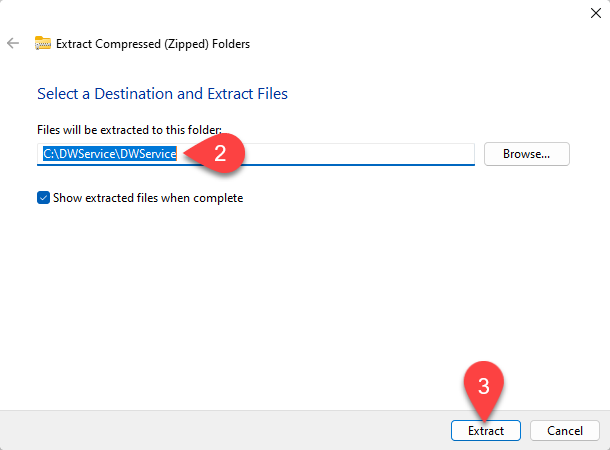
 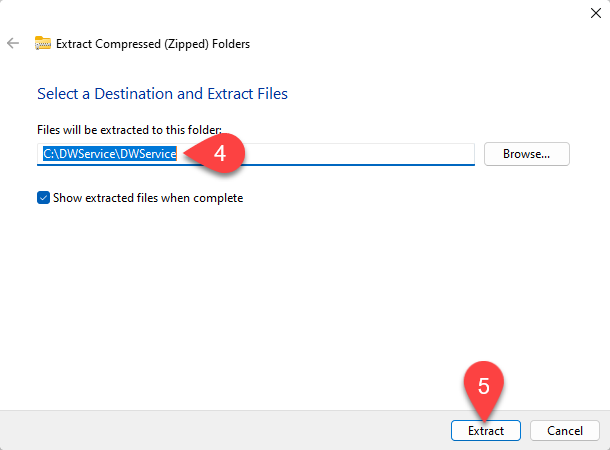 4. Select the Destination where you want to extract the folder.