ℹ️ Log files may vary depending on the situation and may be located in different places:
- Log file in the case of an installed Agent
- Log file in the case of a running Agent
- Log file during installation
- Log file for silent installation
💡Log files are plain text files that can be opened with any text editor (mostly even remotely).
Log file in the case of an installed Agent
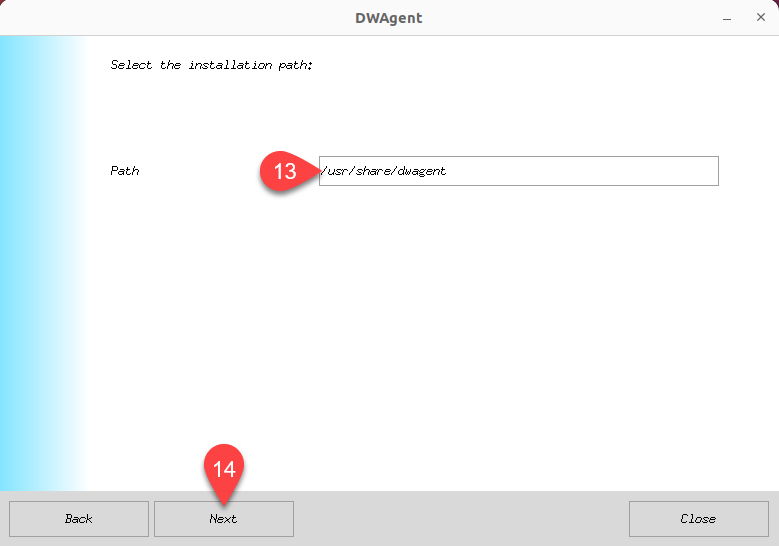
If the Agent has been installed using the default path, depending on the operating system, the log file is as follows:
- Windows ⇒
C:\Program Files\DWAgent\dwagent.log - Linux ⇒
/usr/share/dwagent/dwagent.log - MacOS ⇒
/Library/DWAgent/dwagent.log
In case of an error, the log file may contain valuable information about the problem. For example: connection error, file loading error, etc.
2️⃣ The Agent also has a log file related to the DWAgent service. If the Agent has been installed using the default path, depending on the operating system, the log file is as follows:
- Windows ⇒
C:\Program Files\DWAgent\native\service.log - Linux ⇒
/usr/share/dwagent/native/service.log - MacOS ⇒
/Library/DWAgent/native/service.log
Log file in the case of a running Agent
ℹ️ When the Agent is running, a folder named dwagentonfly is created in the operating system’s temporary folder.
Depending on the operating system, the log file is as follows:
- Windows ⇒
%TEMP%\dwagentonfly\dwagent.log - Linux ⇒
/tmp/dwagentonfly/dwagent.log - MacOS ⇒
/$TMPDIR/dwagentonfly/dwagent.log
In case of an error, the log file may contain valuable information about the problem. For example: connection error, file loading error, etc.
2️⃣ The Agent also has a log file related to the DWAgent service. The log file is as follows:
- Windows ⇒
%TEMP%\dwagentonfly\native\service.log - Linux ⇒
/tmp/dwagentonfly/native/service.log - MacOS ⇒
/$TMPDIR/dwagentonfly/native/service.log
Log file during installation
ℹ️ When installing an Agent, a folder is created in the temporary folder of the operating system, which contains the log file. Depending on the operating system, the log file is as follows:
- Windows ⇒
%TEMP%\dwagentxxxxxxxxxxxxxx\install.log - Linux ⇒
/tmp/dwagent_installxxxxxxxxxxxxxx/install.log - MacOS ⇒
/$TMPDIR/dwagentinstallxxxxxxxxxxxxxx/install.log
Note: In the folder name, the xxxxxxxxxxxxxx is the date and time (yyyymmddhhmmss) when the installer was launched. For example: dwagent20250801123456
If you open the log file with a text editor, you can find out whether the installation process was successful. If there was a problem, you can find out where and why the installation process failed.
Log file for silent installation
ℹ️ During silent installation, you have the possibility to create a log file that records the steps of the installation process. In case of installation problems, this file can help you find out where the process got stuck.
To do this, the command must also include the following switch during silent installation: logpath=xxxxxx, for example: logpath=C:\install.log
If you execute the command in this way during silent installation, the log file will be created with the path and name you specified.
📖 You can read more about silent installation in this documentation: How do I install the agent silently?
📧 If you encounter a problem and the log files do not provide you with useful information, please send us the log file as an attachment to support@dwservice.net, and we will do our best to help you find the cause of the problem and thus the solution.
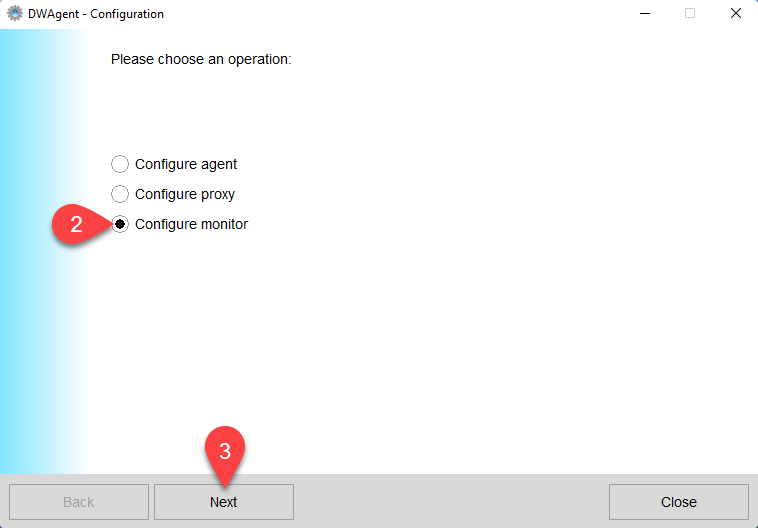

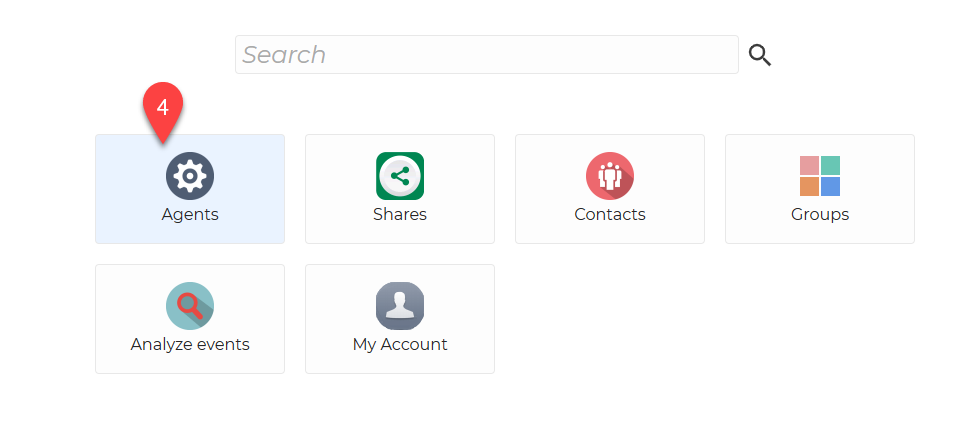
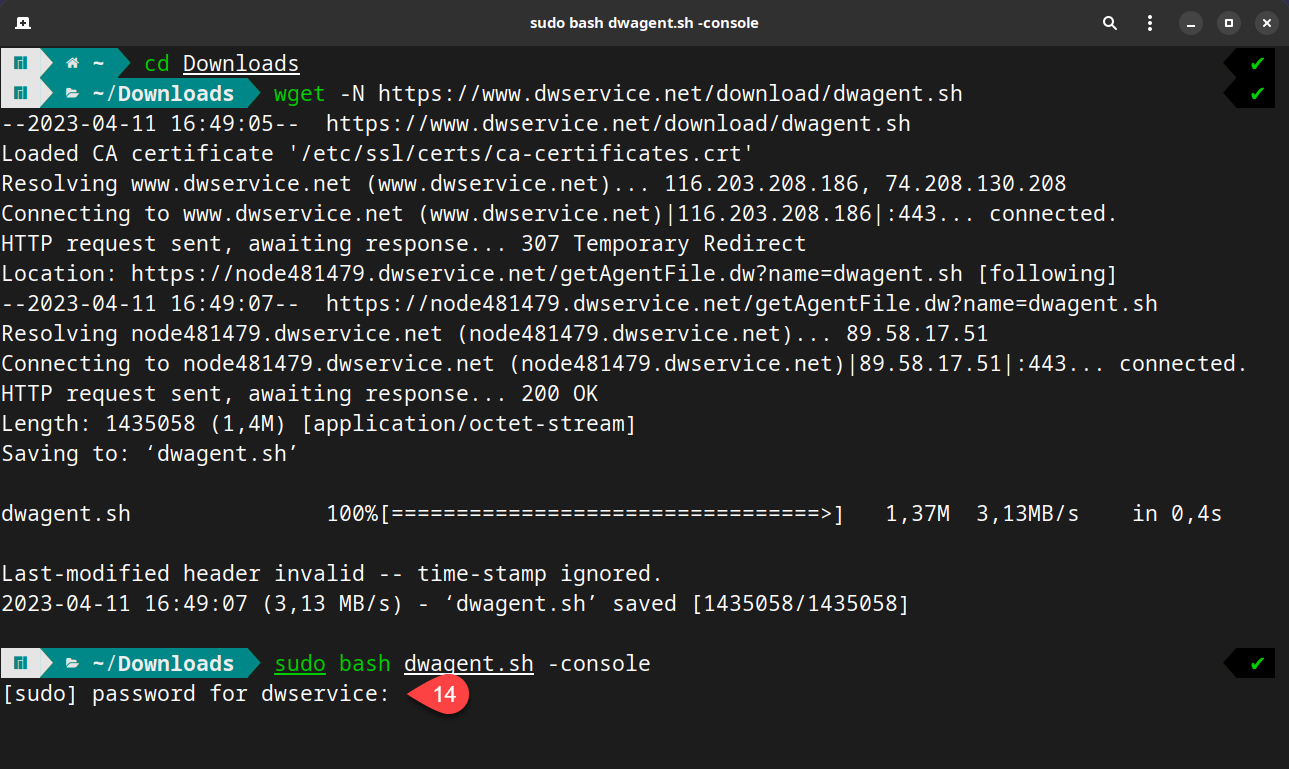
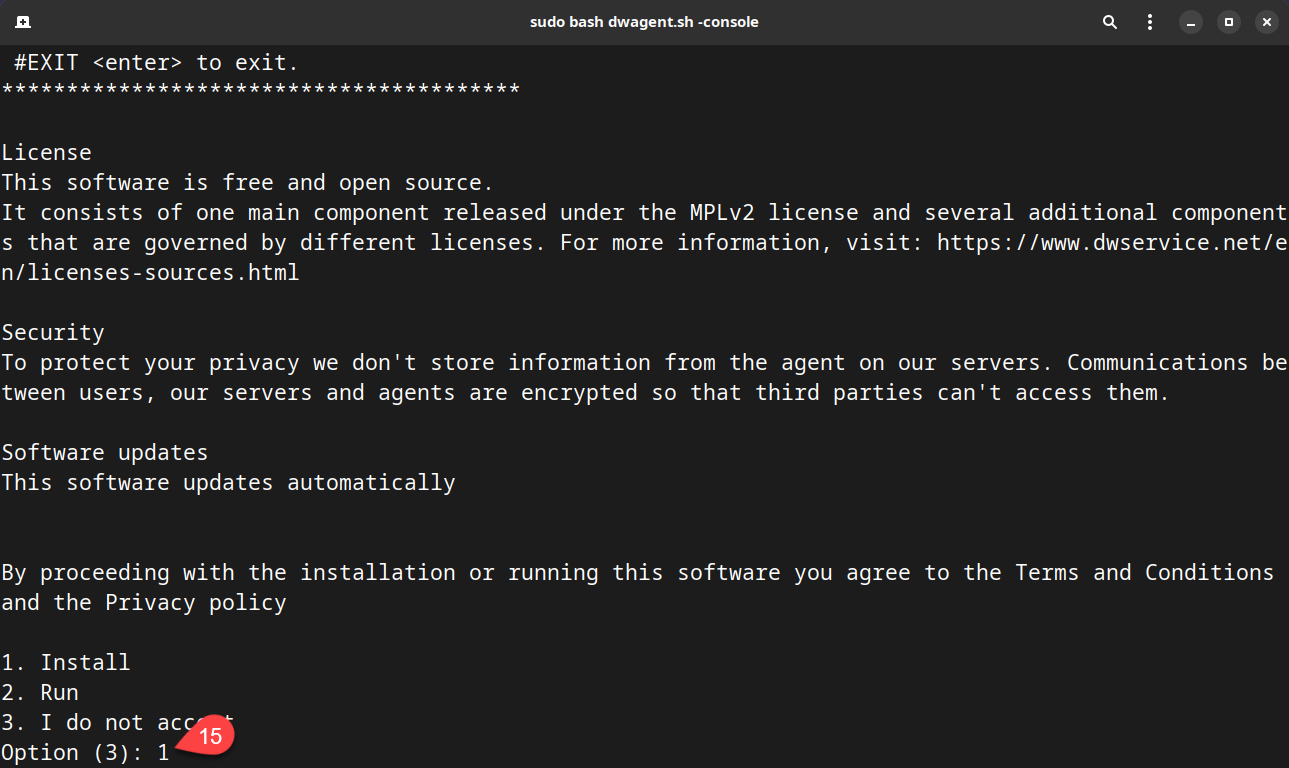
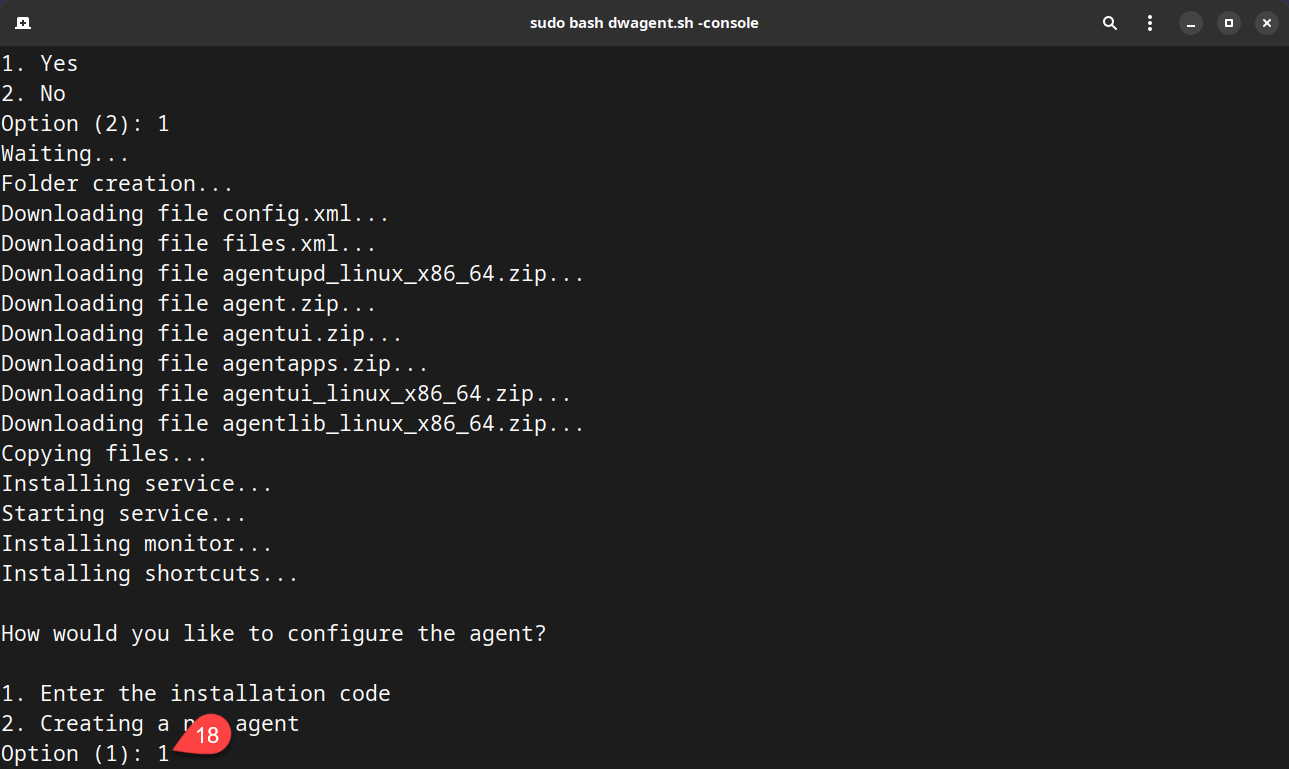
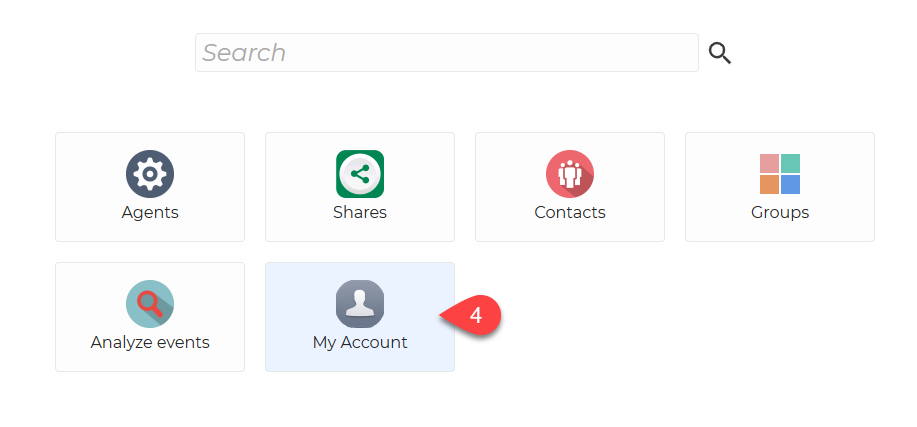

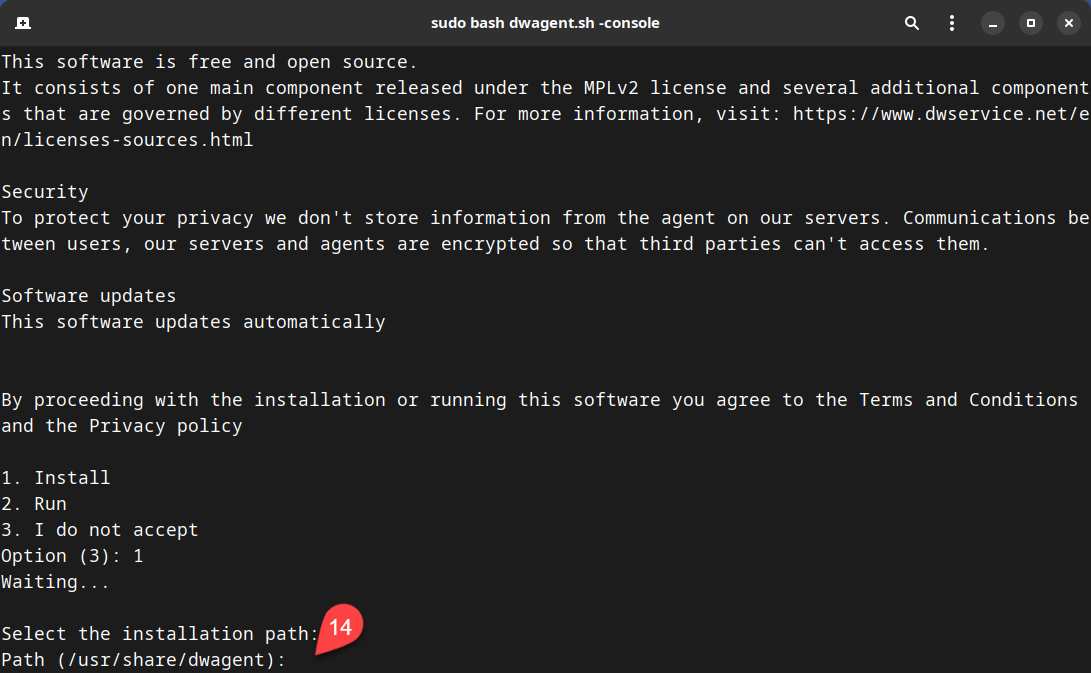
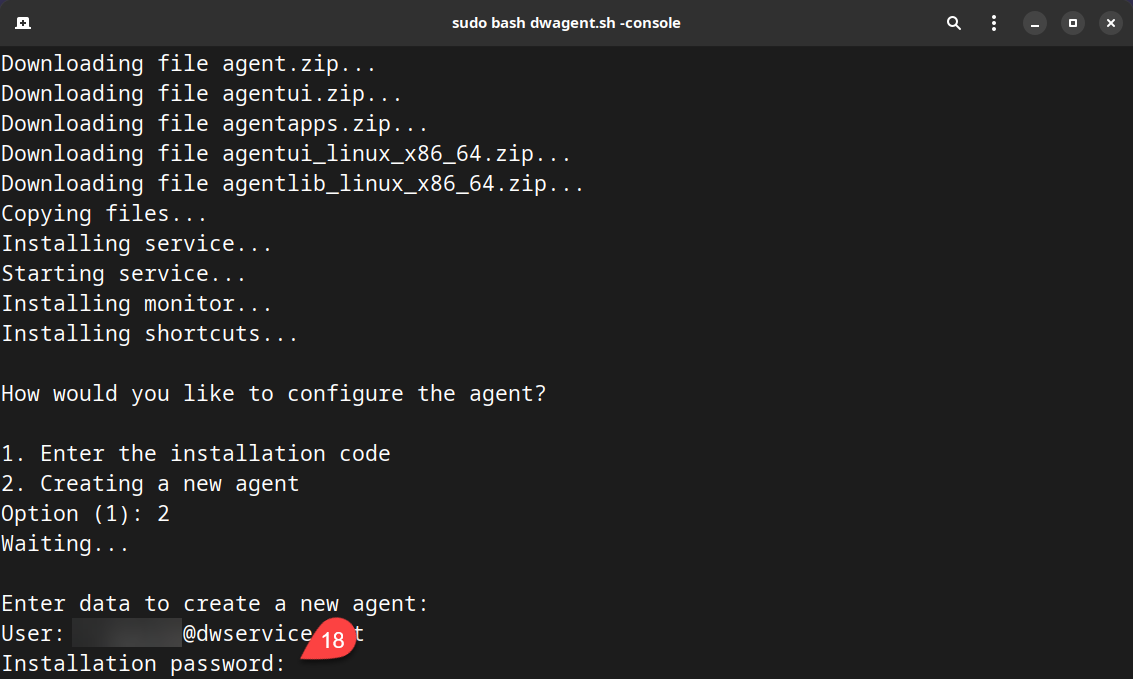
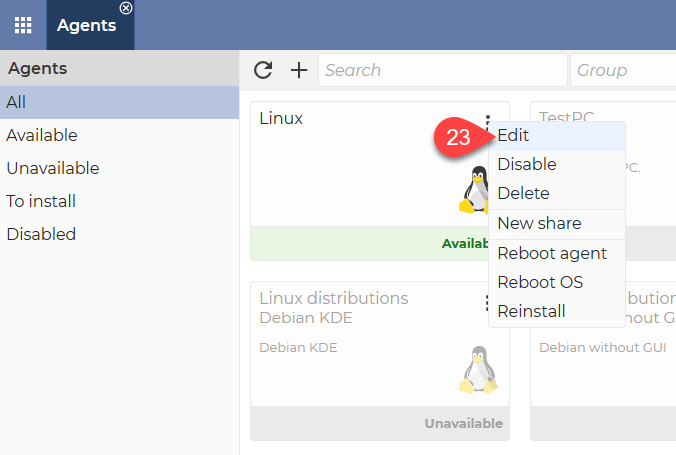
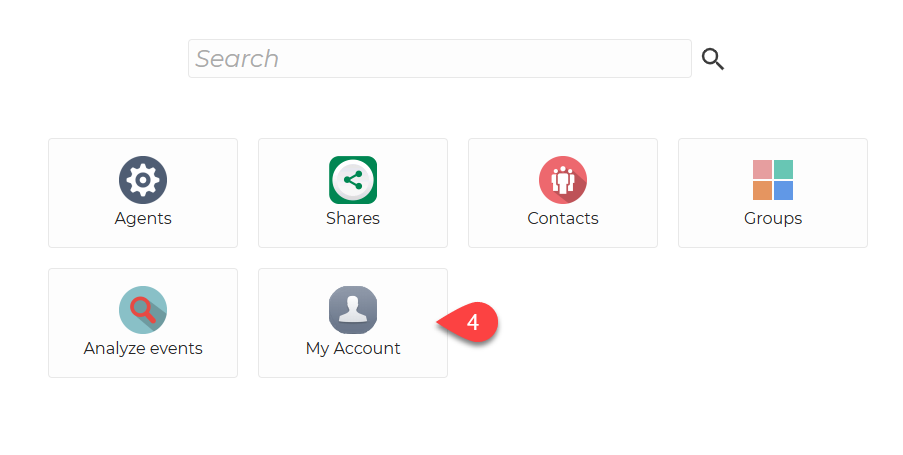
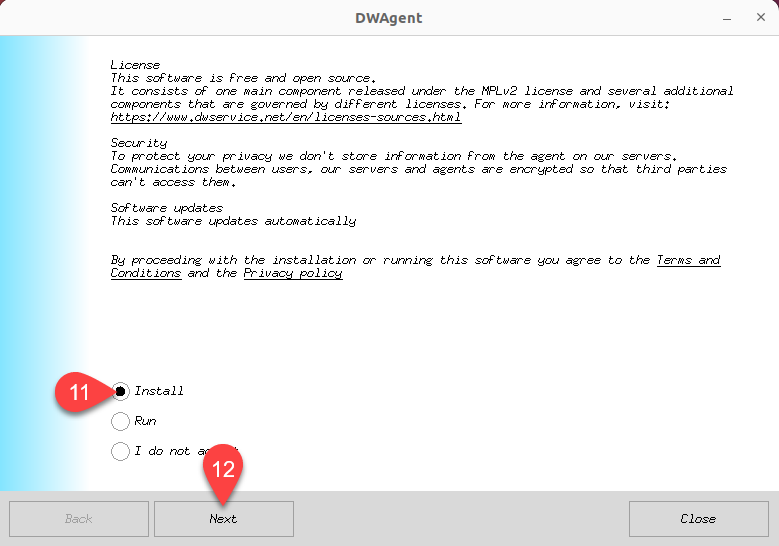
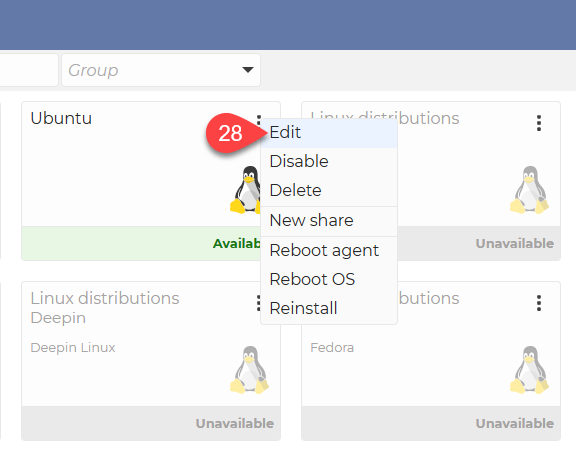
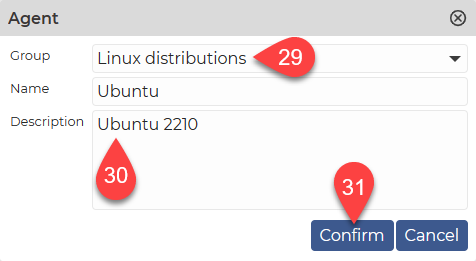
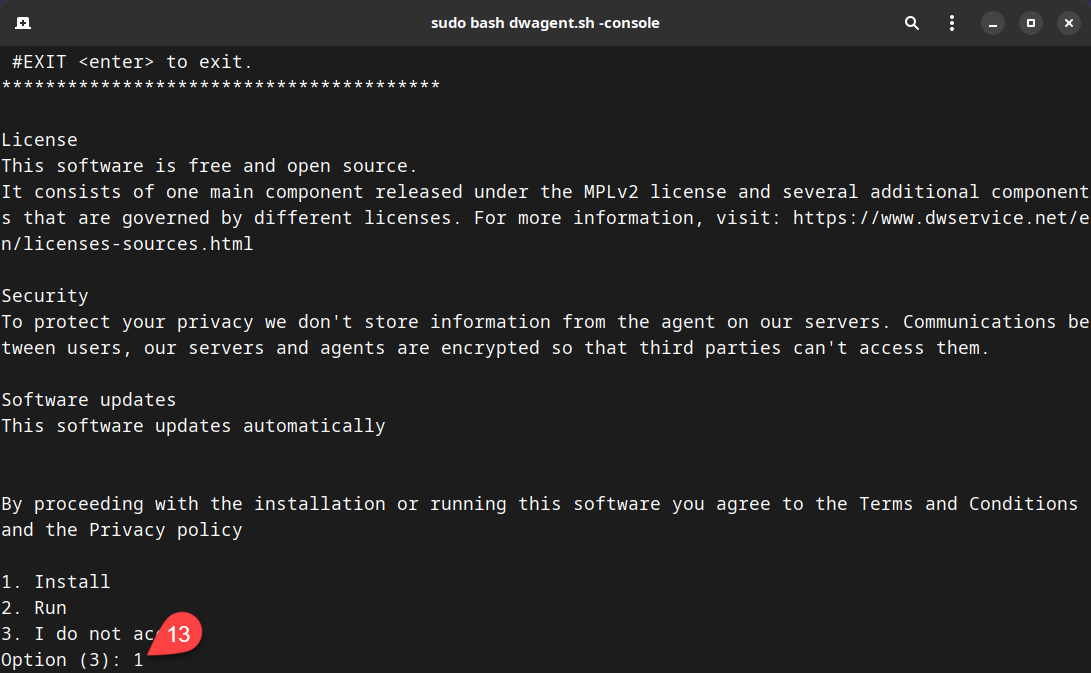 13. From the options, select the option