With Files and Folders, you can manage files and folders on your remote device.
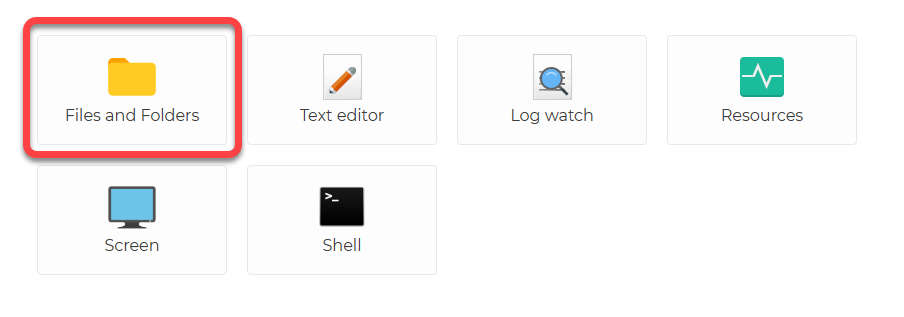
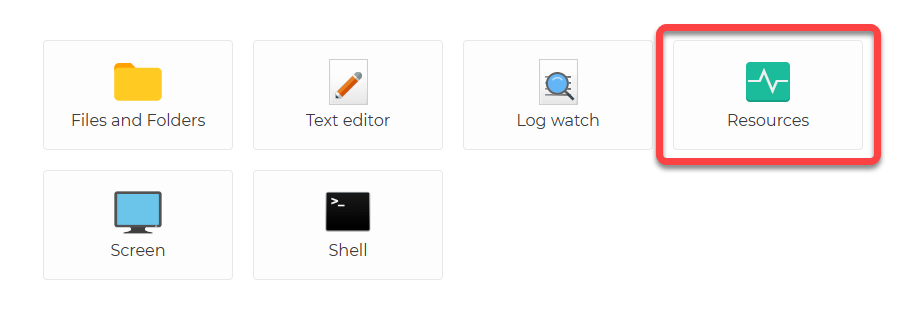
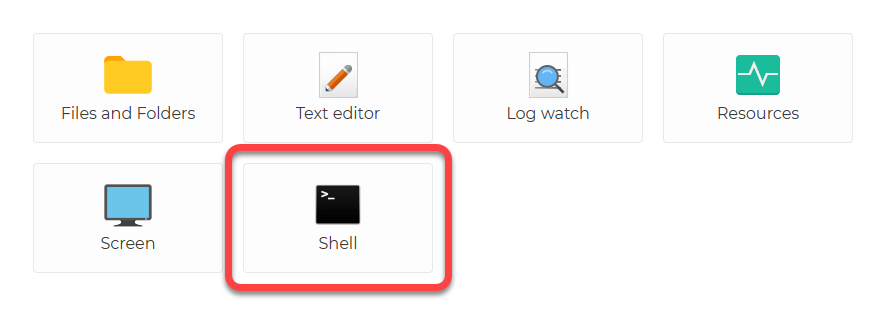
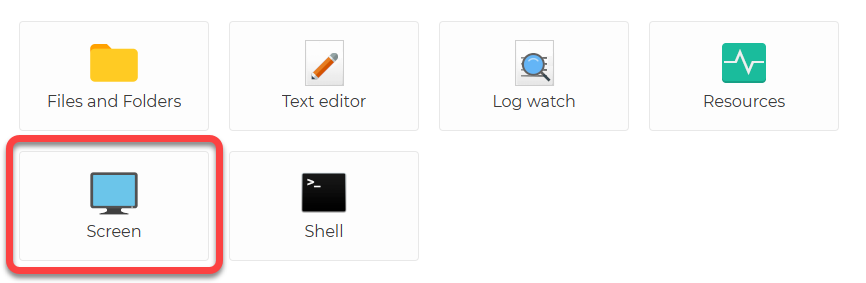
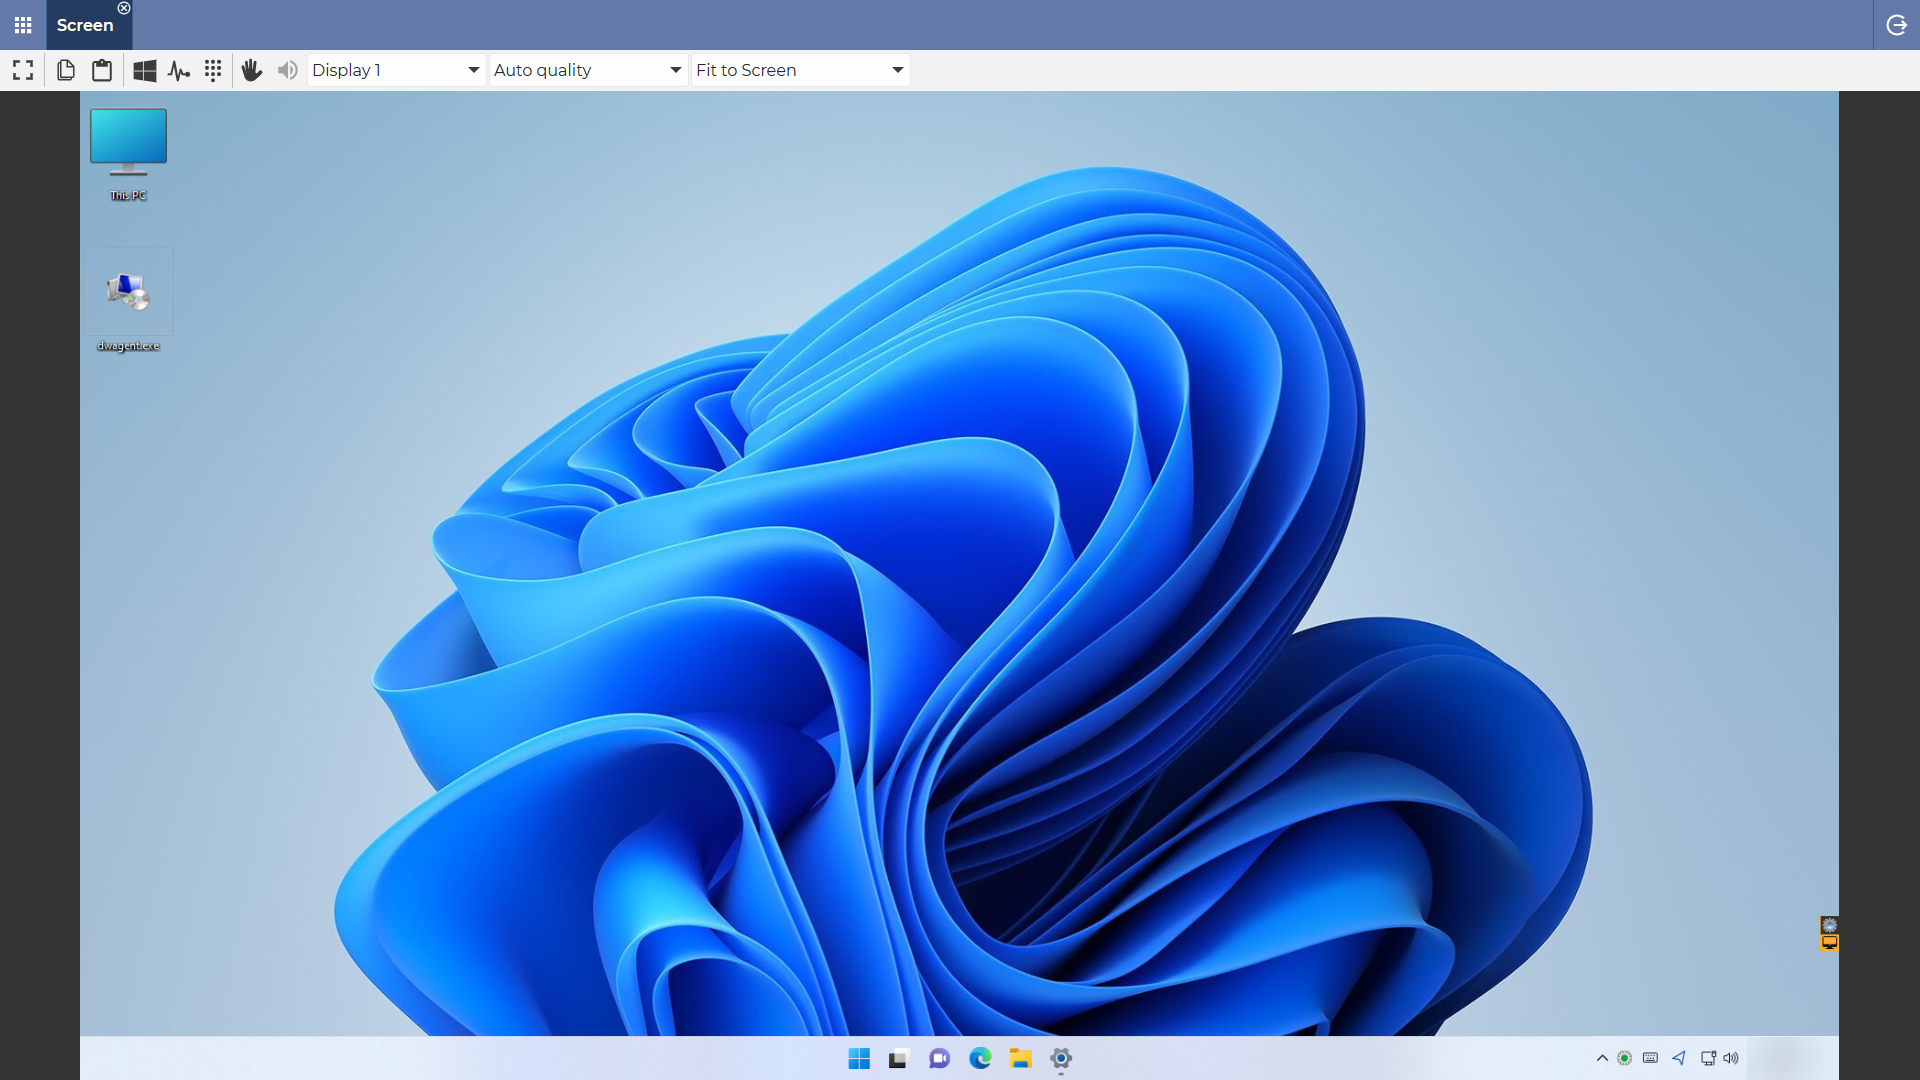
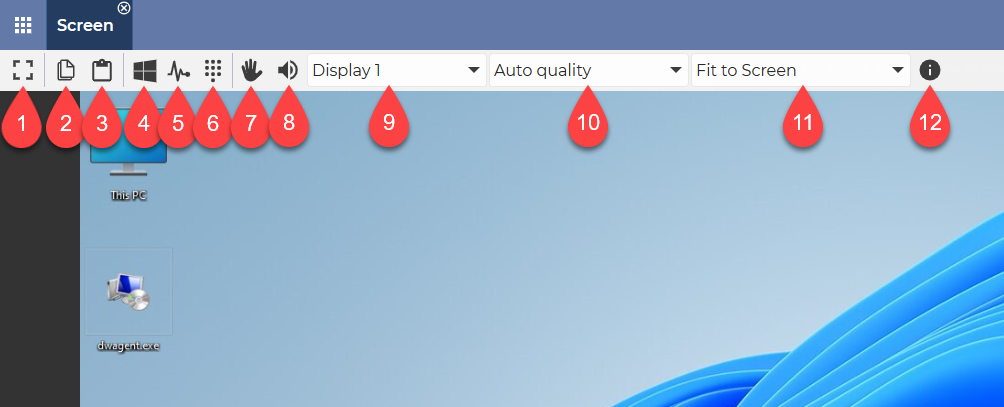
When you are connected to the Agent, applications will appear:
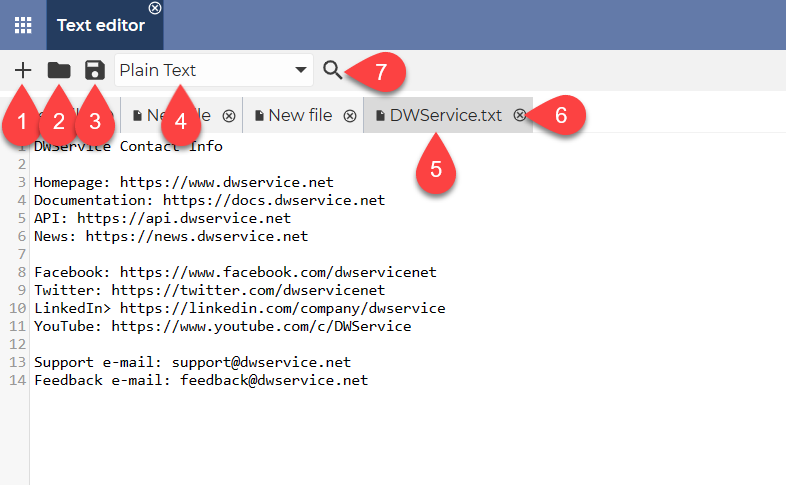
The Files and Folders application looks like this when in use:
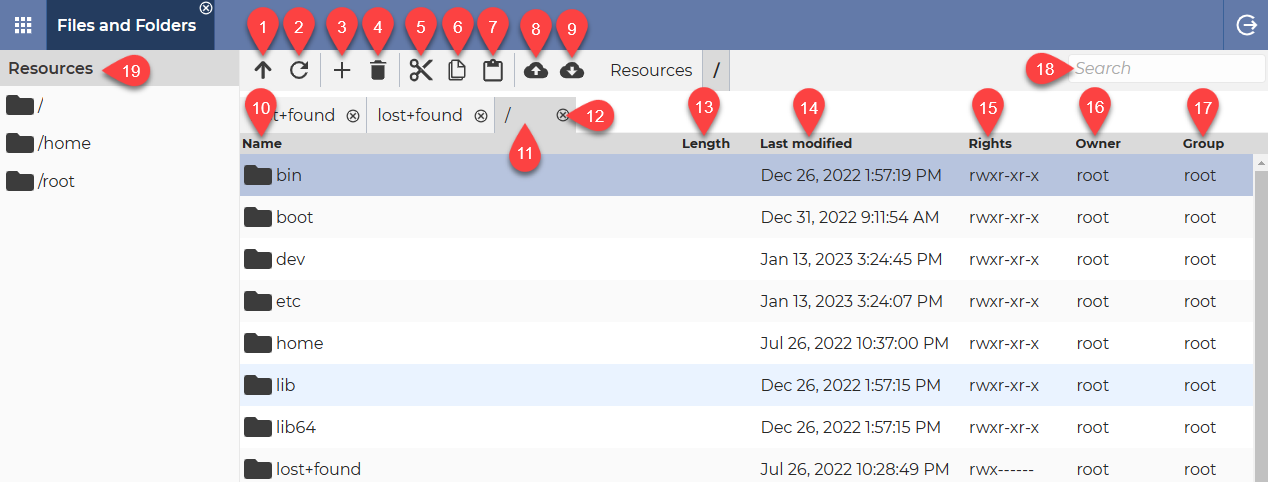
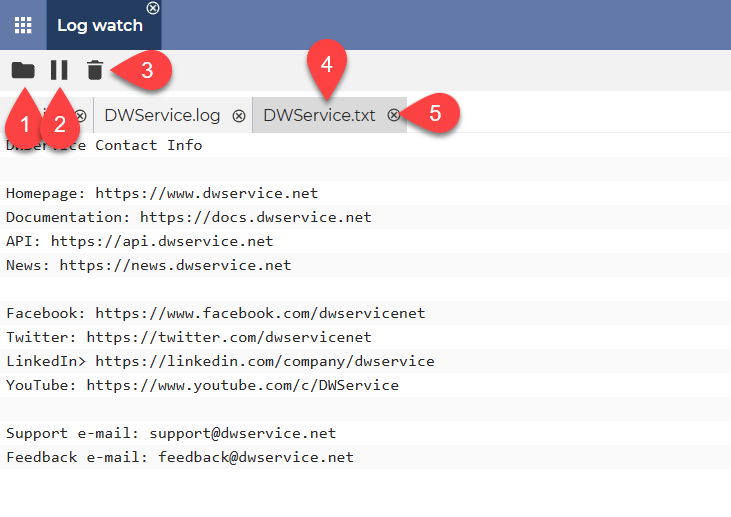
- Up → Moves up one folder.
- Refresh → Updates the information in folders and files.
- New folder → It creates a folder in the current folder.
- Delete → Deletes the selected file(s) or folder(s).
- Cut → Move the selected file(s) or folder(s) to the clipboard.
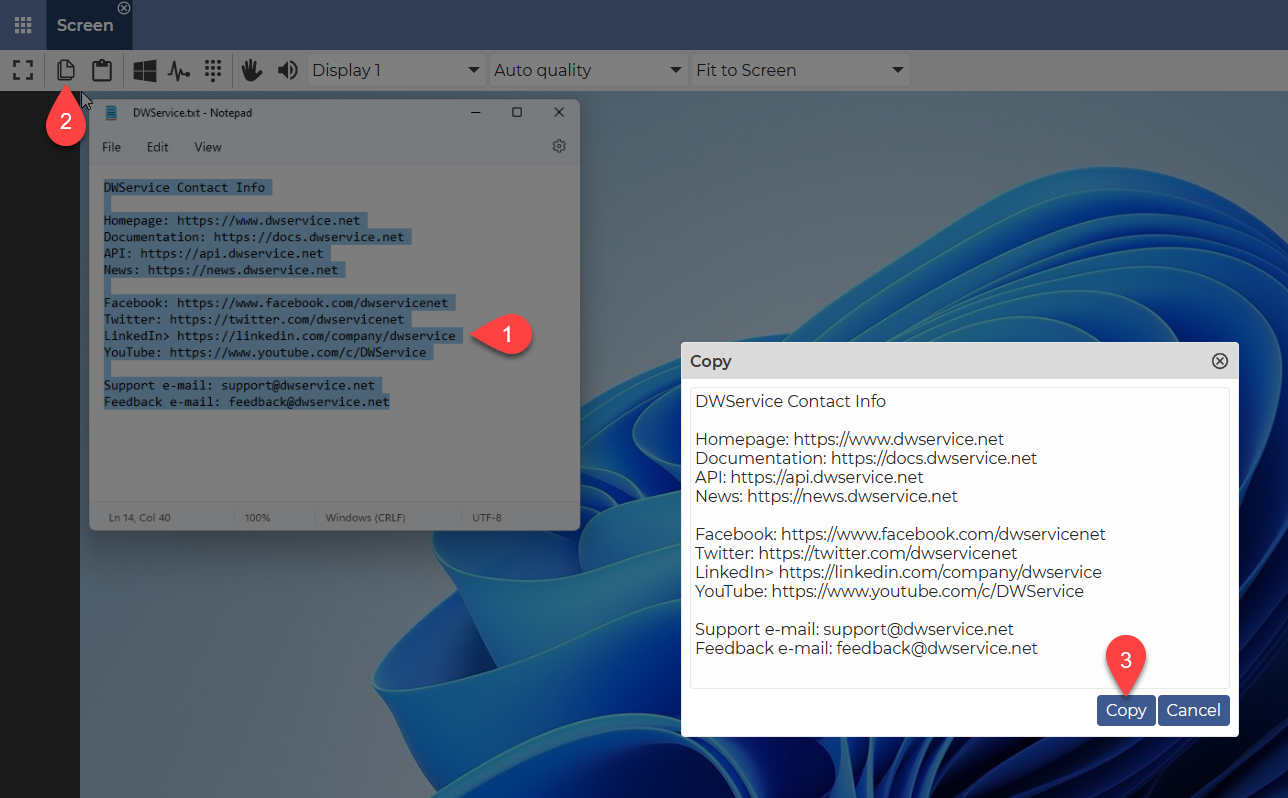
- Copy → Copies the selected file(s) or folder(s) to the clipboard.
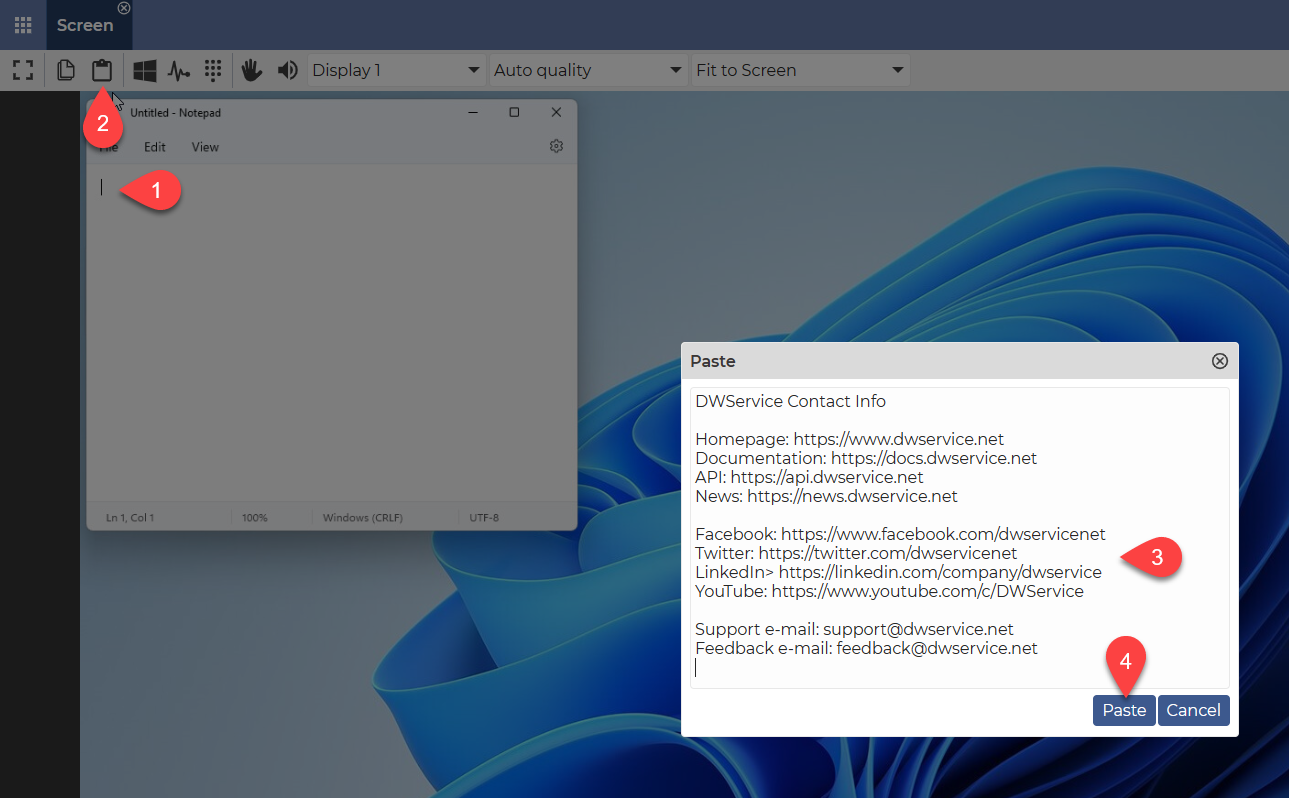
- Paste → Paste the selected file(s) or folder(s) from the clipboard.
- Upload → It allows you to upload a file from the local device to the remote folder.
- Download → Allows you to download a file from the remote folder to the local device.
- Name column → This column shows the names of files and folders.
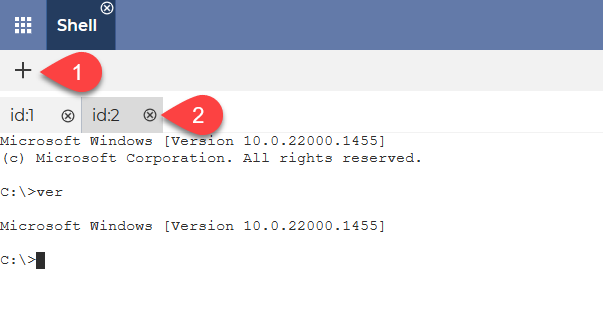
- Tabs → You can open multiple tabs at once, allowing you to perform multiple tasks in parallel.
- Close Tab button → It can be used to close the given tab.
- Length column → This column shows the size of the files.
- Last modified column → This column shows the dates when files and folders were last modified.
- Rights column → This column shows the rights that apply to the given file or folder.
- Owner column → This column shows the Owner of the files or folders.
- Group column → This column shows the Group
- Search field → This field allows you to browse files and folders. This makes it easier to find the file or folder you are looking for.
- Resources list → This list contains the drives for Windows operating systems or the root and User folder for Linux.
💡Hint: You can switch the sort order by clicking on the column names (Ascending order ▲ / Descending order ▼).
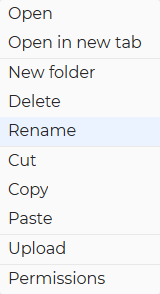
Using the right-click, you can access the context menu (for a folder):
Using the right-click, you can access the context menu (for a file):
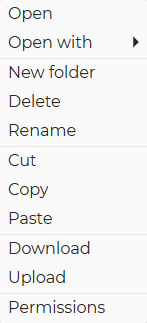
Open → This option opens the selected item.
Open with ► → This option allows you to decide whether to open the file using the Text editor application or Log watch application. This option is only available for files.
Open in new tab → This option opens the selected item in a new tab. This option is only available for folders.
New folder → It allows you to create a new folder.
Delete → It can be used to delete the selected item.
Rename → It allows you to rename the selected file or folder.
Cut → It cuts the selected file or folder to the clipboard.
Copy → It copies the selected file or folder to the clipboard.
Paste → It pastes the selected file or folder from the clipboard.
Download → It allows you to download the remote file to the local device.
Upload → It allows you to upload a file to the remote folder.
Permissions → This option allows you to set the following permissions:

- Owner → Here you can change the Owner of the file or folder.
- Group → Here you can change the Group of the file or folder.
- Owner → Here you can change the rights for the Owner (reading, writing, execution)
- Group → Here you can change the rights for the Group (reading, writing, execution)
- All → Here you can change the rights for All (reading, writing, execution)
- Apply permissions to all subfolders and files → If the checkbox is checked, the permissions set above will be applied to all subfolders and files.
Related articles: Applications

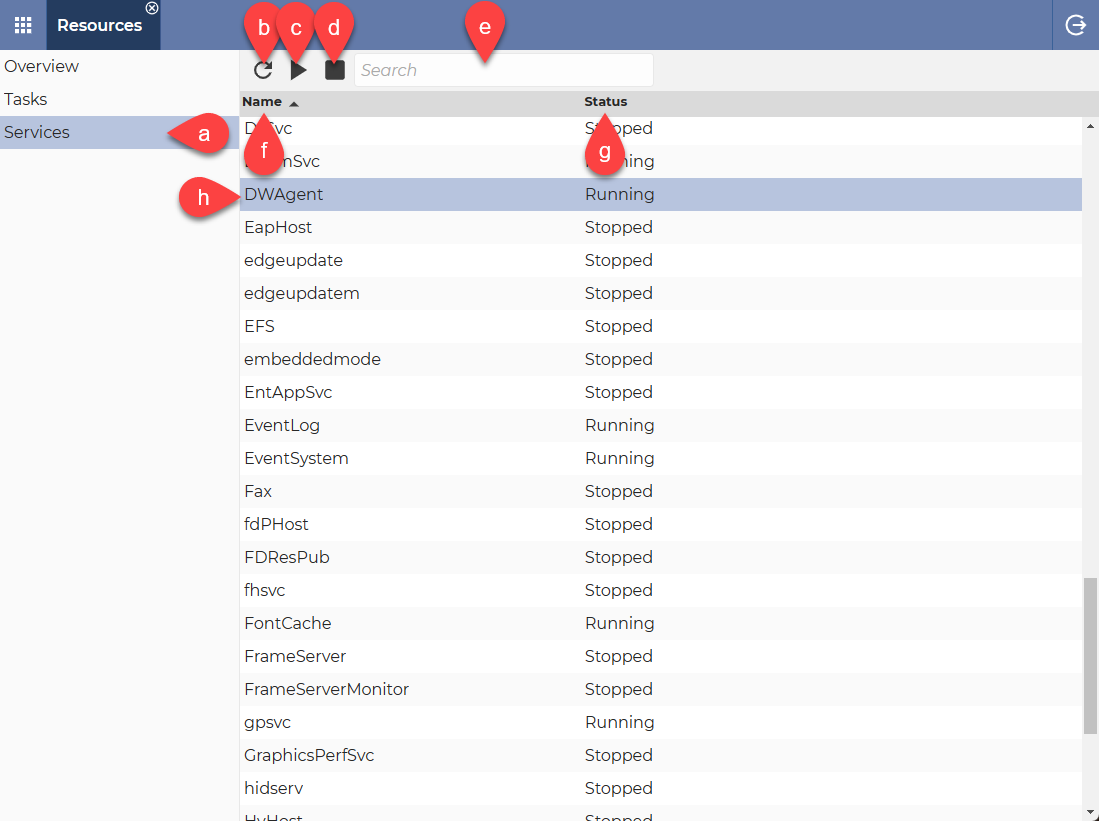

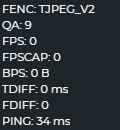 More details on the displayed information:
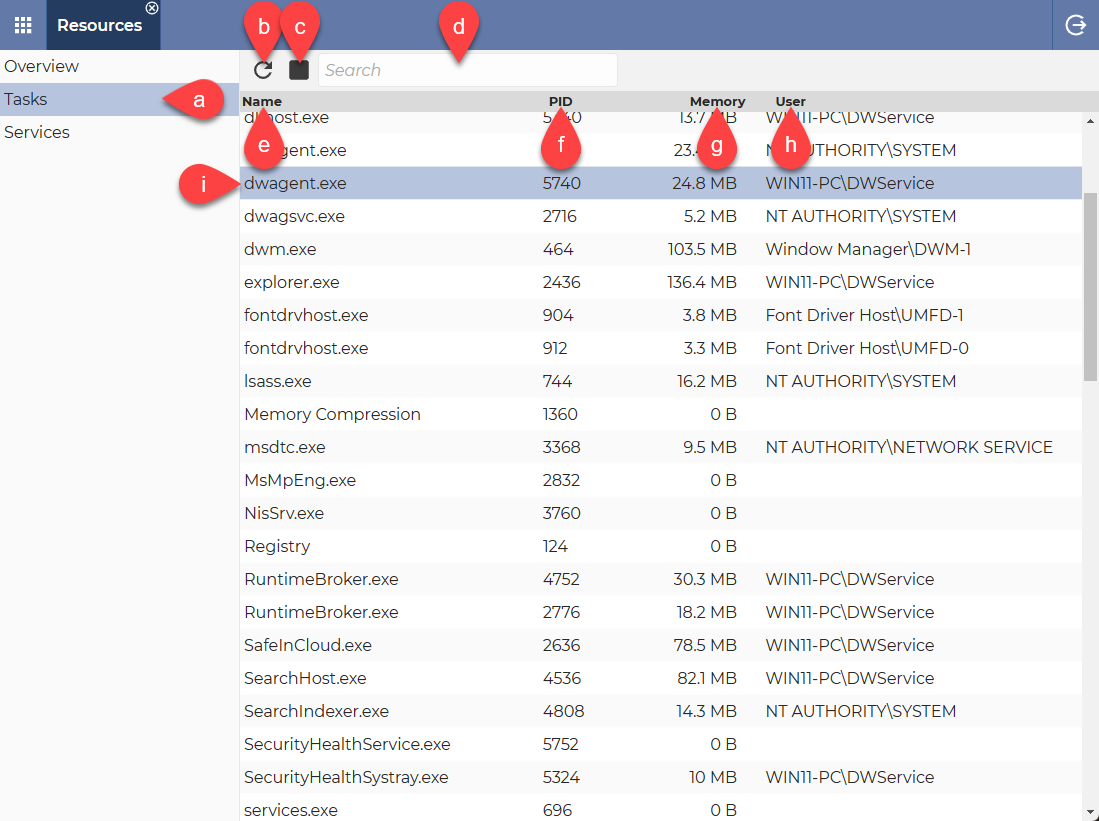